As part of ongoing efforts to reduce the use of plastics in my kitchen, I now am in the habit of freezing broths, soups, curries, stews, roasted tomatoes, syrups, sauces, and all manner of other foods in glass mason jars, and I invite you to do the same. You might think - wait, won’t those jars crack?- and the answer is no, not if you follow a few simple steps. Freezing food in glass jars is easy and economical, and once you become familiar with three simple considerations, there’s no stopping you!
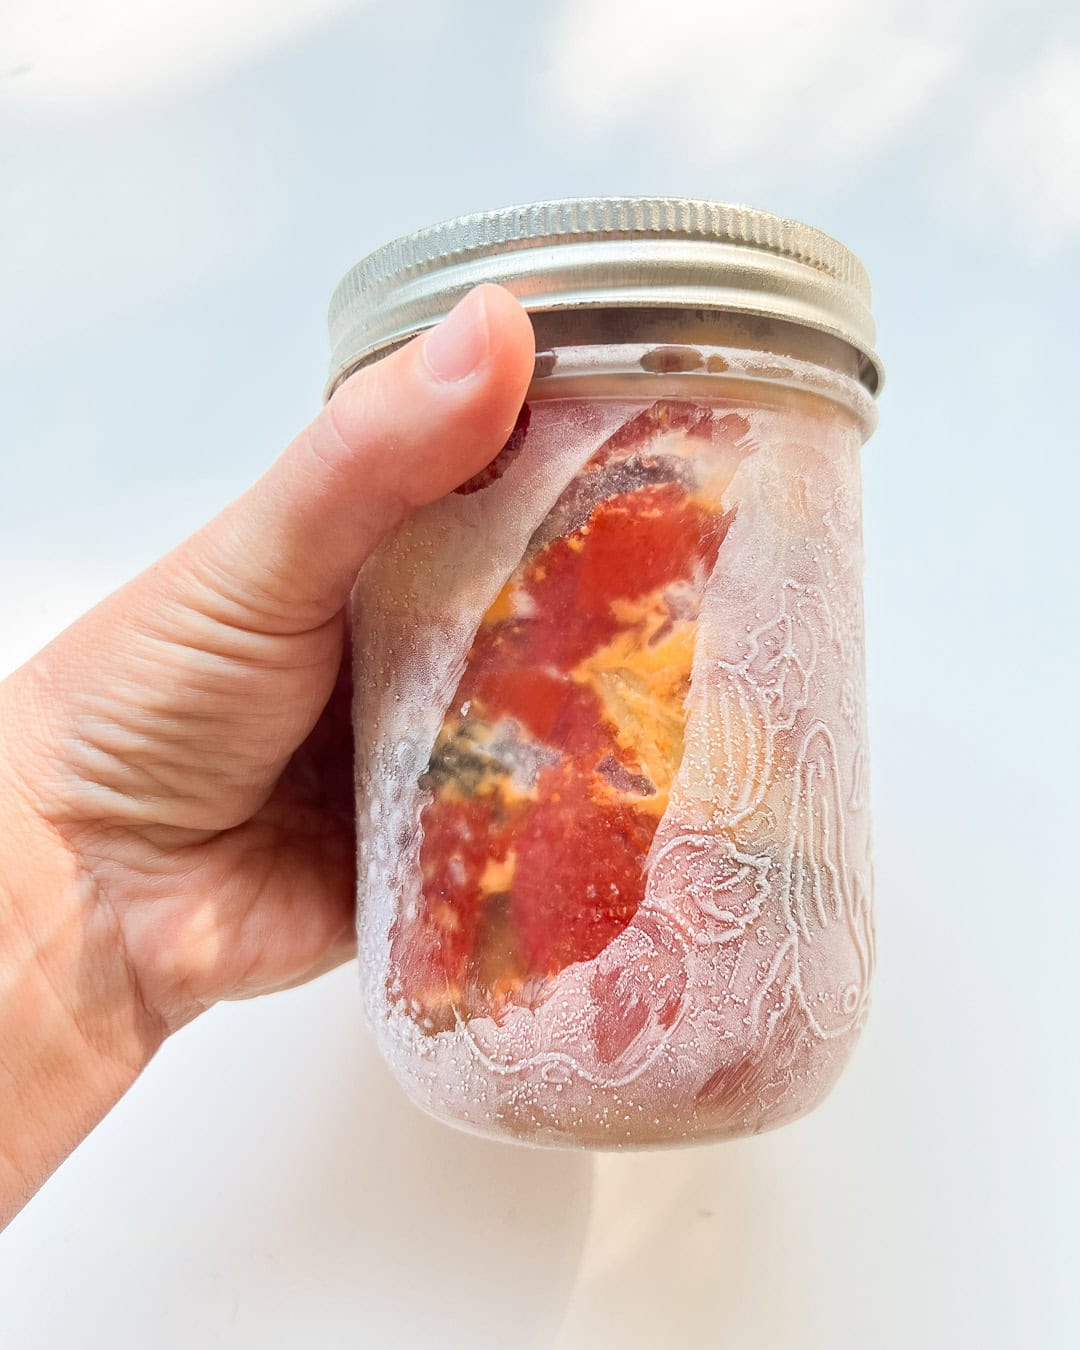
Oven Roasted Tomatoes are a great way to freeze prepared food for future meals; your future self will thank you!
Jump to:
- Consideration #1: Use straight sided jars
- Consideration #2: Use “headspace” and fill lines
- Consideration #3: Make sure your jar has cooled
- A note on jar lids
- Feeling a bit nervous? Try this first time hack
- Defrosting frozen filled jars
- A final note of reassurance
- Looking for recipes that freeze well in glass jars?
Consideration #1: Use straight sided jars
The first important consideration when freezing food in glass jars is to use the right kind of jar; I buy packs of wide mouthed, straight sided canning jars, also known as mason jars, from my local hardware store to use throughout my kitchen. Costing little more than a large pack of ziploc bags or plastic containers for a dozen or more, straight sided canning or mason jars will give you far more varied and longer use than single use plastics, as you can use them in your pantry, in the fridge, and in the freezer.
I also sometimes use empty jars from purchased products that I would otherwise recycle. I do my best only to use straight sided jars, as opposed to jars with rounded shoulders, the kind that are sloped just before the top of the jar. While it is possible to reuse jars with rounded shoulders for freezing, I have found they are more prone to breakage, as they usually don’t have fill lines and are easy to overfill, and so I just don’t use them for freezing for the most part.
Straight sided jars are just that, and have no sloped "shoulders" unlike other jars.
Fill lines - clear rings in the glass - are visible at the top of standard mason jars.
Consideration #2: Use “headspace” and fill lines
Headspace is a term used in canning that simply describes the empty space at the top of a jar between the lid and the top of the food or liquid in that jar; even commercially jarred products will have an amount of empty headspace at the top. While in this case we are freezing food in jars and not canning it, headspace is still needed to allow the expansion of food and liquids that occurs when frozen. Without the right amount of headspace, any kind of container, including glass, can break or crack if overfilled.
Glass jars used for canning, such as the ones purchased from hardware or kitchen supply stores, are marked with various headspace lines within the inch below the top of the jar. When freezing food in glass jars, you never want to fill your jar above the lowest line, which is usually one inch below the top of the jar.
Some jars even have a specific fill line for freezing, usually the thinnest, almost invisible line visible below the lowest fill line, so about 1 ¼ inches below the top of the jar. You can and probably should stick to that line, but I usually use the more visible lowest fill line, and making sure never to go over it, almost never have any issues with breakage.
If your jar doesn’t have headspace lines, such as when you are reusing a store bought foodstuffs jar, just leave at least an inch of unfilled space above whatever you have filled the jar with. If you are using a rounded shoulder jar, make sure that your jar is filled to an inch below the shoulders, just to be safe.
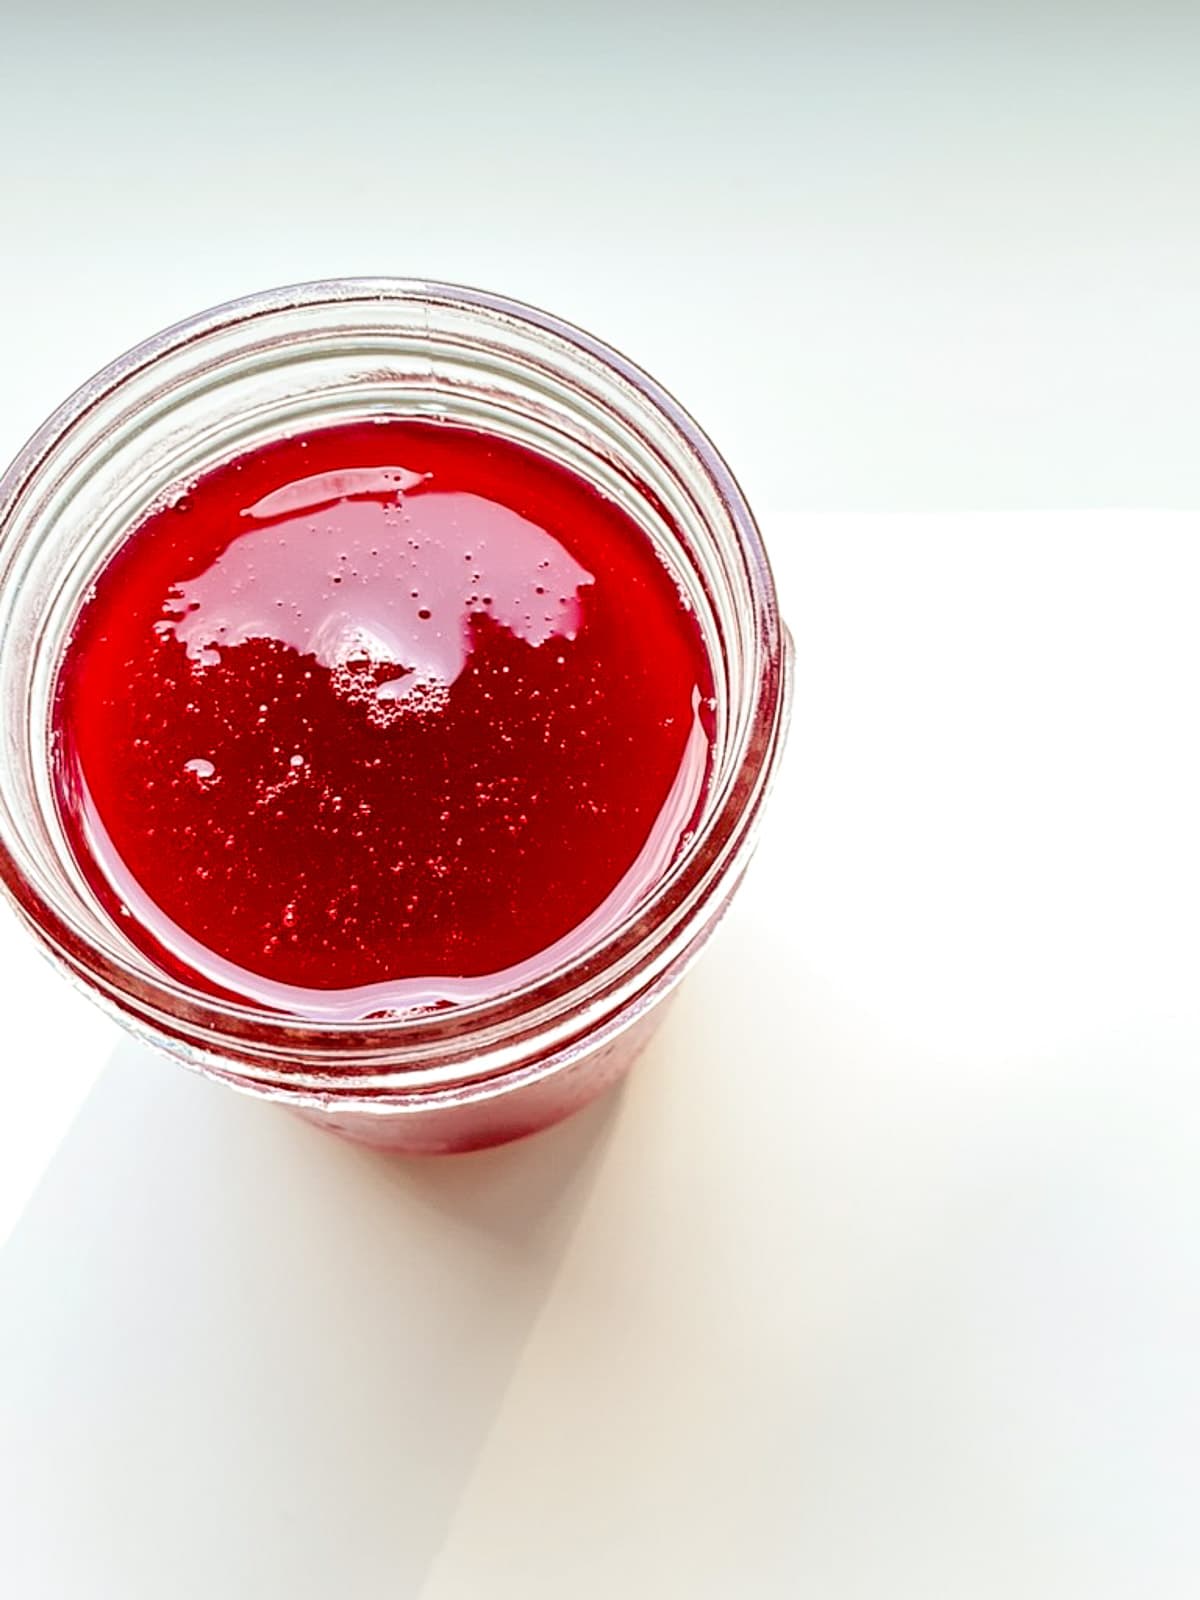
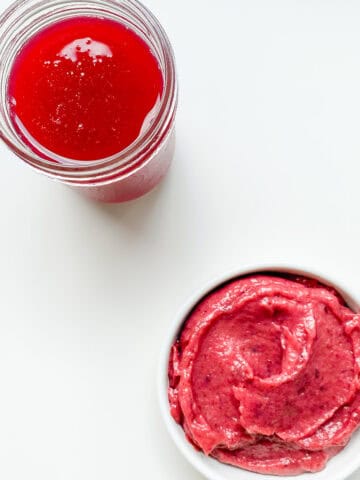
Syrups and sauces in smaller jars are easily frozen for future use.
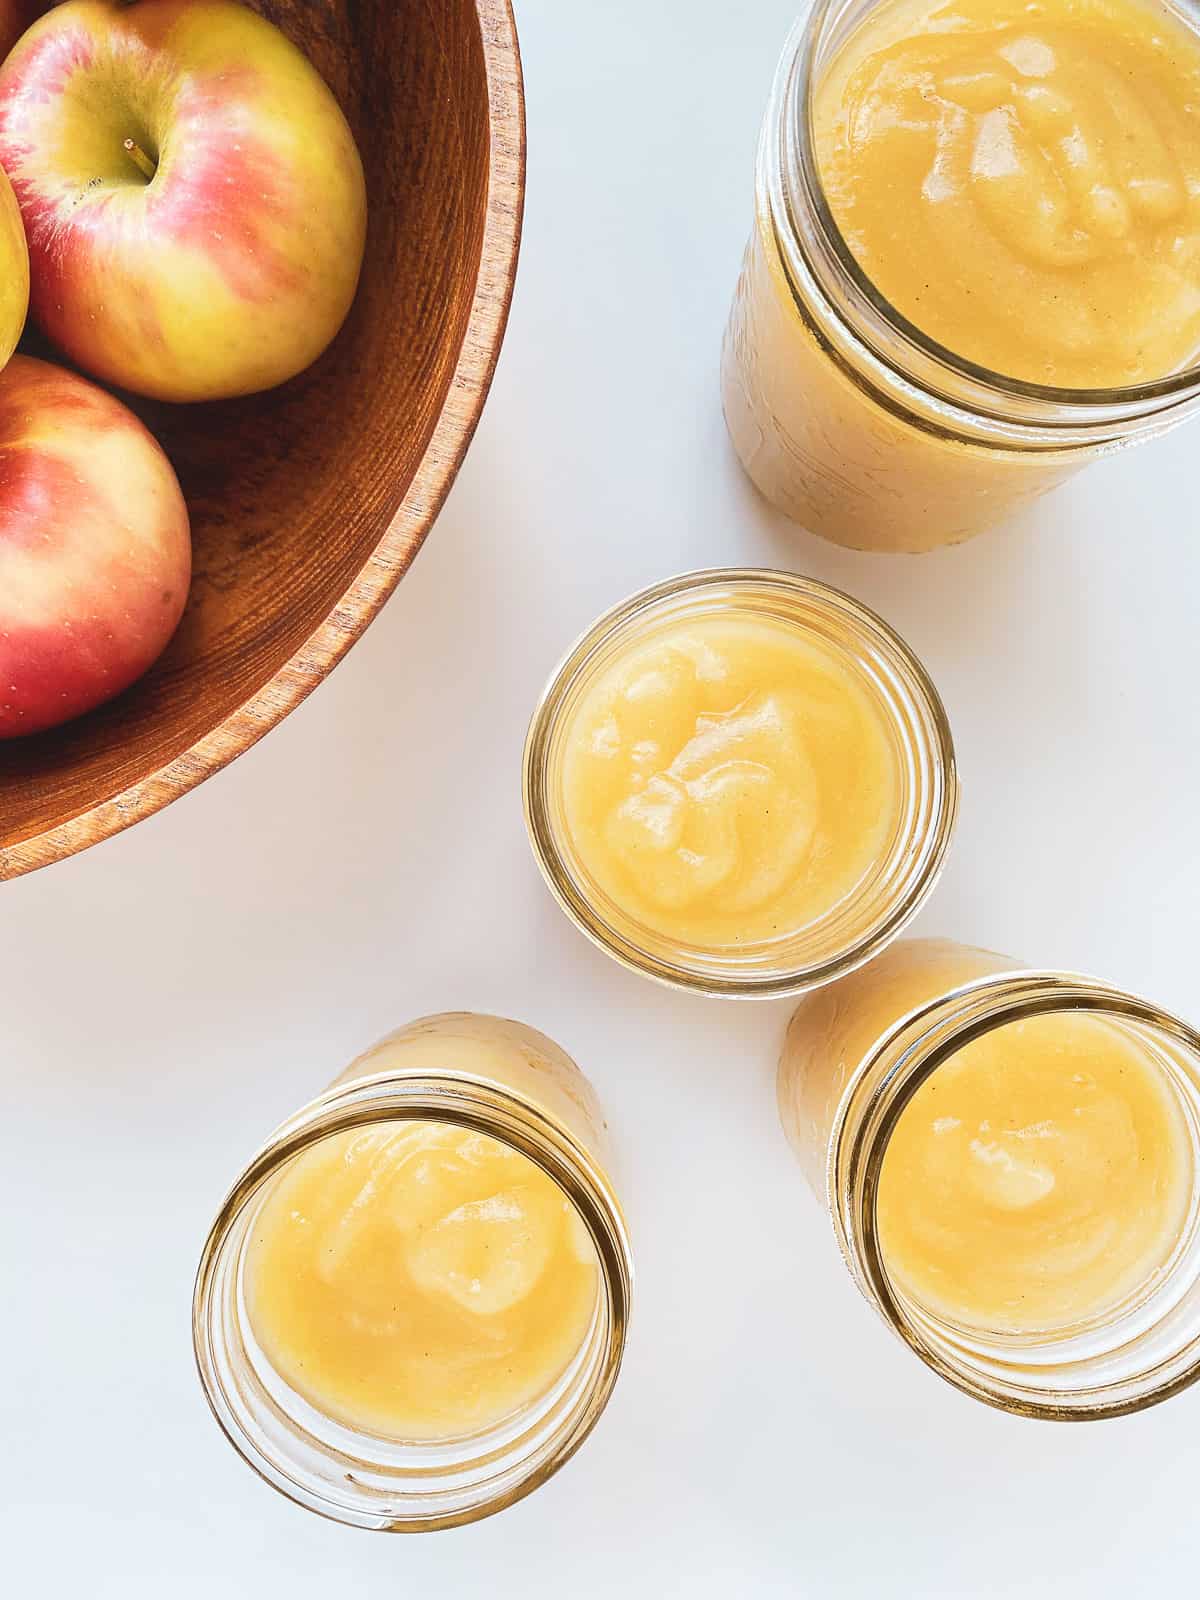
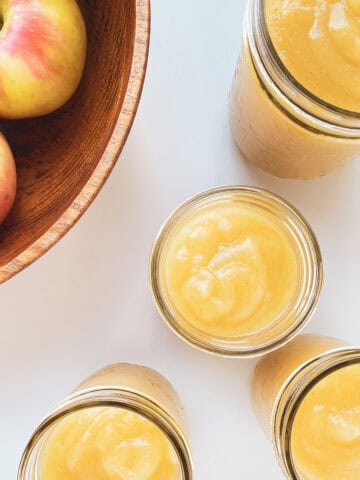
Applesauce is usually made in bigger batches, meaning you will have lots to freeze in jars for later on.
Consideration #3: Make sure your jar has cooled
Taking the time to cool hot food and hot jars prevents any breakage that might occur from rapid changes in temperature from hot to cold; make sure the food-filled jar you are going to freeze has cooled at least to room temperature before putting it in the freezer. I usually place my filled jars on the counter to cool, then cap them and store them in the fridge overnight before putting them into the freezer, making sure sure that both the contents and the jar are well and truly cooled.
A note on jar lids
In my experience, it doesn't seem to matter what kind of lid you use for your jars; either the regular metal canning lids, the lids that come with store bought jars, or special plastic freezer or fridge lids don't seem to make any difference when freezing or thawing, so use what you have on hand.
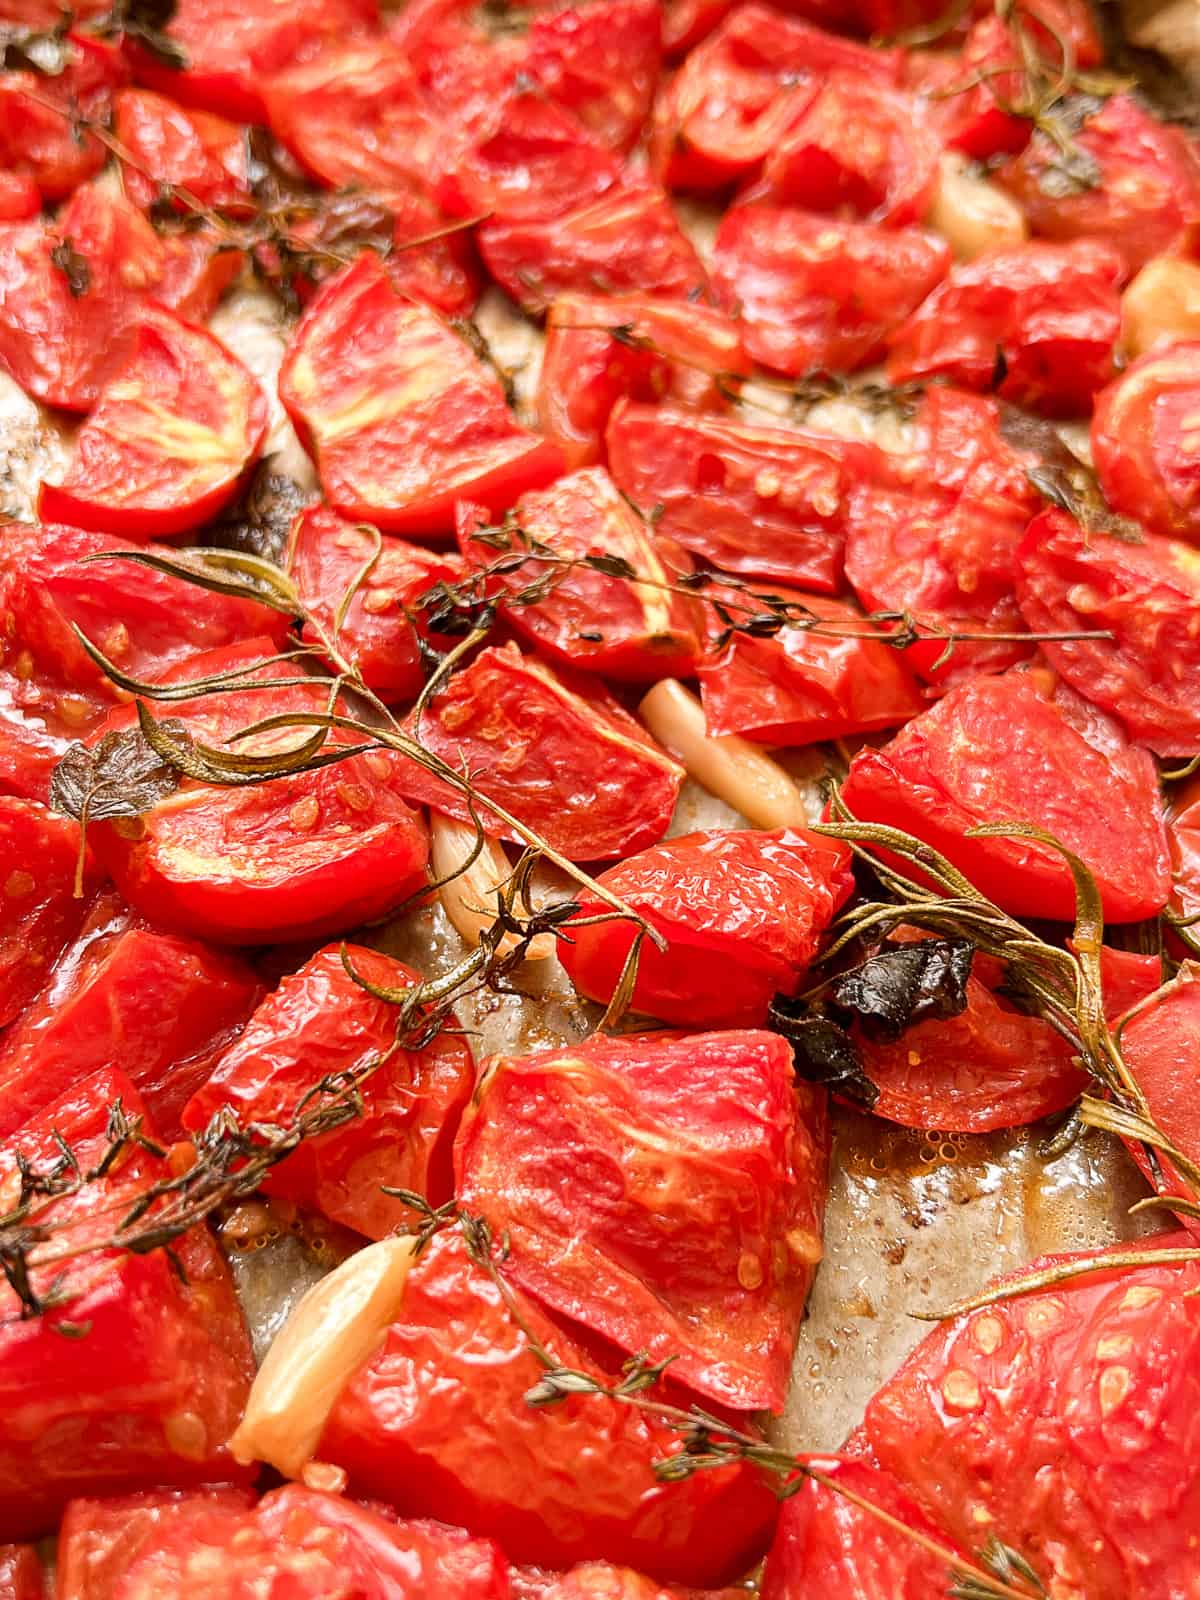
Freezing jars of cooled Oven Roasted Tomatoes is a great way to get ahead in your meal planning.
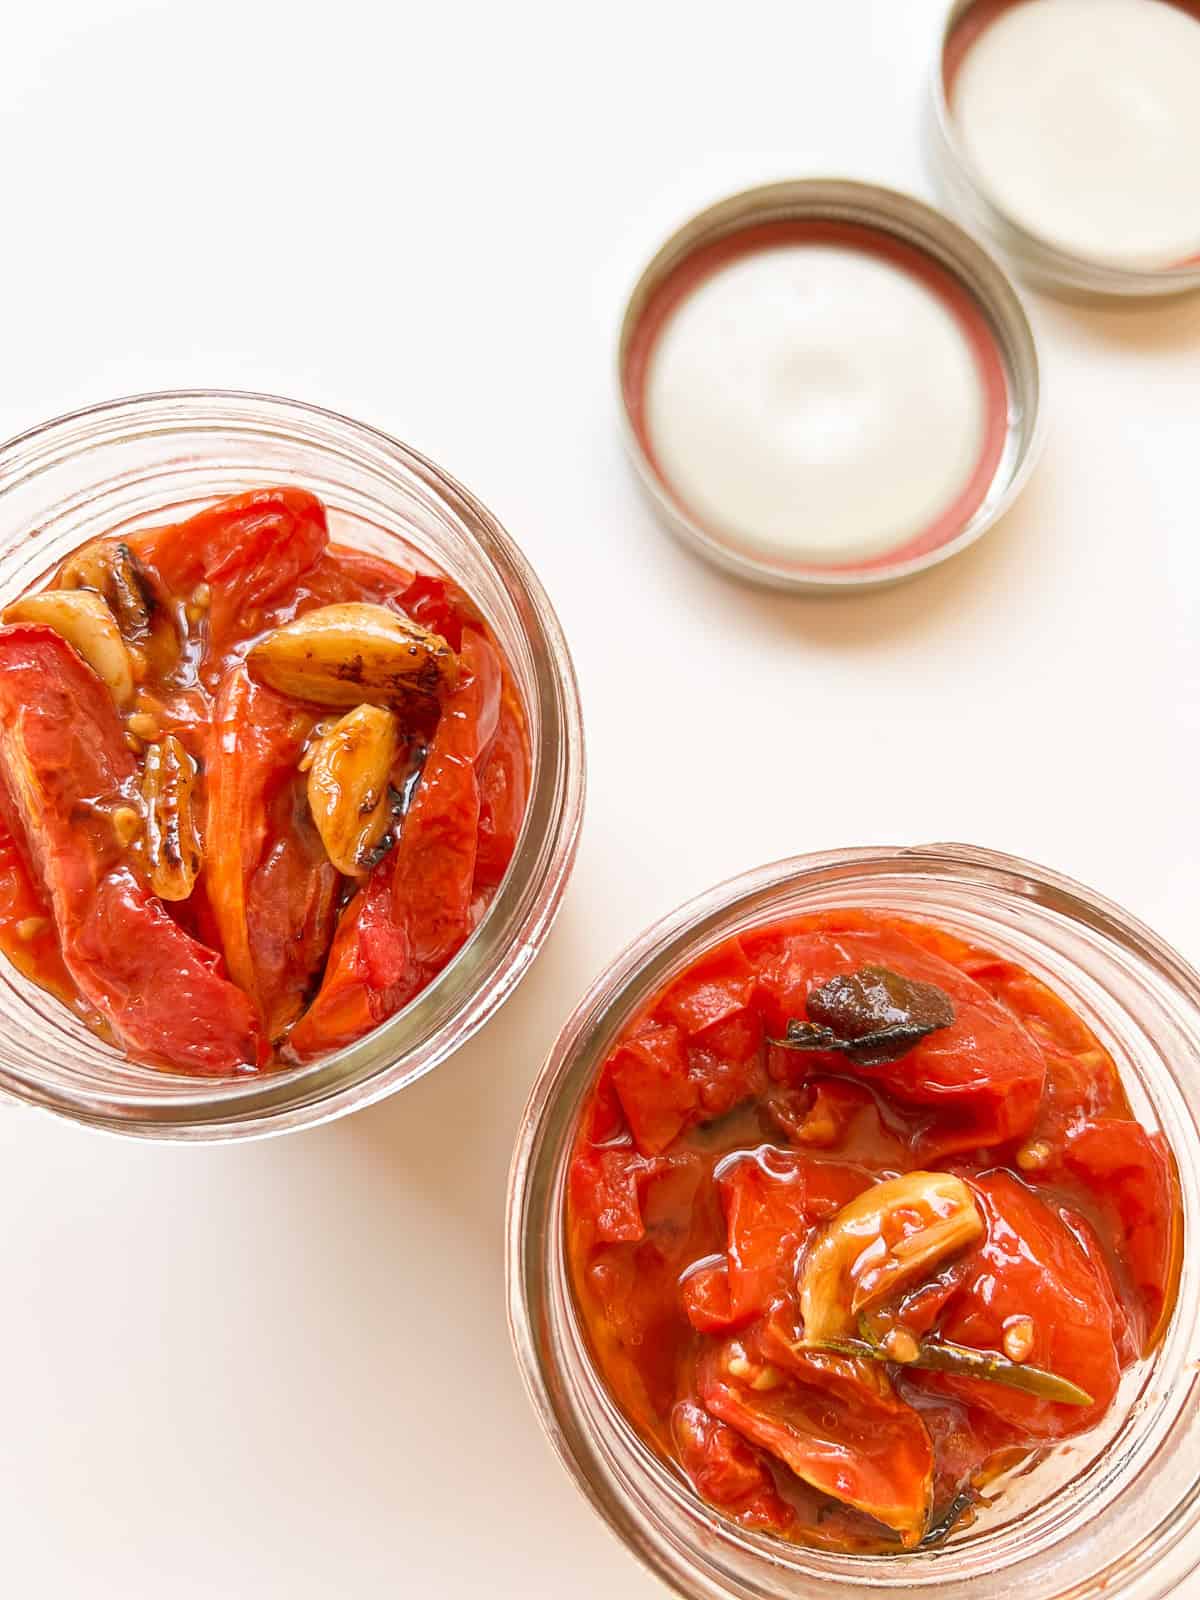
Before freezing, make sure chunkier foods, like these roasted tomatoes, are pushed down to the lowest fill line.
Feeling a bit nervous? Try this first time hack
If you don’t yet have experience freezing foodstuffs in glass jars, you can also choose to let the jars and their contents freeze before putting the lids on, which reduces pressure when the food freezes and expands. However, leaving generous headspace room reduces the need to do this without risk of cracking your jar, but you may feel better using this hack on your first try. Once the jar’s contents are frozen, and you can see that there was enough room for expansion because of the amount of headspace you left in the jar, you can rest easy and just pop the lids on.
Defrosting frozen filled jars
To defrost your frozen filled jars, just place the jars onto the counter the morning of the day you want to use them, and by dinner time they should be totally defrosted and ready to use. You can also put the frozen jars into the fridge to defrost a day or two before if you are planning ahead. I don’t recommend microwaving or otherwise heating a jar with frozen contents in case the rapid temperature change leads to breakage.
A final note of reassurance
Of the dozens and dozens of times, maybe hundreds of times, that I have frozen sauces, broths, soups, curries, and stews in glass jars, I have rarely ended up with a cracked jar. And on the unusual occasion that this has happened, it is almost always because I wasn’t paying attention and I simply overfilled the jar. In the case of a cracked jar, you will have to throw out the jar and its contents for safety reasons, but in my experience, if you follow the simple practice of cooling your jars and their contents, leaving enough headspace, and sticking to straight sided jars, you will have success all of the time.
Looking for recipes that freeze well in glass jars?
Many prepared recipes, from roasted tomatoes to applesauce, broths, and soups are great candidates for freezing in jars:
- Smoky Herbed Split Pea Soup (Instant Pot Friendly)
- Oven Roasted Tomatoes
- Roasted Tomato and Garlic Soup with Pan-Crisped Croutons
- Ginger and Vanilla Applesauce
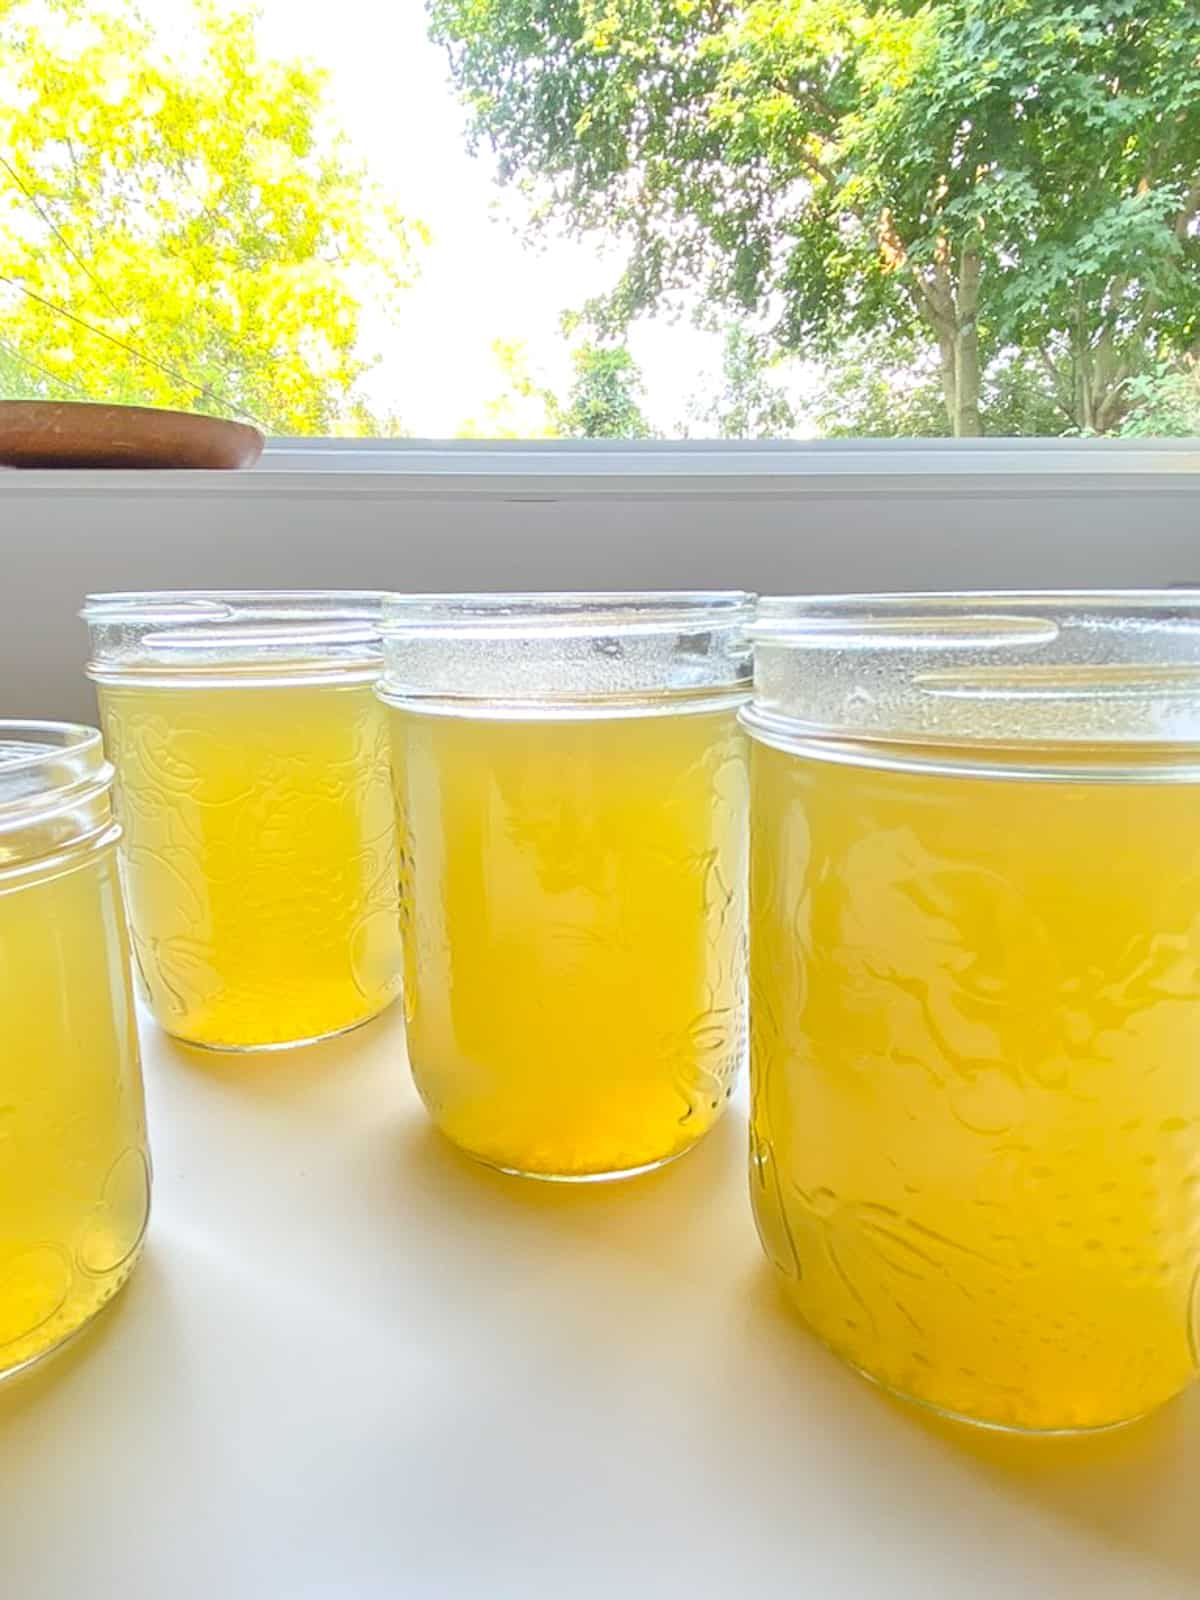
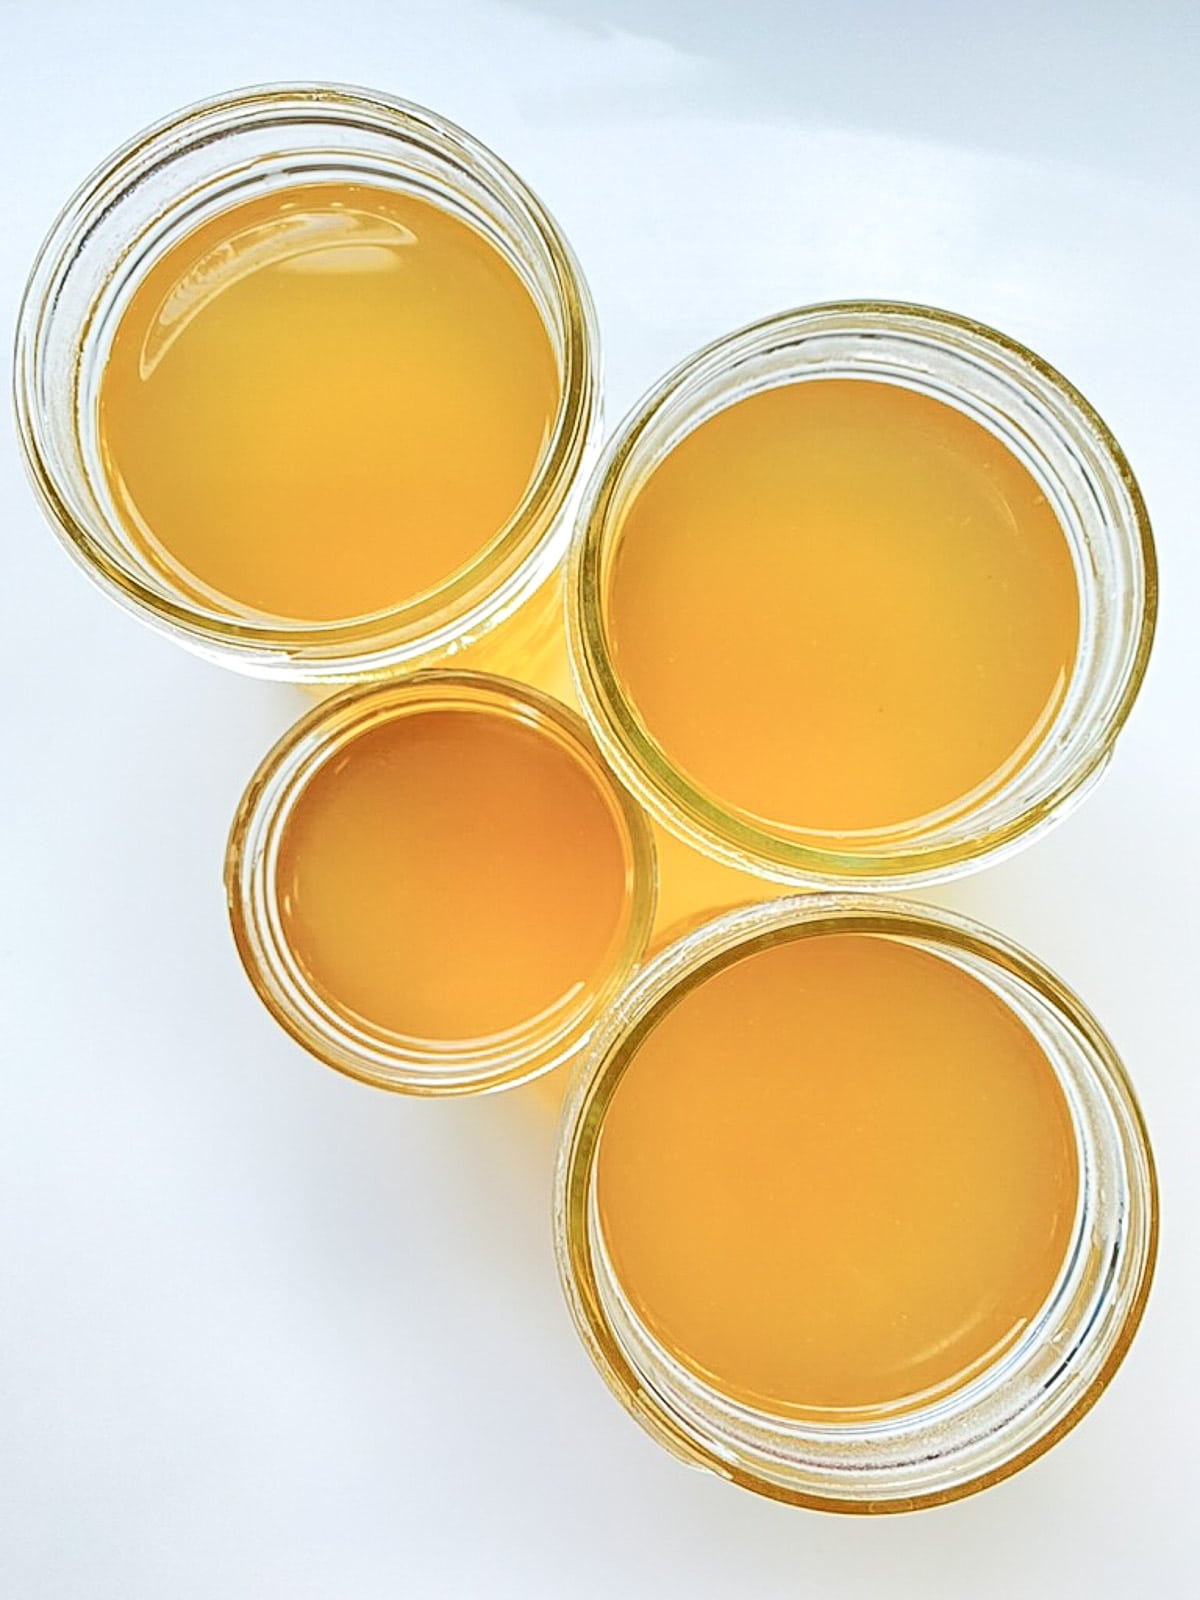
- Corn Broth (Instant Pot Friendly)
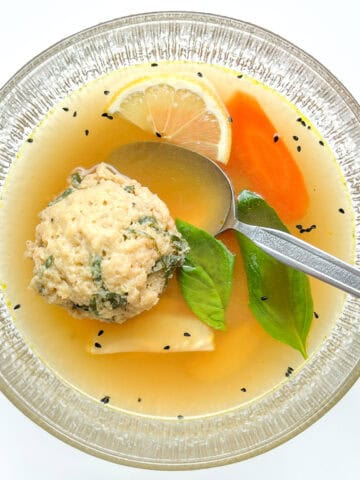
- Vegetarian Matzo Ball Soup with Roasted Parsnip, Ginger, and Basil Broth (Instant Pot Friendly)
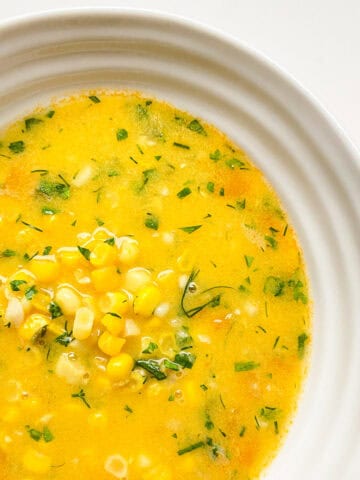
- Corn Soup with Ginger and Dill
- Rhubarb Cordial and Rhubarb Butter, with Hibiscus and Vanilla


Leave a Reply