[Note: I don't consider myself an expert, just someone who loves growing edible plants and enjoys sharing what I have learned with others, as so many others have done for me.]
If you’re curious about the Square Foot Gardening method, or ready to start your own journey growing things, this article provides an overview of the three main steps to consider when starting your own Square Foot Garden. If you are not yet familiar with the Square Foot Gardening method, you may wish to start with this explanatory article before reading on. Otherwise, jump in and continue on!
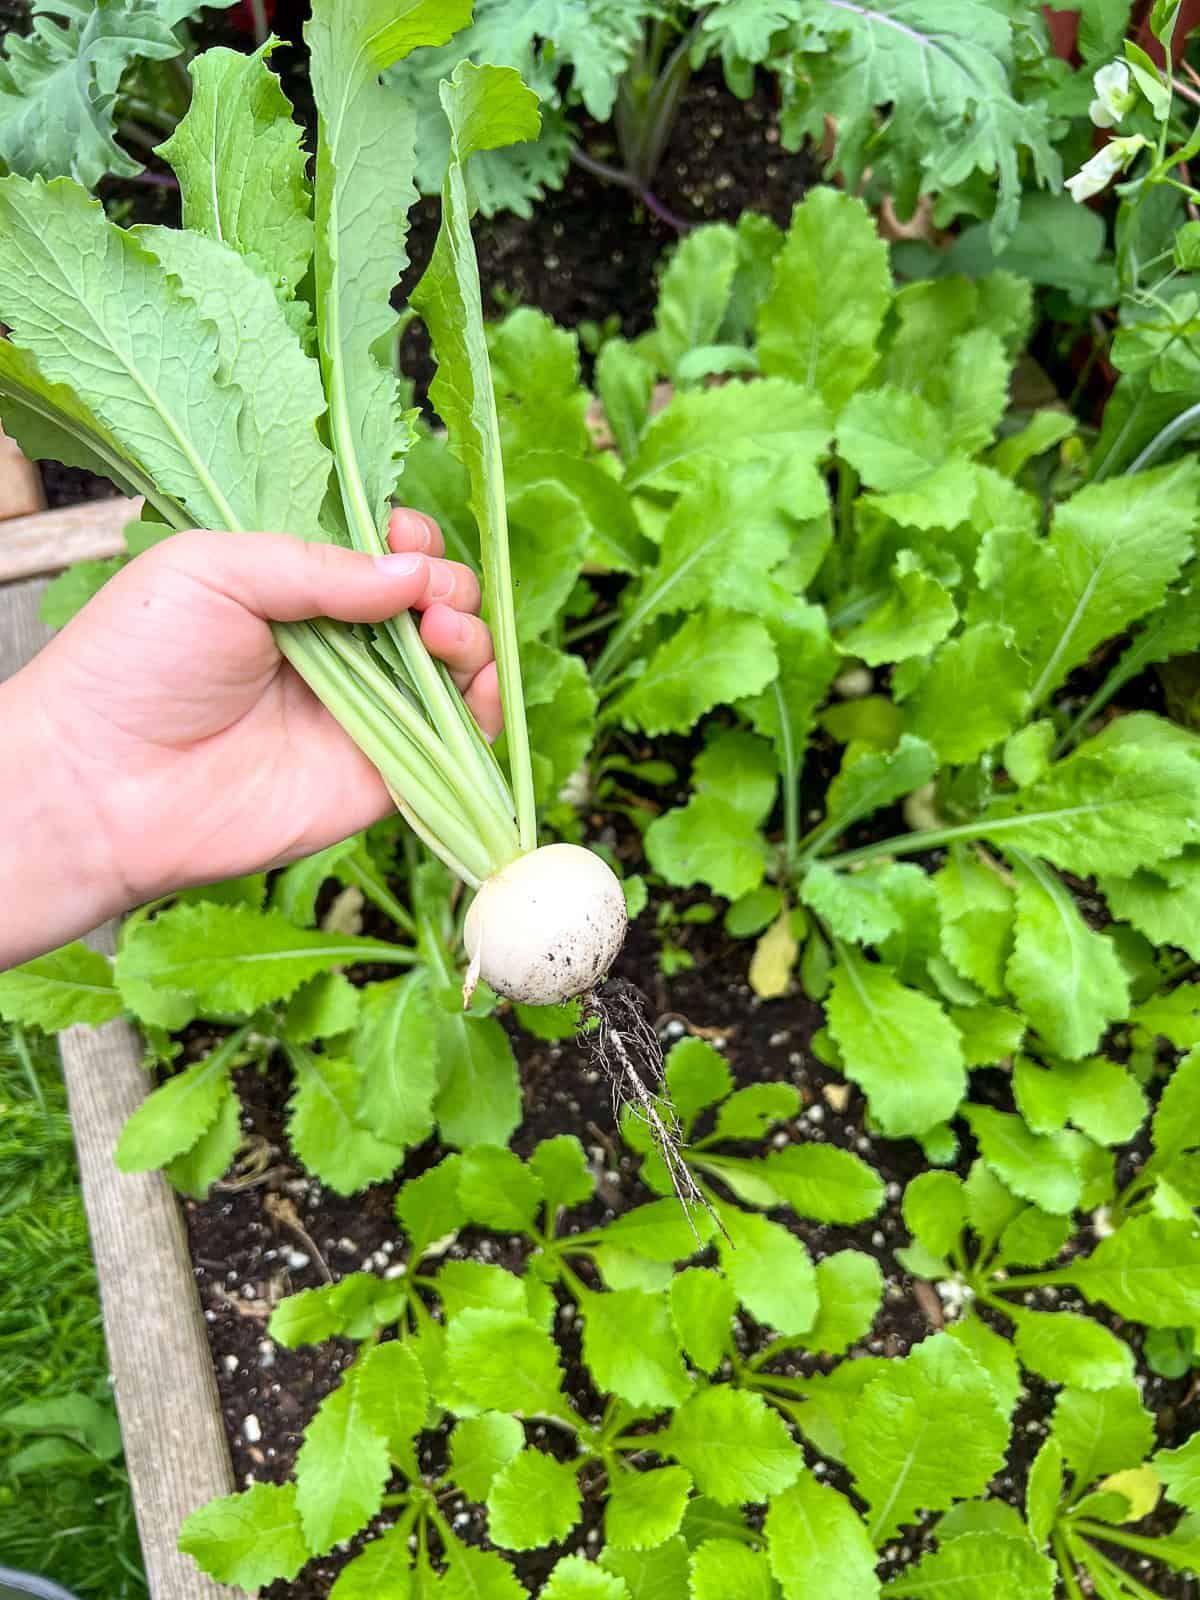
There is an undeniable magic in growing and eating plants that you have tended to, reared, and harvested with your own hands.
Jump to:
My interpretation of SFG
While it is not imperative, at some point you may also wish to grab a copy of All New Square Foot Gardening. This extensive book is useful to have on hand as you set about to complete the three steps described below to establish your own Square Foot Garden (SFG). I practice the SFG method based on my own modified interpretation of the method, based on the experience of what has worked for me.
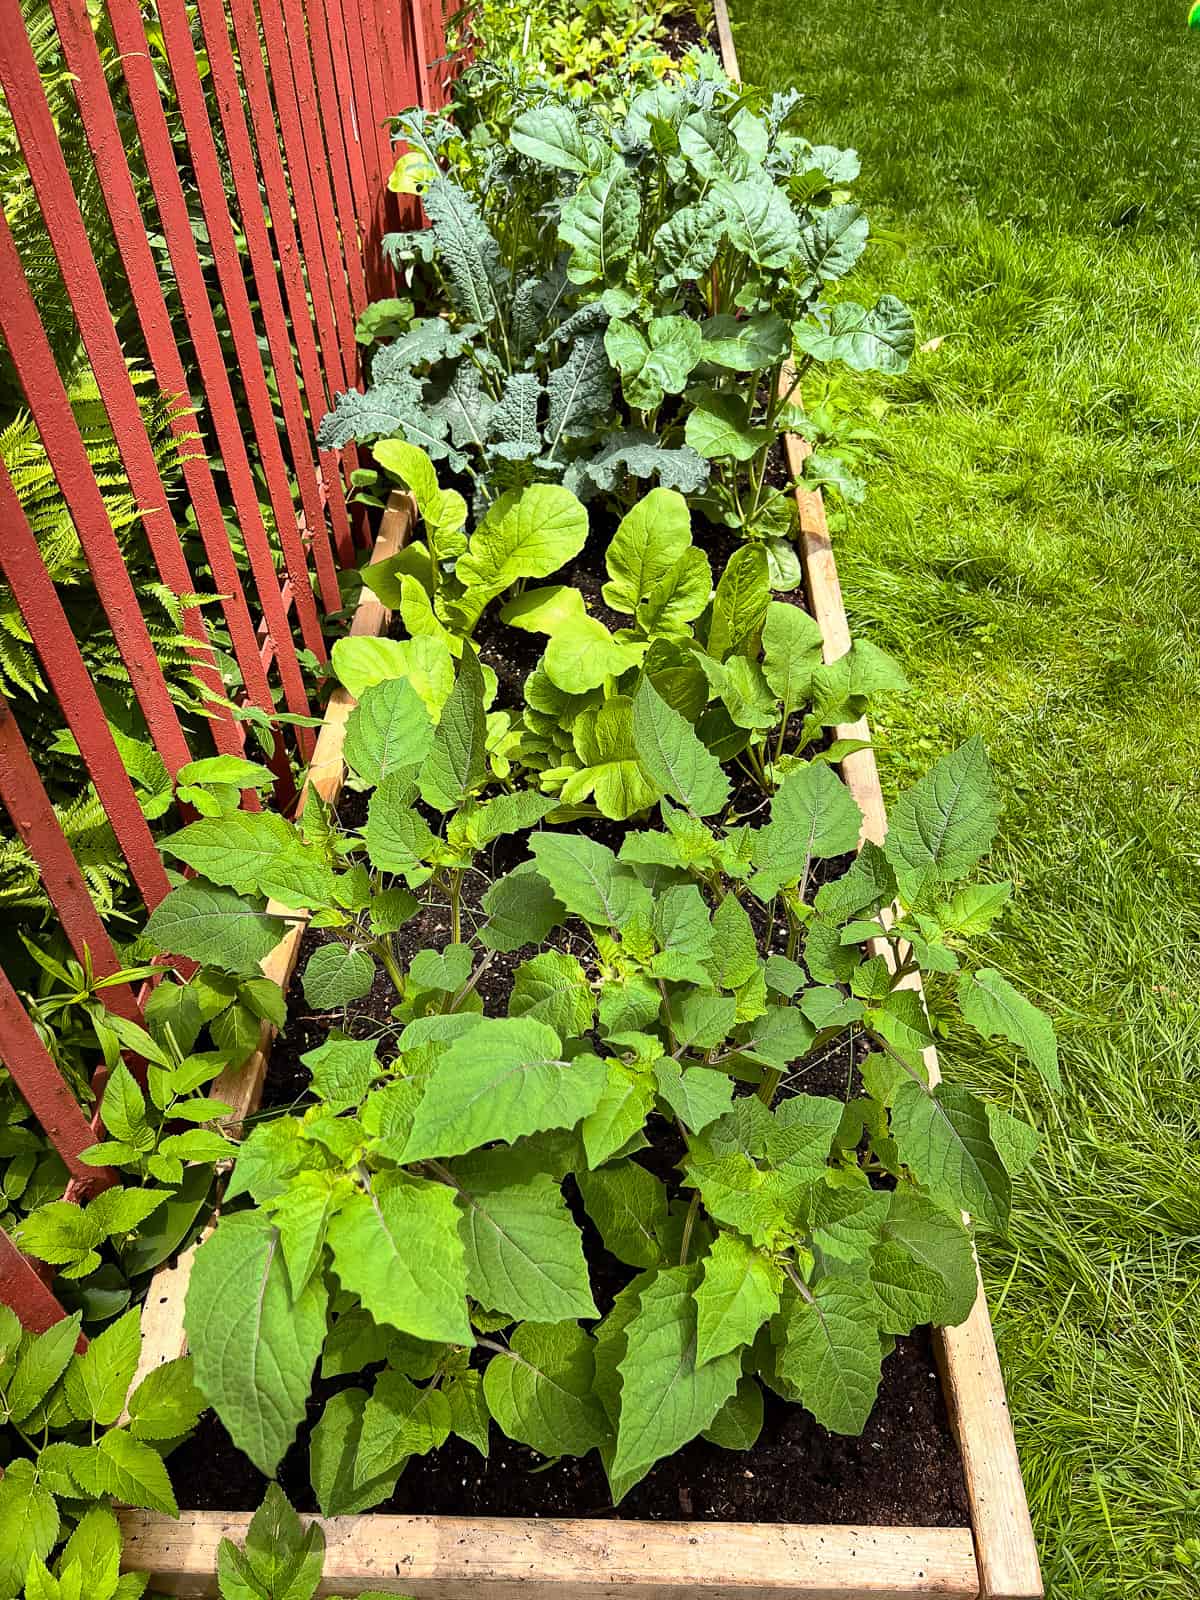
Plants grown in the SFG method are grown with more density than you may be used to seeing. This spacing system allows growers to maximize their growing space, reduce the amount of weeding, use less water, and produce more harvests than traditional spacing methods.
From one gardener to another
An important part of starting and maintaining my own Square Foot Garden has been the helpful and encouraging advice offered to me by other gardeners. Understanding what other growers have considered in creating their gardens helped me transform my dreams of growing things a reality. It is my distinct pleasure and honor to share my own story and ideas here, adding to this venerable word of mouth tradition.
From experience I think the most important element overall to keep in mind is to start modestly. Avoiding overwhelm from taking on too much right at the start, you can do less to begin with, knowing that you will be building on your successes over time. In my earliest gardening days, I joined a gardening group, and that may also be a great place for you to start. A piece of advice that was shared with me in my group stays with me to this day: do what you can, enjoy it, and don’t overthink it!
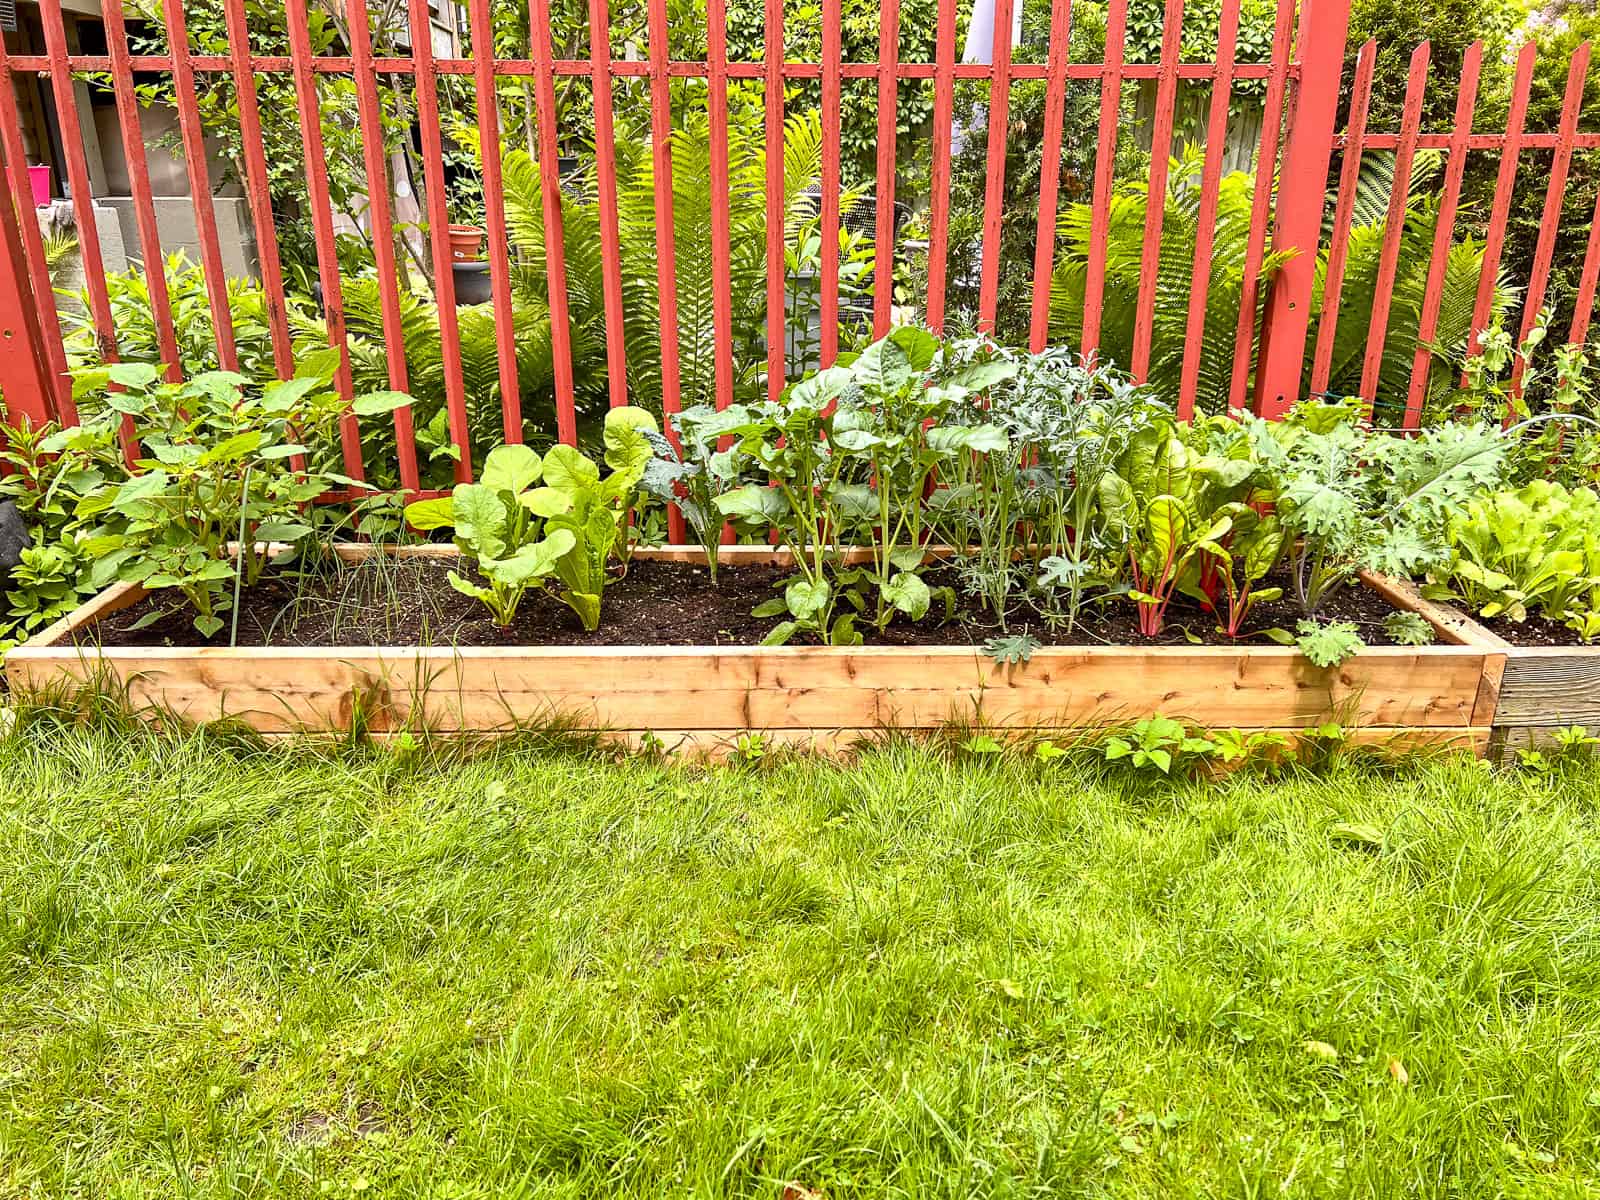
Another season's raised bed planted in the Square Foot Garden method, filled to the brim with greens, radishes, and onions.
1: Setting up your beds or containers
The first step to creating your own Square Foot Garden is to determine what kind of raised bed or container set up you are going to use, and where your garden is going to be located.
When planning your own SFG raised beds or series of containers, the key guiding concept is to make sure that your growing area is no wider than 4’ deep; any wider and most gardeners will have trouble reaching in and across to gather produce from the edge of the bed or container. Unlike traditional gardening methods, you don’t step into or onto your gardening area when gardening.
My own backyard provided enough sunlight and space to install raised beds alongside my backyard fence. However, the neighbourhood where I reside has an industrial past and I didn’t trust the soil quality enough to grow edible plants directly in the ground. The SFG method provided the solution I needed, placing my growing space above ground level, using trusted contaminant free soil to fill my raised beds and containers.
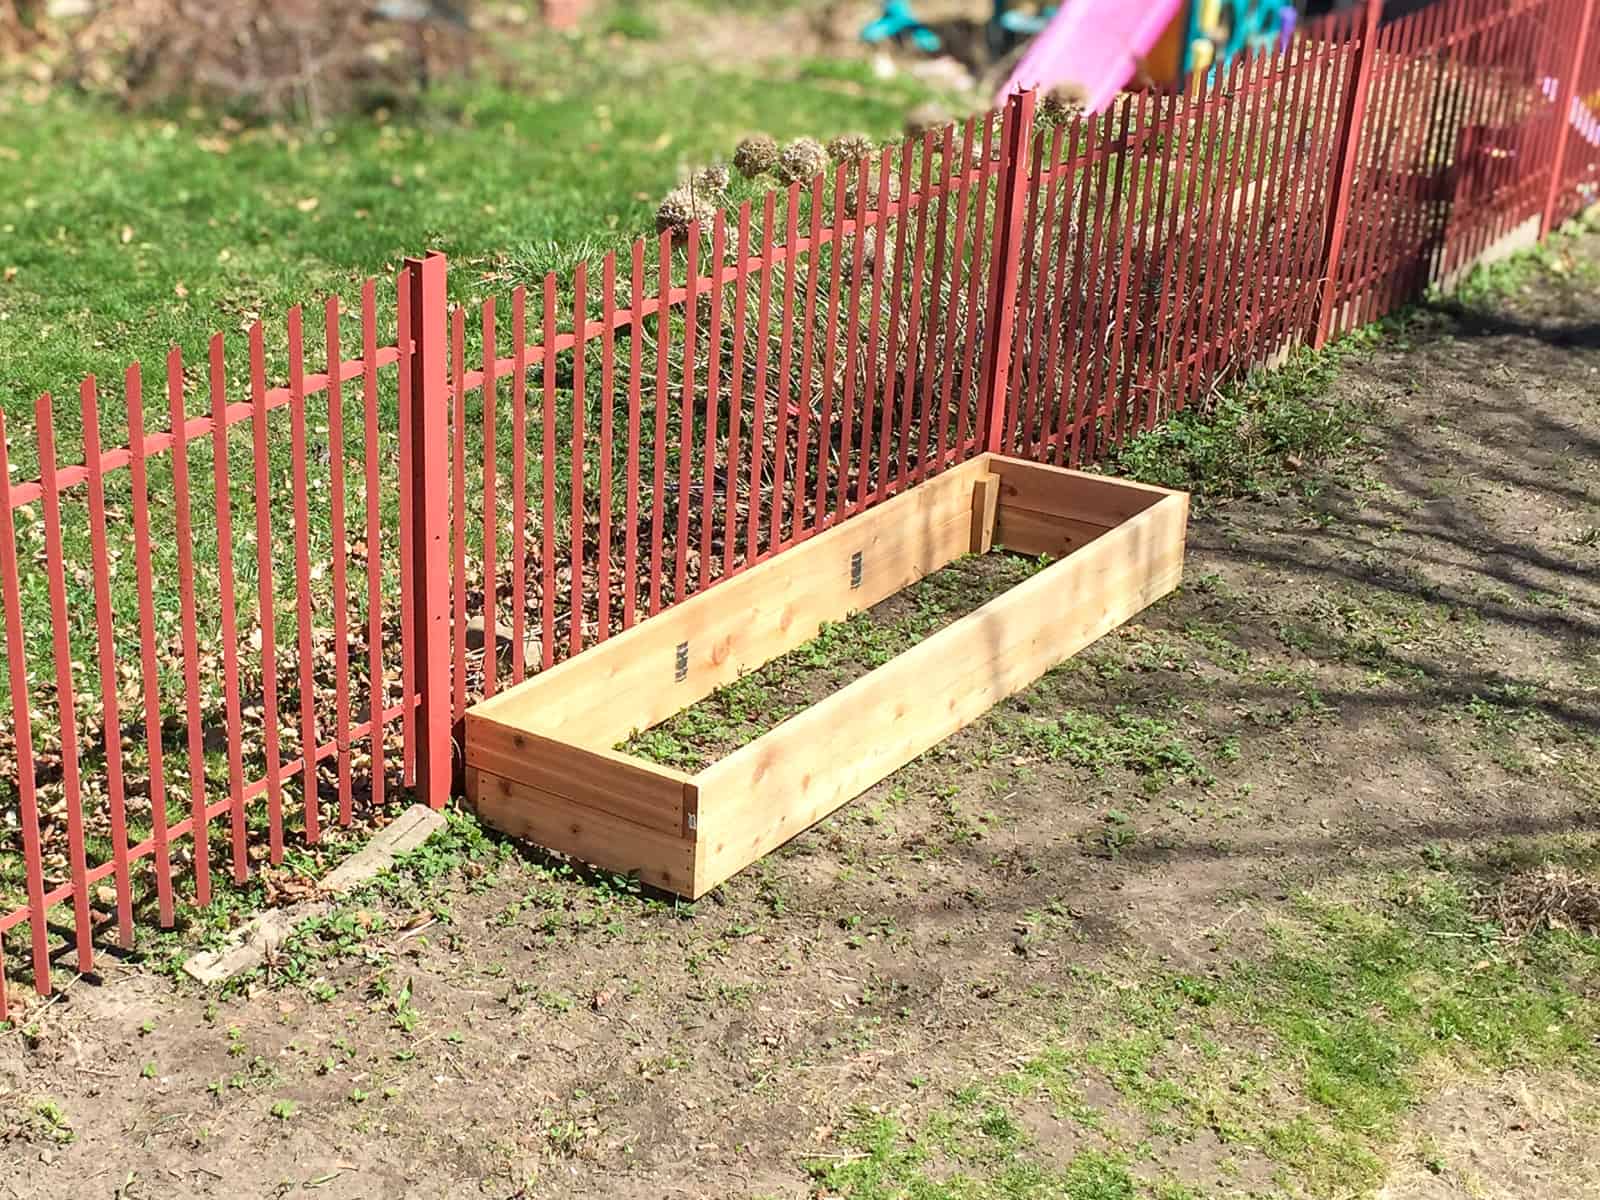
Before I permanently set my raised beds in place, I tested out their placement in my chosen location before levelling them off, critter proofing the bottoms, and filling the beds with soil.
Building your own raised garden beds
Given that I personally had enough backyard space, I decided to build my own customized narrow beds against the fence on one side of my garden, where exposure to the sun was the most ideal. Using a few youtube videos as my guide, I built my first raised bed using untreated cedar planks.
If you decide to build your own raised beds as I did, make sure to strictly avoid pressure treated or chemically treated wood that can leach dangerous chemicals into your soil. Untreated cedar is an ideal, natural and economical building material for raised beds, as it is rot resistant and can potentially last 10 years or more in your garden. Building your own beds also provides you with the opportunity to implement the extra step of critter proofing your raised beds from below, which you can also do with raised bed kits.
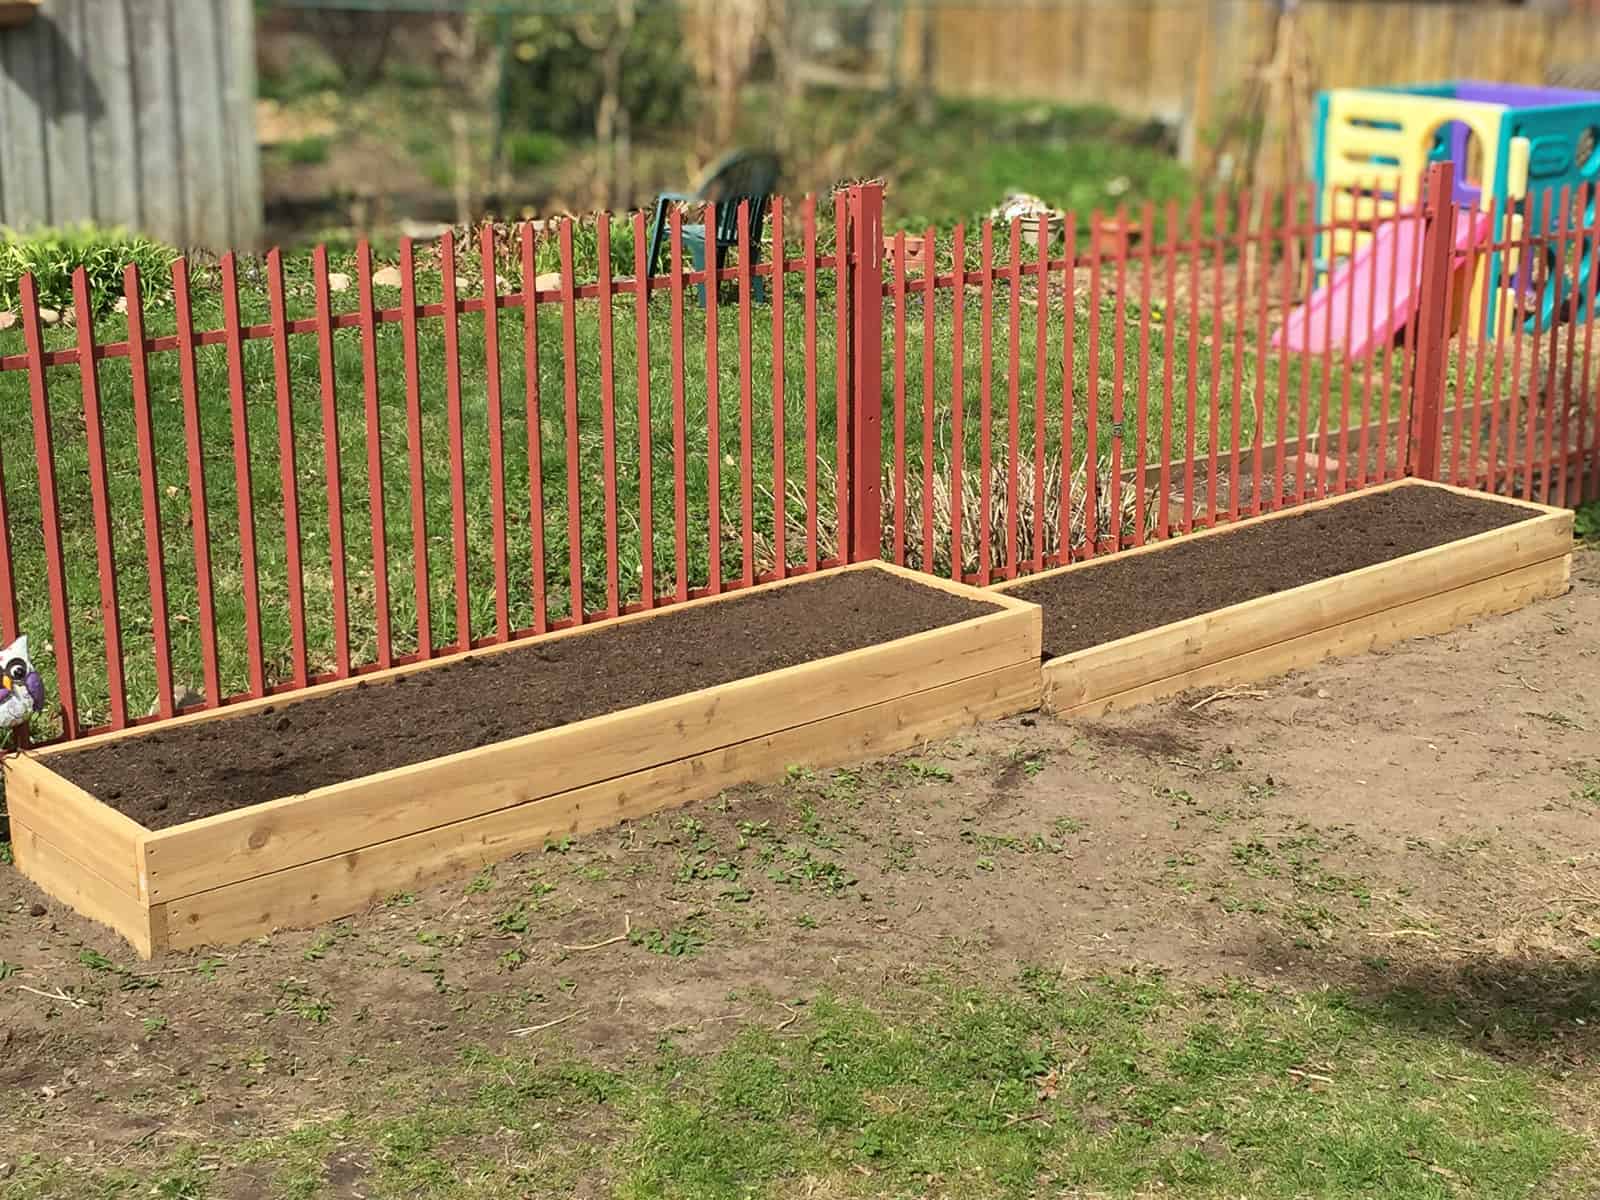
My first two raised beds, joined subsequently by three more beds, were built alongside my backyard fence. This location made the most sense for my garden; out of the way and with the most light exposure.
My personal raised bed solution
As my raised beds were only accessible from one side, I needed to make sure I could easily garden without having to step into the beds, and 2' W was the perfect width for this specific need. Many pre-built or DIY kits are 4' W, with the assumption that they will be placed in an area that is accessible from all sides, so keep dimensions in mind when choosing your set up.
I also chose to build my beds higher than the average raised bed, about 16” H off the ground, which makes for slightly less bending, while also allowing me to grow crops that needed more root depth, without those roots entering the backyard soil under my beds, as that was my specific concern.
In the first year of my Square Foot Garden, I built two 2’ W x 8’ L beds (taking my own advice to start somewhat modestly), followed by 3 more beds over the ensuing years. Now I have a total of 72 square feet of growing space, essentially maxing out as much growing space as I have available to me, as far as raised beds go. I still also have various containers of different sizes stashed in every other nook and cranny around the garden, side path and deck. My garden is a productive mixture of both raised beds and containers, all of which work beautifully with the SFG method.
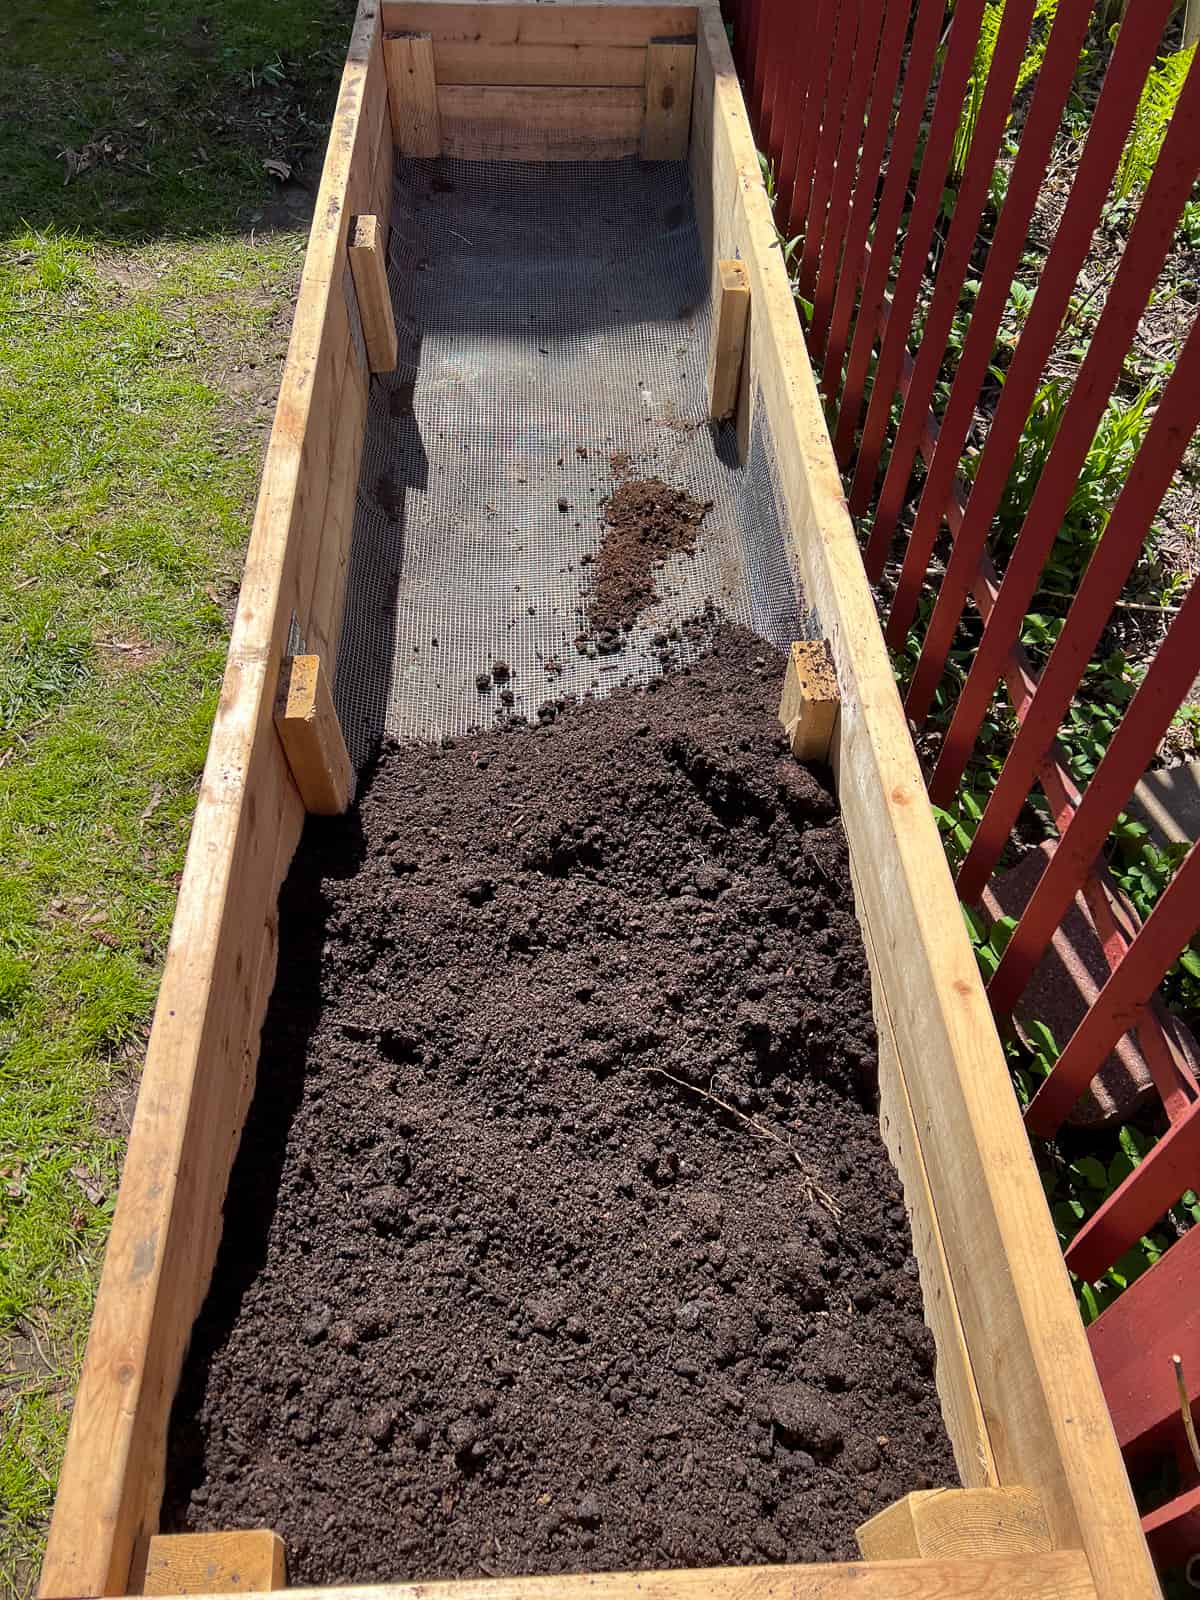
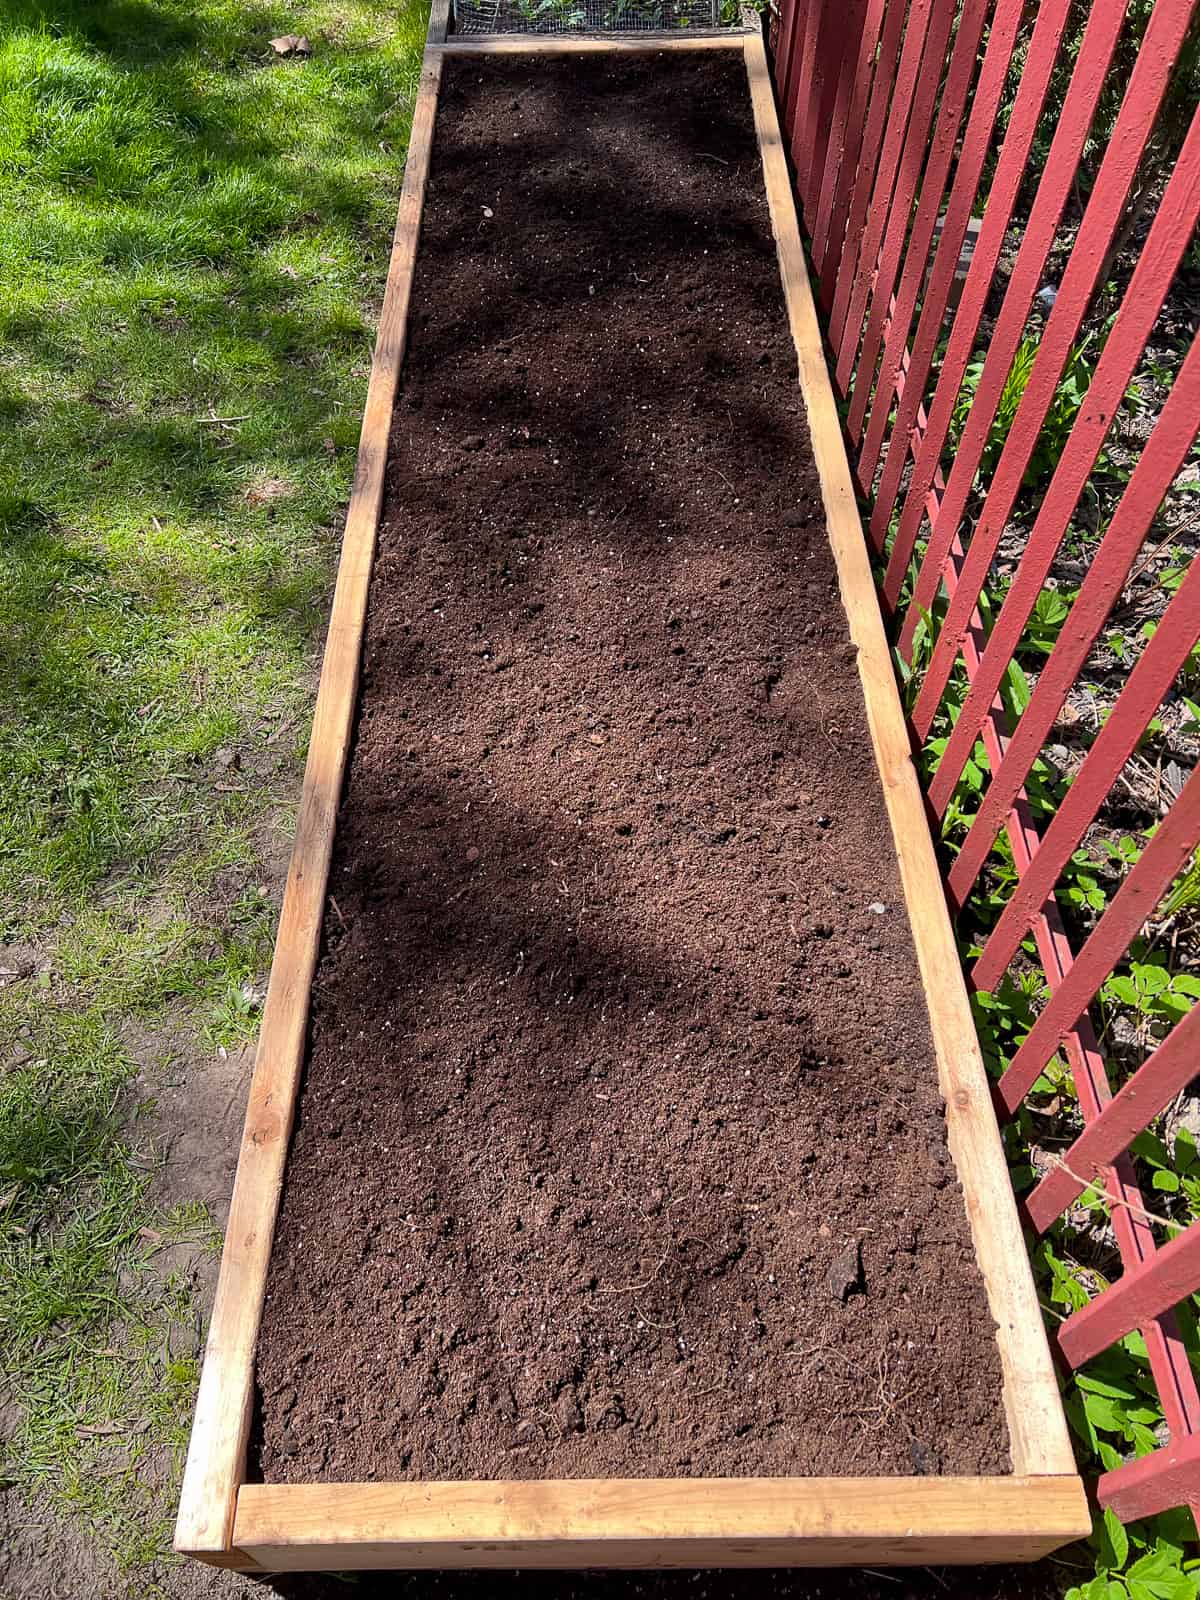
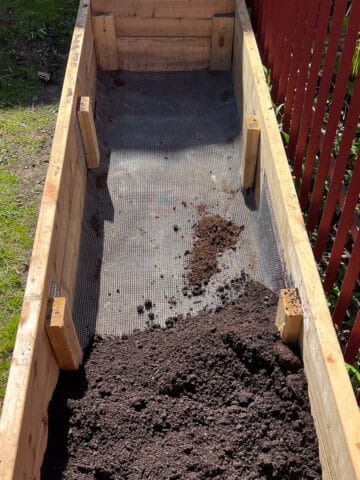
(L) The interior construction of the raised bed and the metal mesh used to line the bottom of the bed is visible, (R) once filled with soil, the bed is ready to be divided into square foot plots and planted.
Garden bed kits and accessibility
In the years since I started my own SFG garden, raised bed kits have become widely available at hardware stores, online, and through specialty vendors. These days, unless you have a specific bed shape in mind like I did, and need to custom build your beds, you can easily set up a raised bed with little or no serious building of any kind.
An increasing number of raised bed kits are completely raised up off the ground, sometimes even on wheels, providing an accessible option to garden from sitting or standing height that doesn’t require bending towards or kneeling on the ground.
If you are using containers instead of raised bed, you can place them on plant stands, use planter boxes on railings, or use any other container set up of your choice that makes gardening physically accessible to you in the outdoor space that you have.
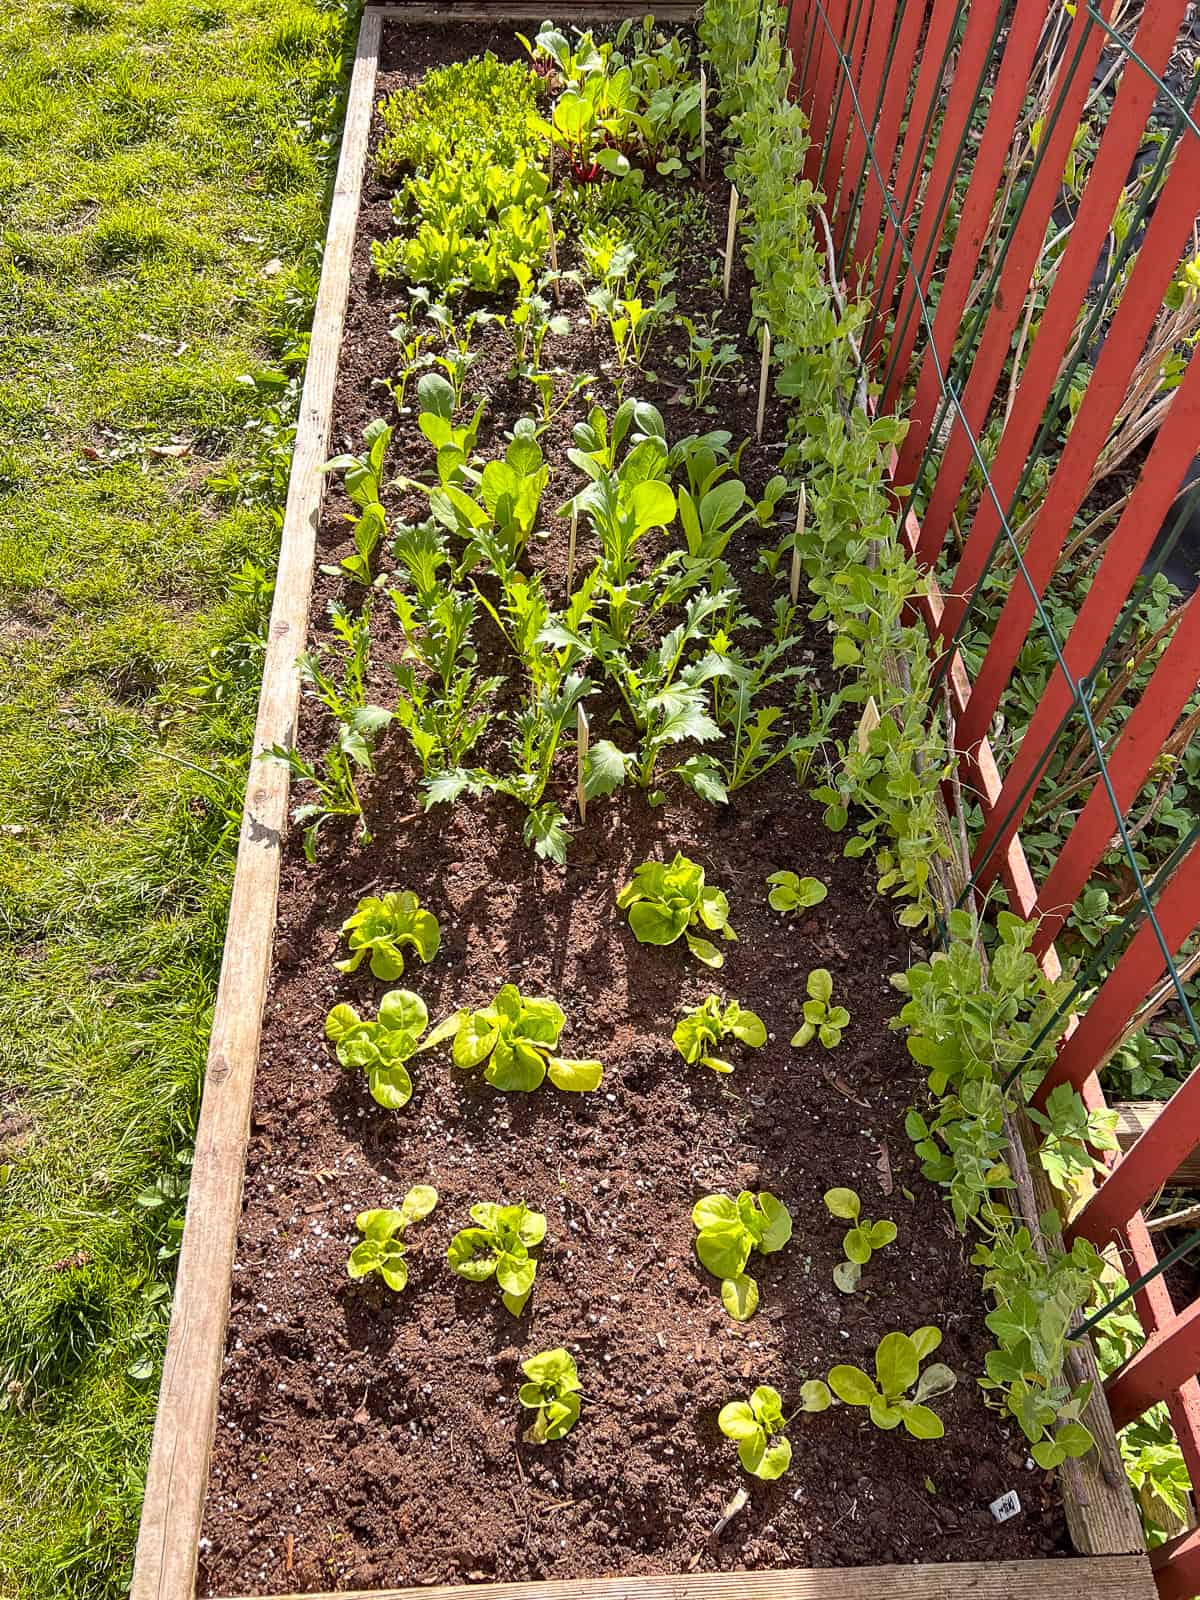
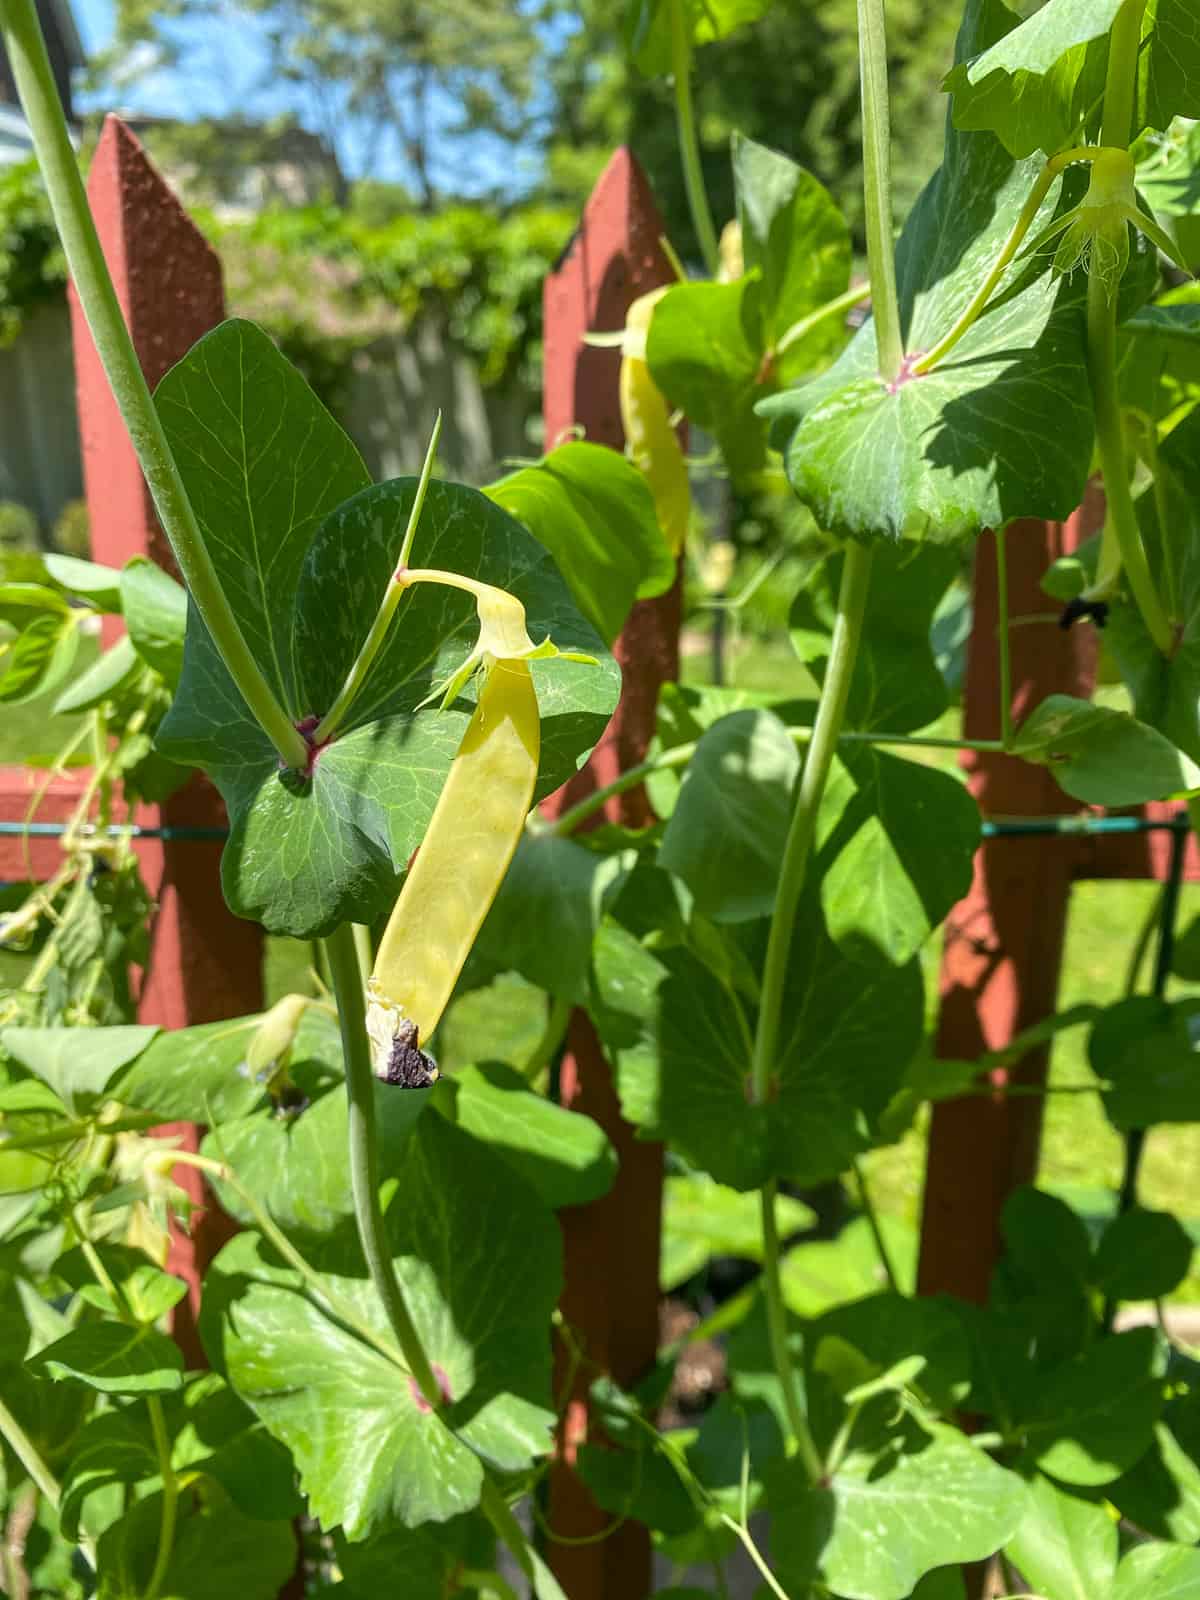
If you happen to have walls or fences near your raised beds or containers you can incorporate those features into your gardening plans; as my beds border a fence, I can easily grow peas using the fence as a trellis.
Using containers
If using containers is the best solution to meet your gardening needs due to space or location issues, your options are widely varied. From different types and shapes of pots, fabric grow bags, window boxes, to moveable planters, so many different kinds of containers can be used for Square Foot Gardening.
Even in my own garden, where I have a number of raised beds, I still use smaller, moveable containers that change location from season to season. SFG really is a great method to mix and match what vessels you use for growing, as all the growing happens above ground whether in a permanent bed or in a moveable container, so the choices are endless.
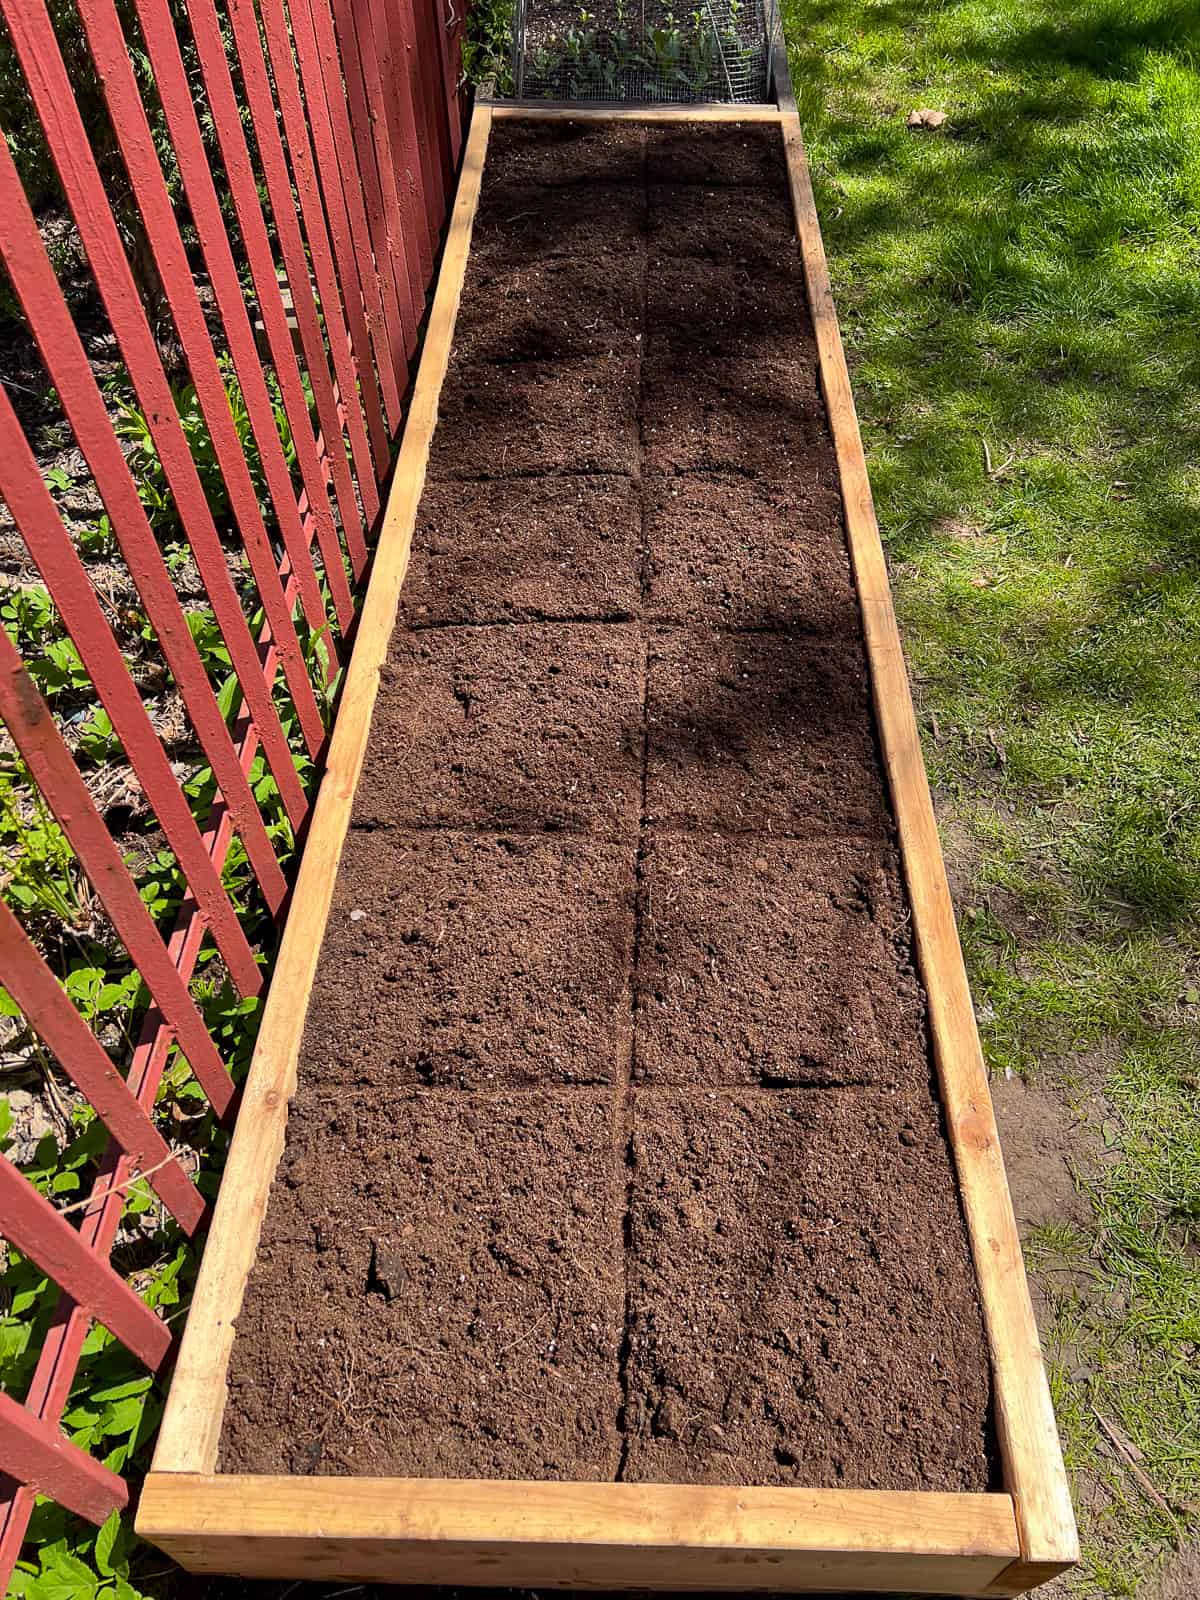
A raised bed divided into Square Foot Gardening section; each square is literally one square foot in measurement, so just use that idea as a guide when choosing other types of containers.
2: Soil
Luckily, before I jumped into setting up my own Square Foot Garden, I was soundly advised by numerous other gardeners to start with the best soil that I could afford. Before this point, not having gardened before, I hadn’t really even thought about what kind of soil to use other than generic bagged supermarket soil, or even what might be in the soil that I might purchase.
What's in your soil?
To set up my first raised beds I needed a large amount of soil, so I did my research, took my fellow gardeners' advice to heart. I contacted the specific soil vendor that many of my compatriots were using based on their ongoing successes. I ordered a full cubic yard of Organic Garden Mix and filled my beds with a mix specifically suited to raised beds. This mix contained beneficial worm castings, mushroom compost, and many other nutrients and microorganisms that would help my garden grow.
As I moved the soil from the huge cubic yard bag by wheelbarrow and filled my new raised beds, I felt comforted knowing that the produce I would hopefully soon be harvesting and sharing with my family would be grown in contaminant free soil.
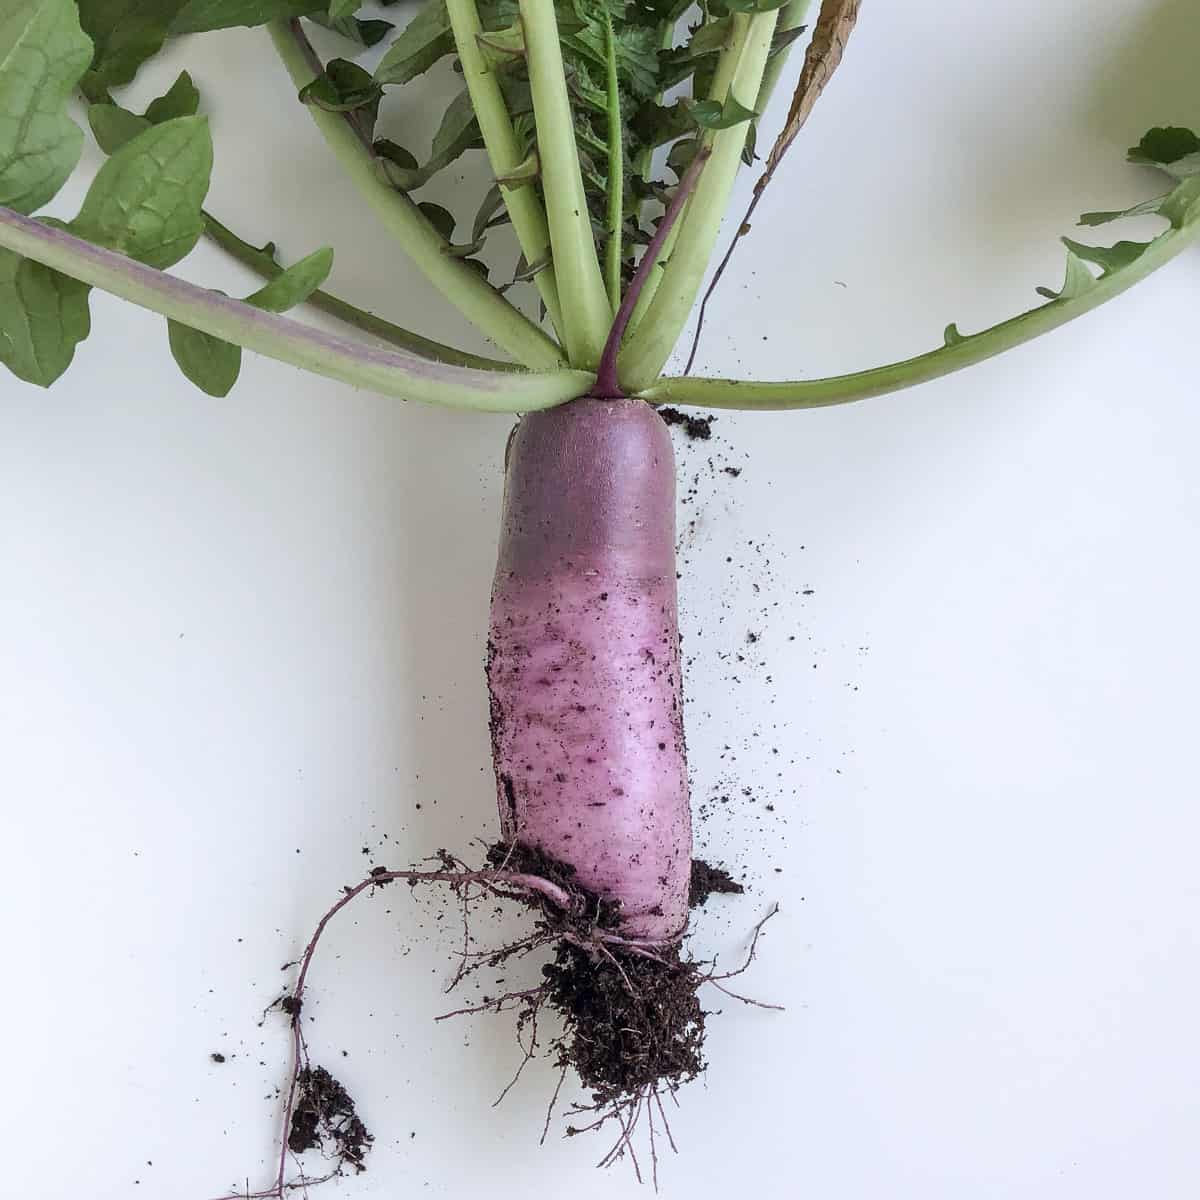
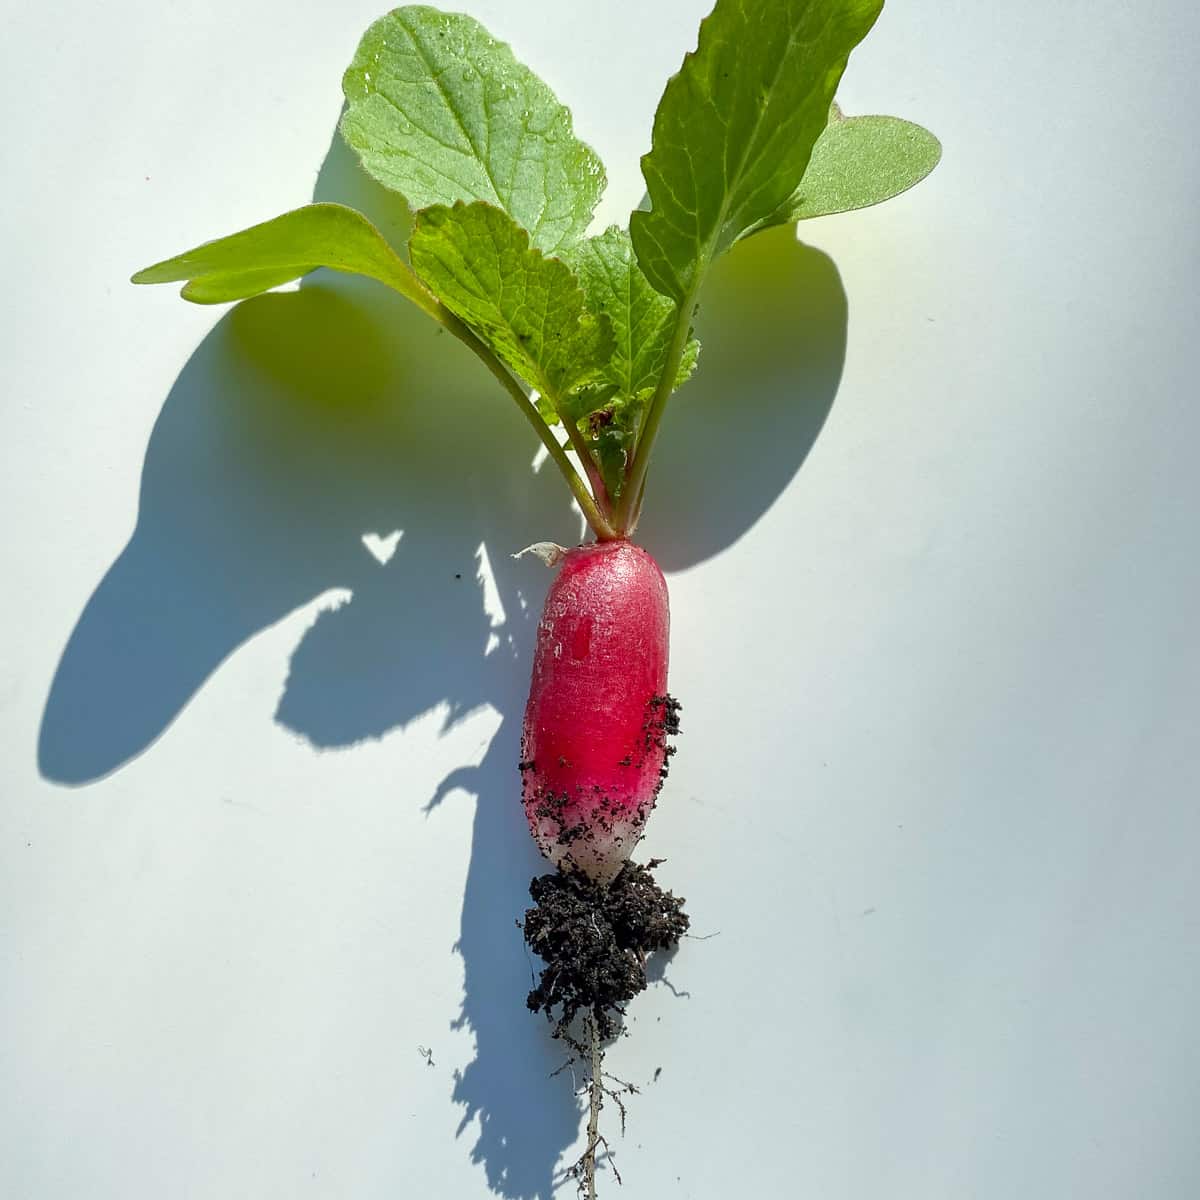
While it may seem obvious, until you start gardening regularly, the contents of your soil, both beneficial and harmful, may not be top of mind.
The benefits of nutrient rich soil
Then came even more benefits that championed the growth of both my plants and my confidence. I planted my seeds and seedlings into the nutrient rich soil, according to the SFG method, and then … I was simply astonished at the profundity and vigor of plant growth, and the success of my plantings during my first year growing edible plants !
This early success, demonstrated by how many bountiful yields I was able to harvest from my small garden that first year, gave me deep satisfaction and helped me build the confidence I needed to keep learning and continuing my journey growing things year after year.
To be sure, filling large raised beds or numerous containers is an investment at the start. In my opinion, the right kind of soil has been the single most important factor in my growing success. Now that my beds are filled, I only need to top them up from time to time with more garden mix or worm castings, and so any soil related expenses have dramatically reduced after the initial bed and container set up.
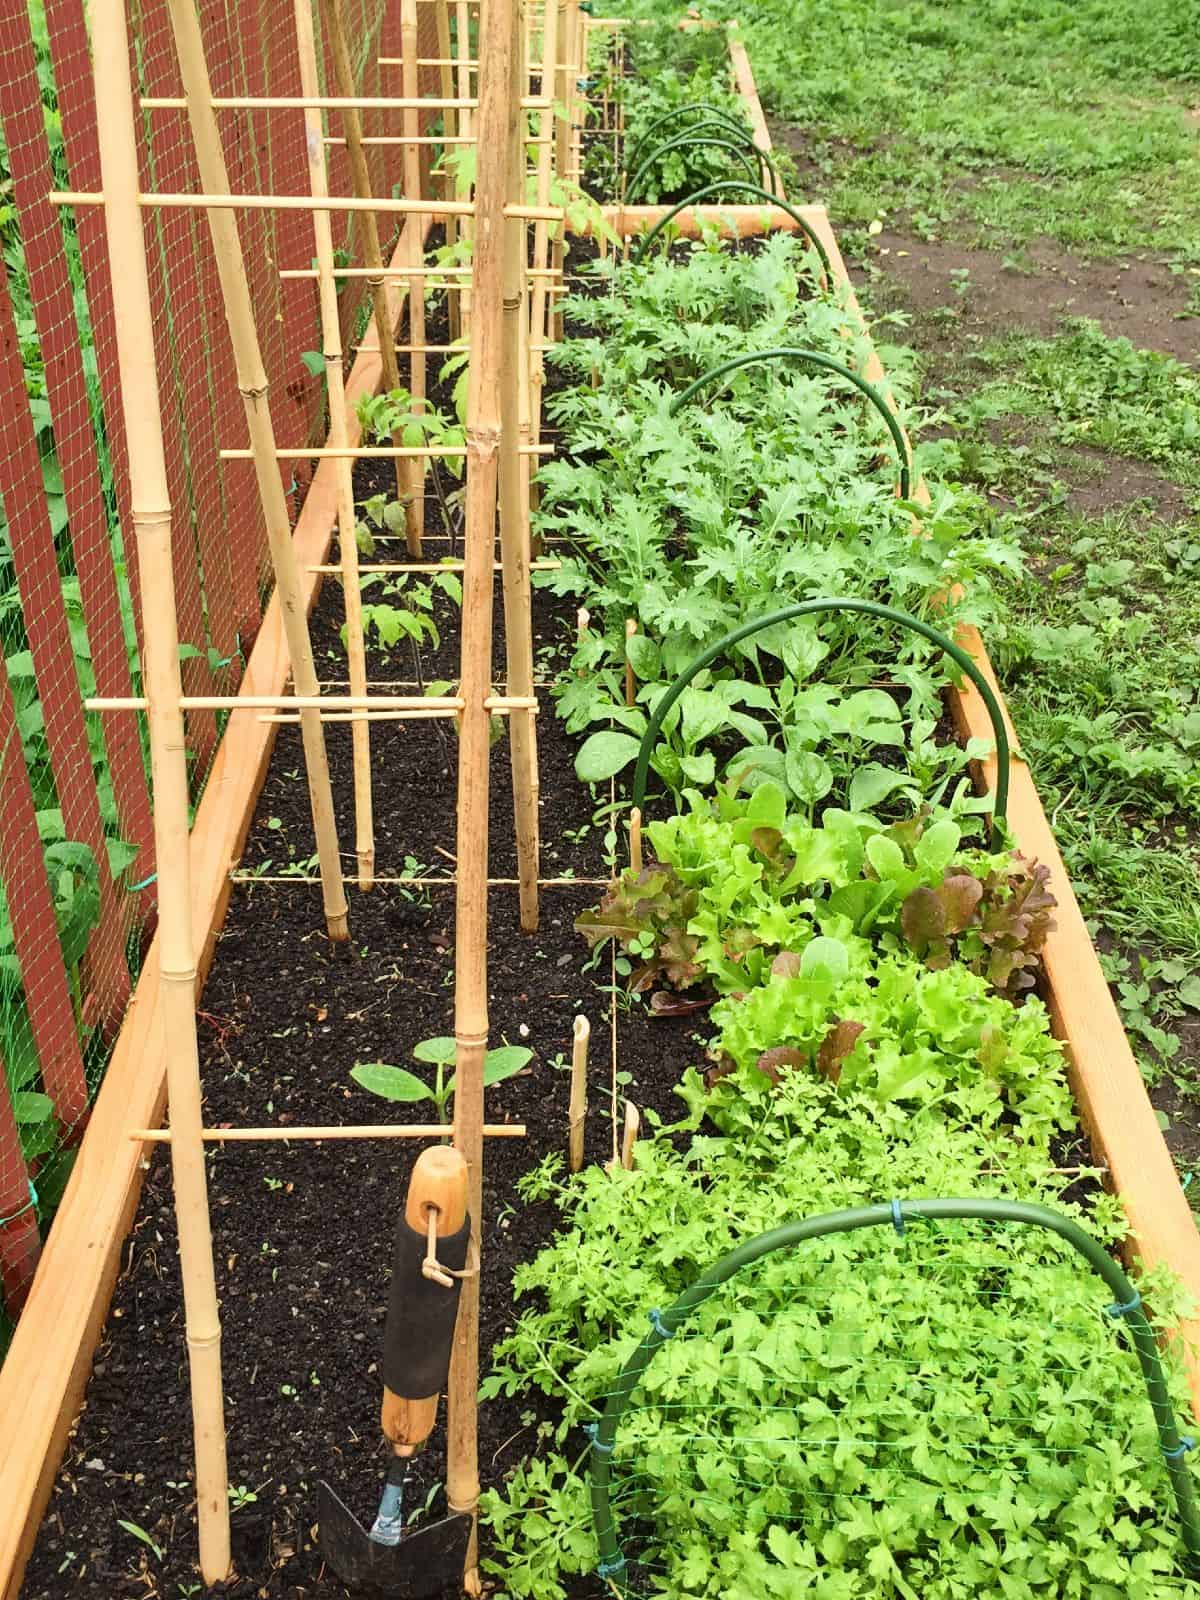
During my first season as a first time gardener, I was beyond thrilled to have created a raised bed filled to the brim with edible plants. In the front row are various kinds of greens growing in their allotted squares, with some tomato plants just visible in the back row.
I would urge anyone starting their own SFG beds or containers to begin with the highest quality soil mix you are able to source and afford - a bigger investment to be sure compared to run of the mill bulk garden soil. I feel I have more than reaped the rewards from starting my beds off with such a high quality and nutrient rich base.
Before you fill your beds, research what is in the soil you are considering using, ask other gardeners, and compare mixes until you find the best mix available to you in your growing area. You can also consider using Mel’s Mix, which is a DIY blend promoted by the SFG Foundation that you can create yourself from bulk components.
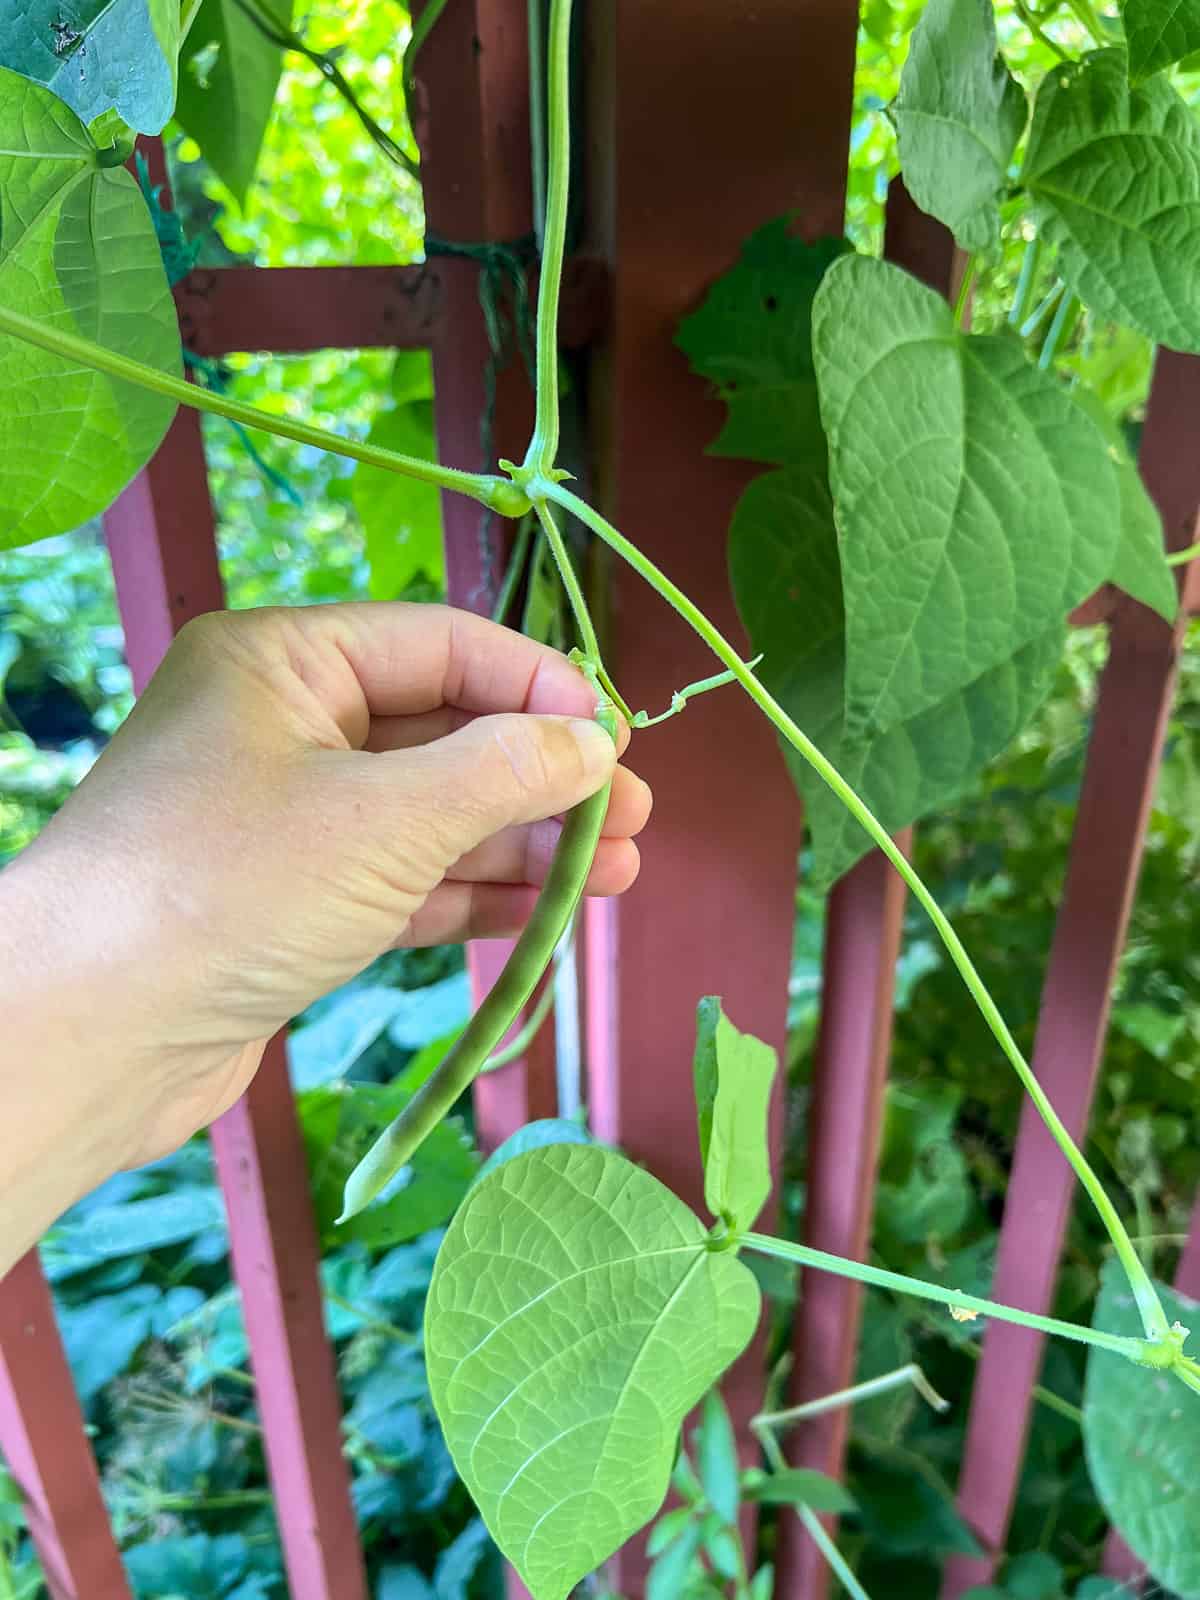
I never fail to be delighted when picking fresh produce right before dinner time.
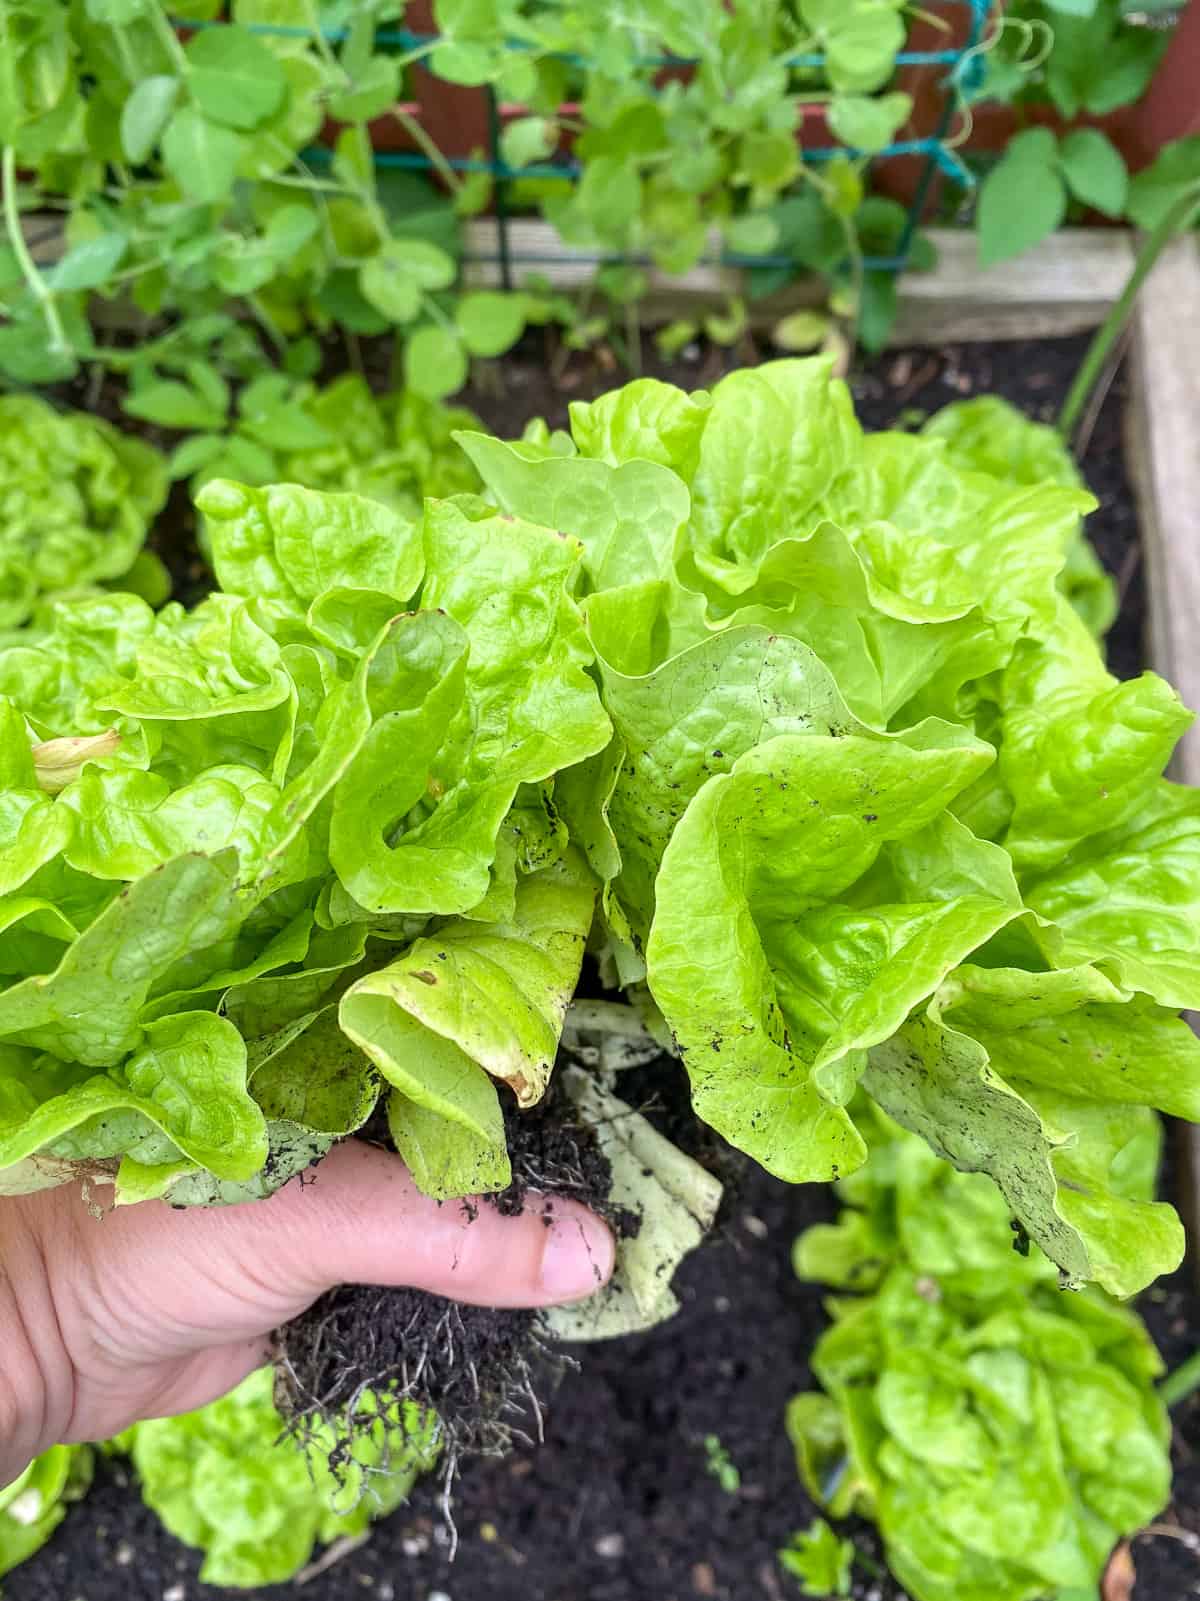
"I grew this!" is the constant and joyous refrain of harvesting the literal fruits and vegetables of one's labour.
3: Creating a square foot grid, and spacing plants
The final step, before starting seeds or planting seedlings in your beds or containers, is to grid off your growing space into square foot sized plots. This method of plant spacing is the very basis of the Square Foot Gardening method.
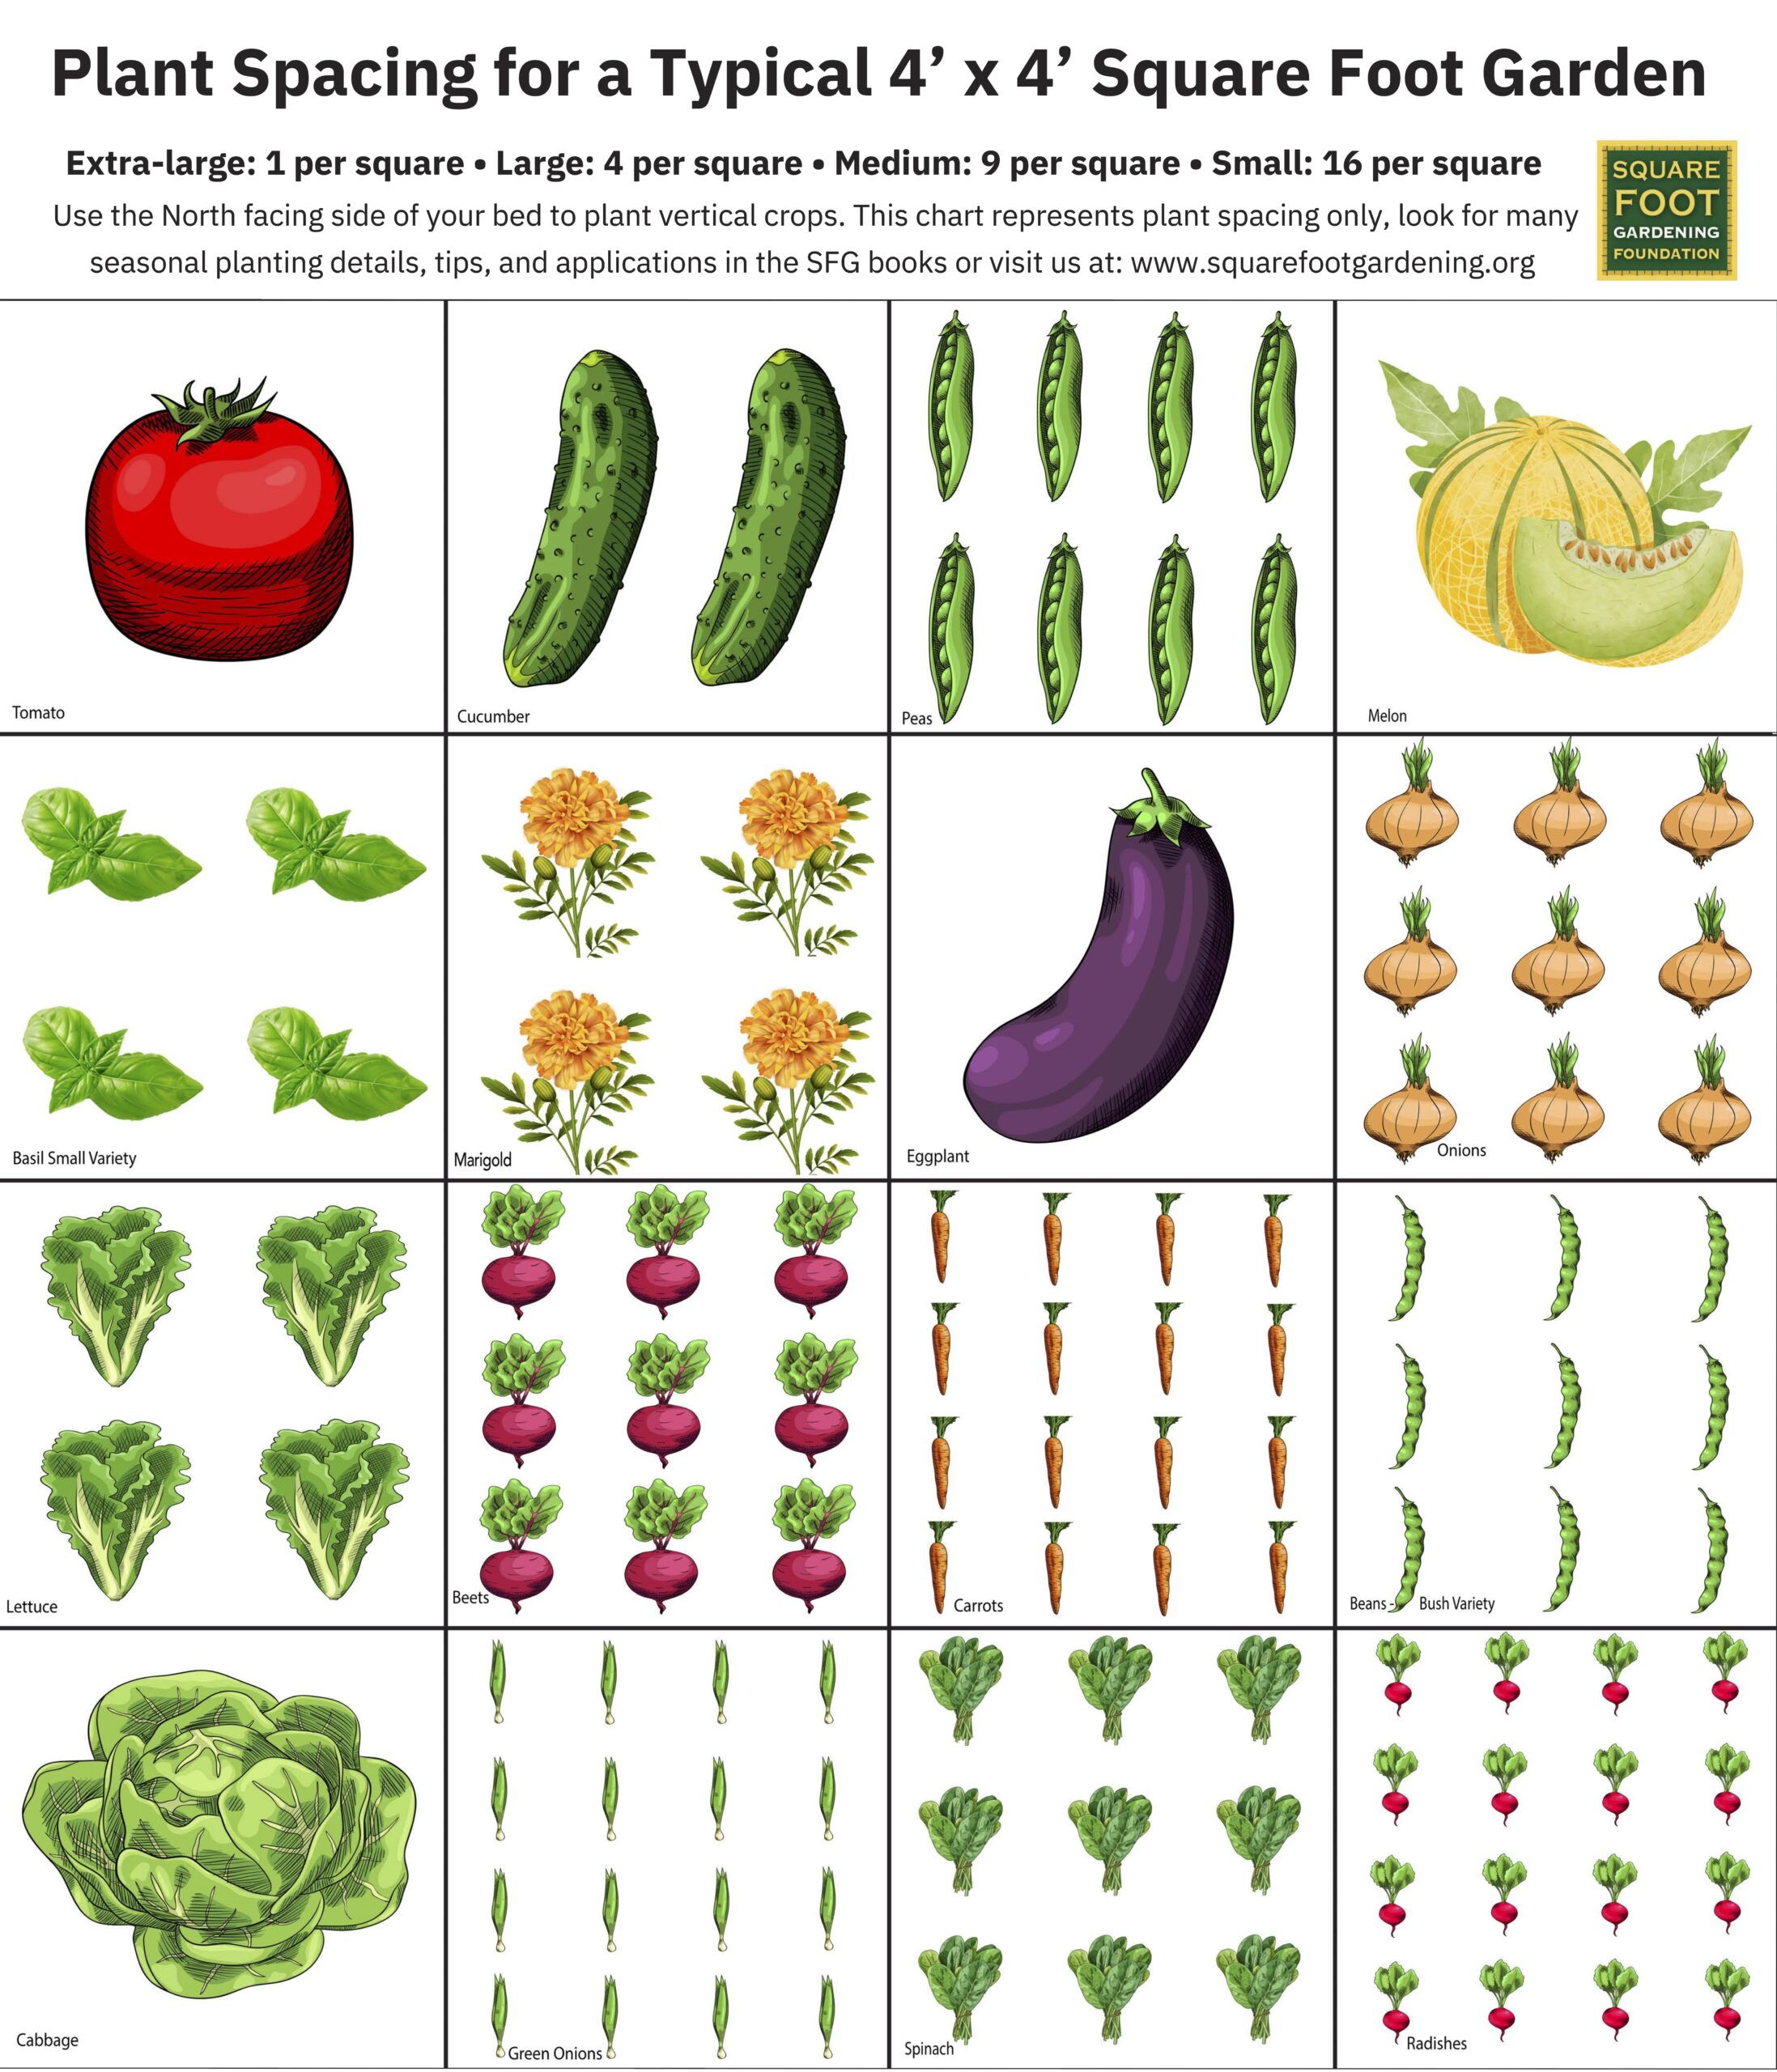
In the SFG method, each square foot sized plot in your garden hosts a certain number of plants depending on plant size, and each plot is subdivided evenly to accommodate a specific number of plants. For example, an extra large plant, such as cabbage, may be planted 1 to a square foot. Large plants such as lettuce may be planted 4 to a square foot. Medium plants such as onions may be planted 9 to a square, and smaller plants such as carrots may be planted 16 to a square foot.
An example of how to think about and visualize plant spacing in a Square Foot Garden regardless of the overall dimensions of your garden. Each square represents a square foot, and the number of plants within that square is the recommended number of plantings for that size of plant. Credit: Square Foot Gardening Foundation.
If you are using raised beds, there are various ways you can establish this grid. For my first year or two using the SFG method I used natural gardening twine to divide my beds into square foot sections. I stapled the twine into place, providing me with a visual and physical guide that would help me space out my plantings.
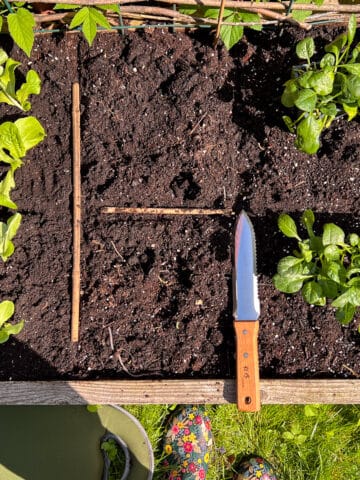
After the first few seasons, as I became more experienced, I began to skip the twine (which didn’t last though the winter) and instead just used a stick to press into the soil and mark out the divisions between square feet.
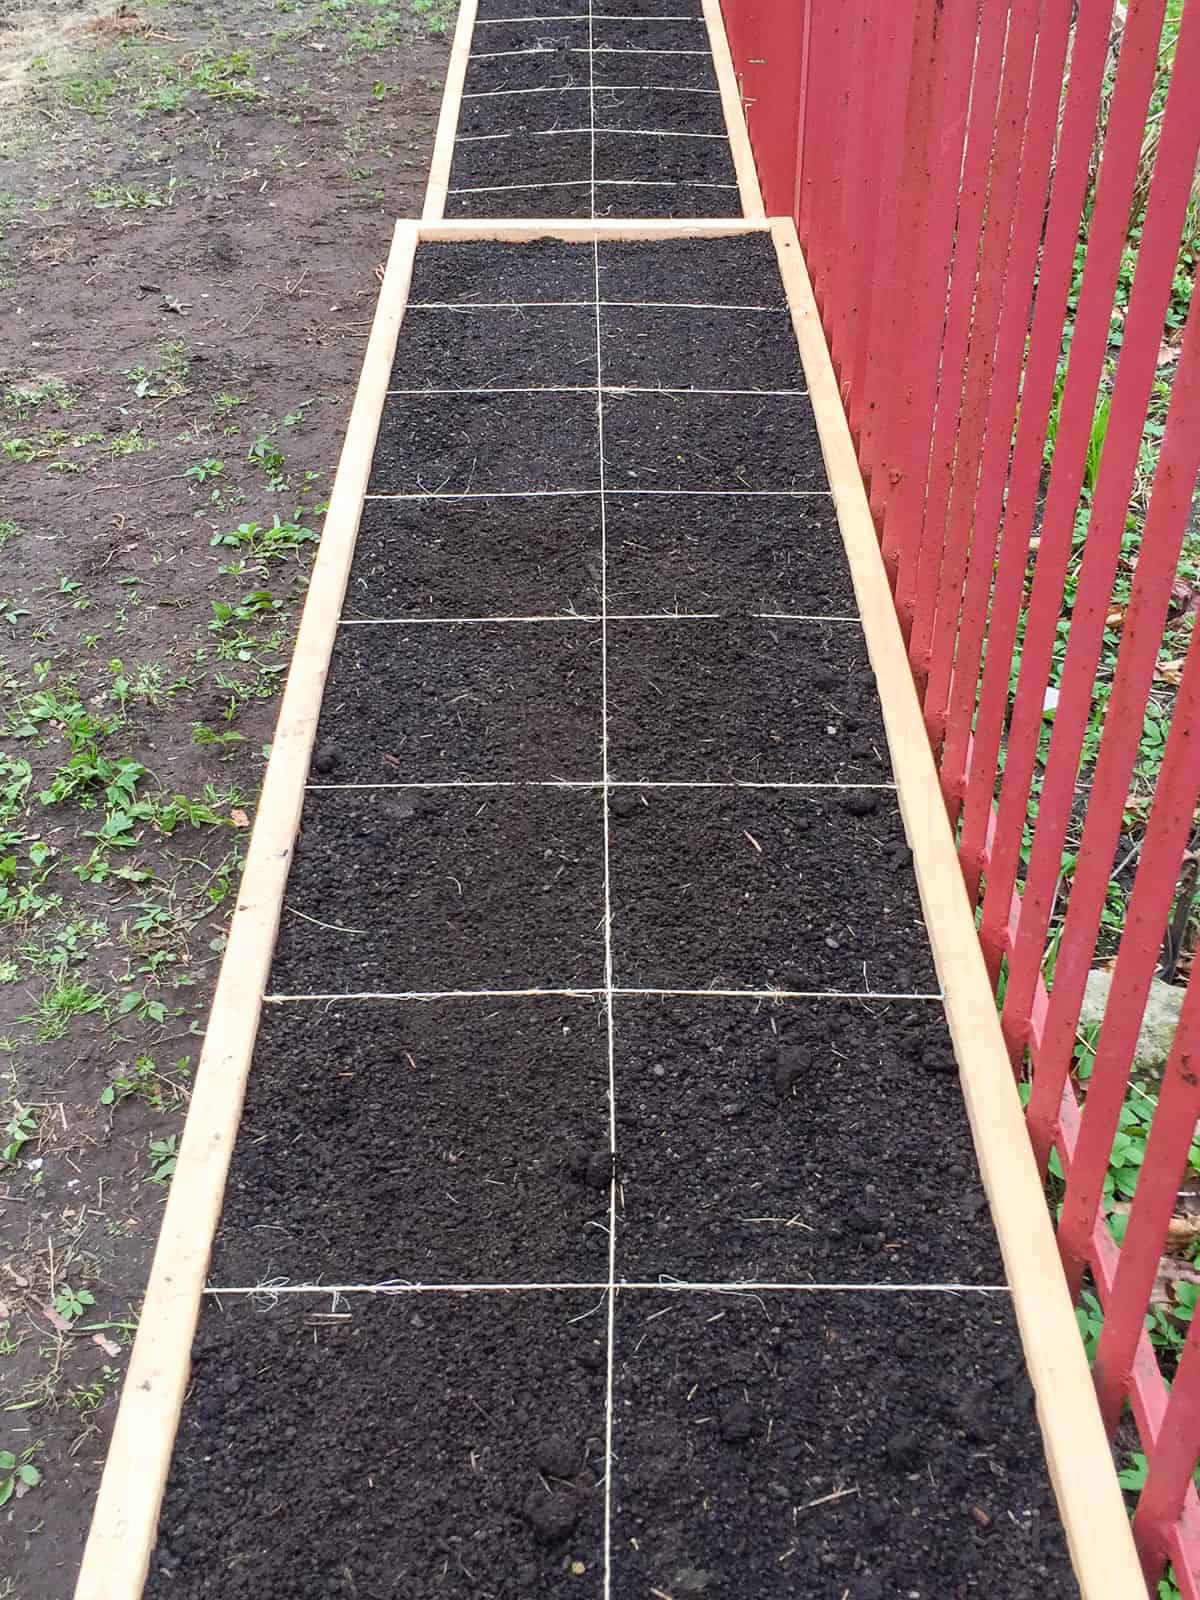
Hemp twine stapled to the sides of the bed provides a grid for the SFG spacing.
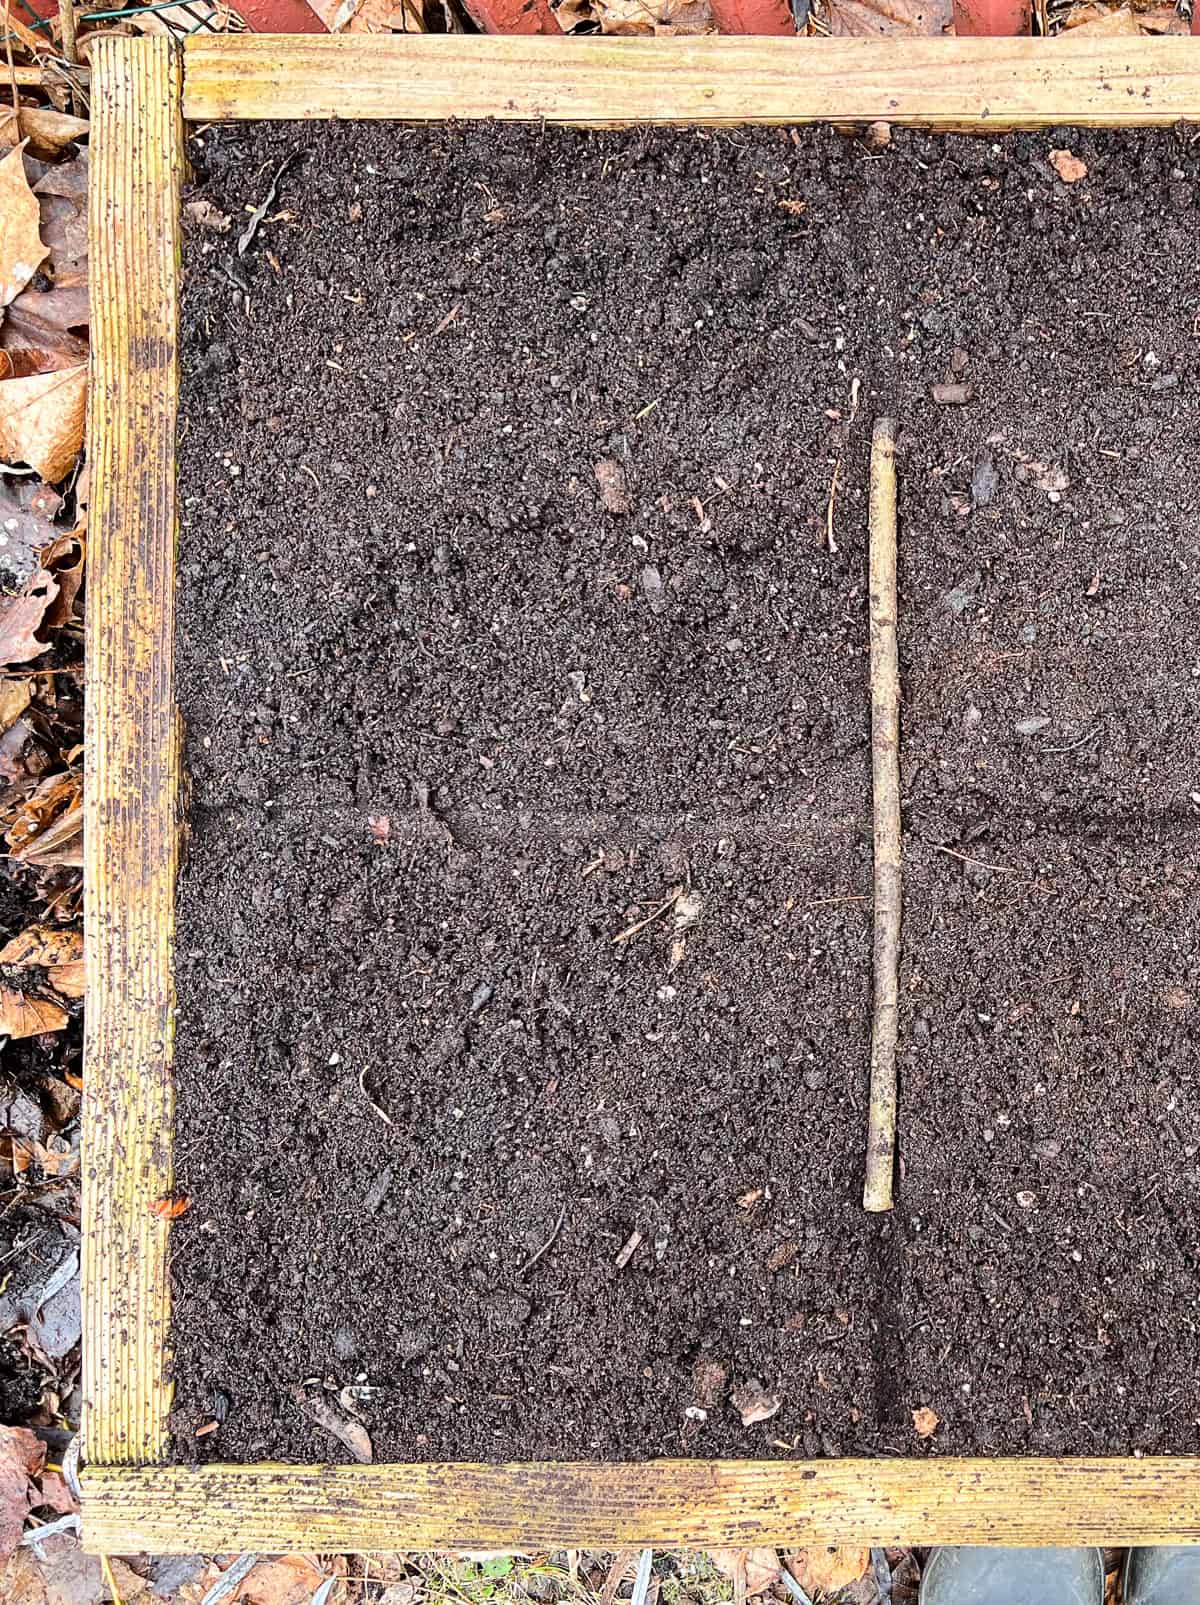
After many years maintaining my Square Foot Garden, I just use a stick to mark out the plots before planting.
There are also various plastic and wooden dividers available for purchase. I didn’t go that route and I don’t think that the additional cost is necessary, especially at the outset when the costs of establishing a garden are the highest. Whatever you do, start out with some visual solution to mark out the square foot grid for at least your first year or two, as the grid is the foundation of how you space your plantings, and plant spacing is the very essence of SFG.
If you are using round or other shaped containers that are not divisible by square feet, just estimate. For example, I use numerous sizes of containers around my garden, and I just have a general sense of which container is approximately a full square foot or half a square foot etc. This helps you determine the spacing of your planting. Don’t worry, you’ll get the hang of it pretty quickly, and really you don’t need to be exact all the time!
Once you start implementing the Square Foot Gardening grid and plant spacing system, you will see just how doable and successful gardening edible plants can be!
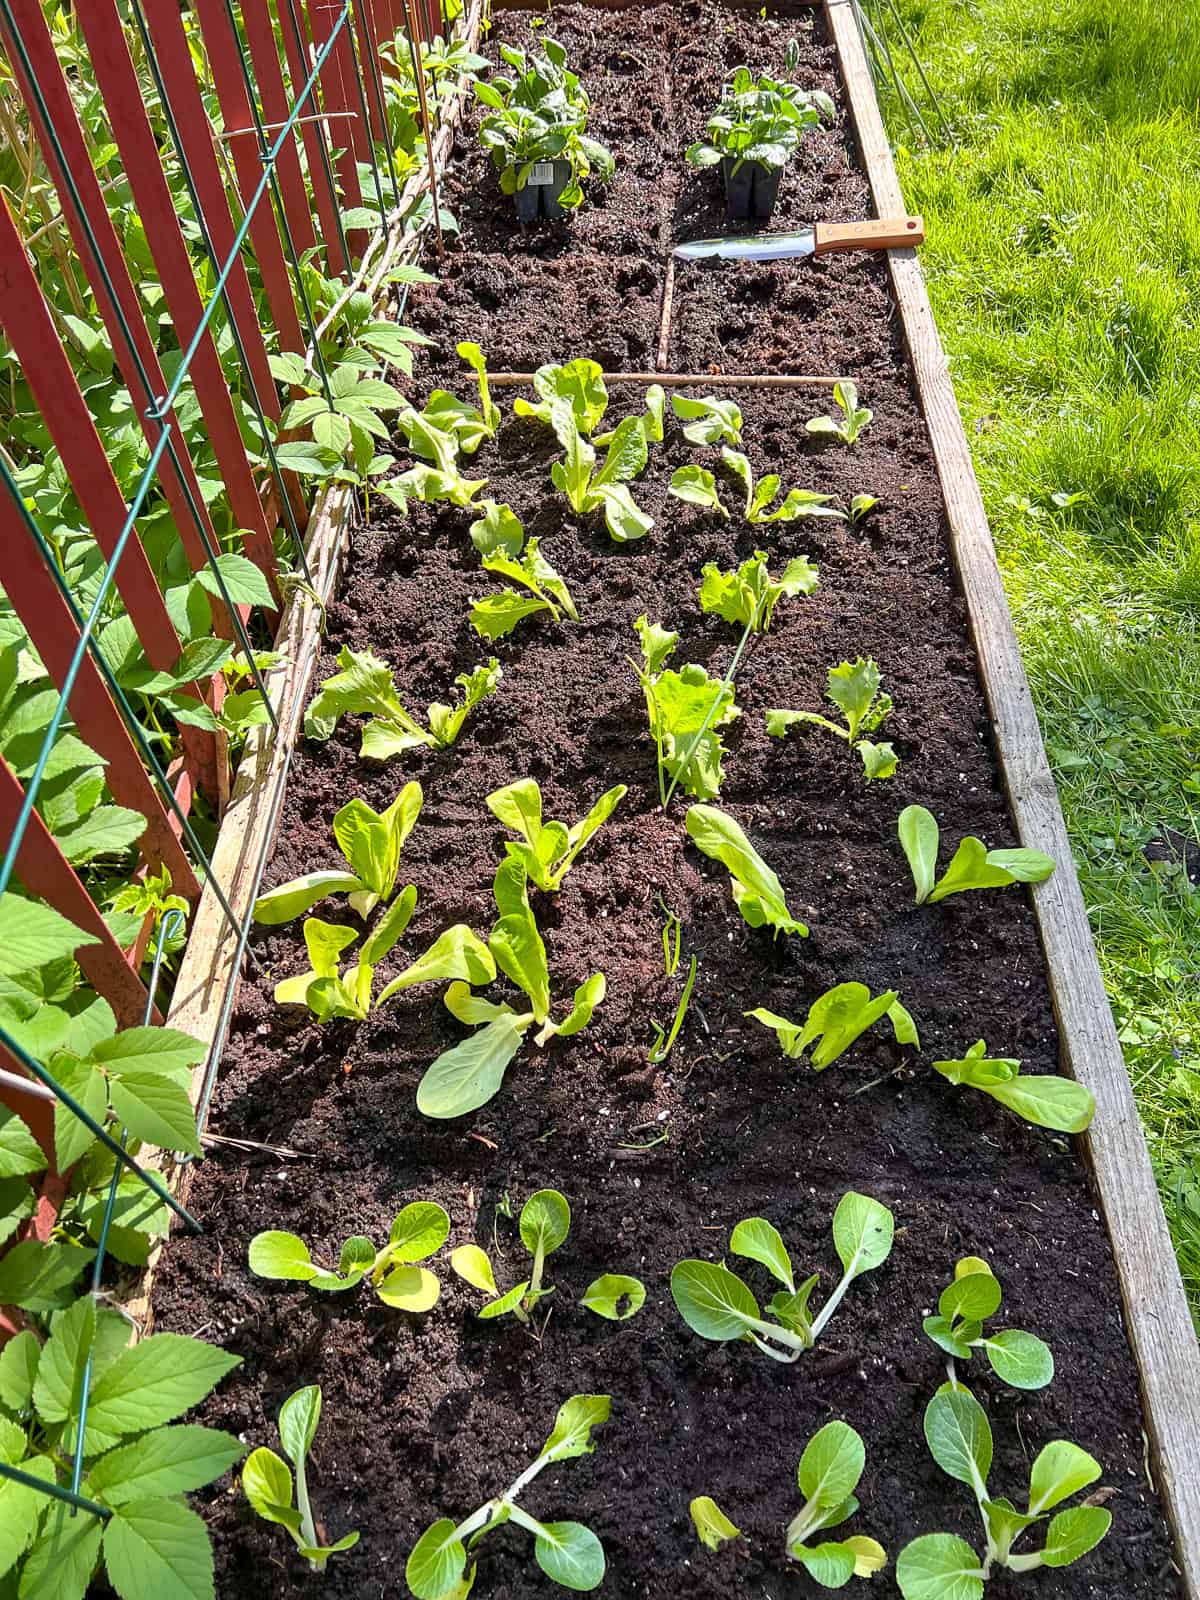
An image of a raised bed in the midst of being planted with seedlings using the Square Foot Gardening Method. When the plants are small, the plant spacing system is easy to see and makes weeding easier, as it's very clear what are your plantings and what are unwanted visitors.
Interested in reading more about
Square Foot Gardening?
Read more in my Square Foot Gardening series:
Favourite resources
[Note: any of the methods, organizations, products, or companies mentioned in this post solely reflect my own personal preferences.]
Growing Things - Check out my ongoing series of posts detailing my journey into square foot gardening, and some of the herbs, fruits, and vegetables that I have grown.
Square Foot Gardening Foundation - Find out more about the method from the originators of this urban friendly and social justice oriented growing practice.
Seeds and seedlings
Farmacie Isolde - I adore this small scale seed vendor as much for the pleasure of reading their seed and plant descriptions as for the truly interesting and successful harvests I have been rewarded with from using their seeds. Favourite plantings in the past have included Golden Sweet Snow Pea, Romanesco Zucchini, Bear Necessities Kale, Cilician Parsley, and numerous unusual herbs.
Richters - If you love herbs, this place has the motherload. If you are ever in the neighbourhood or fancy a drive in the country, is it more than worth it to walk through their greenhouse and become acquainted with hundreds of types of herbs, many that you may have never even heard of. Their catalogue contains a huge range of herbal and medicinal seeds, as well as a selection of interesting vegetables and fruit seeds. They also sell plant starts which I have yet to try.
Urban Harvest - This local vendor carries organic seeds for vegetable gardening essentials and also produces plant starts in the spring.
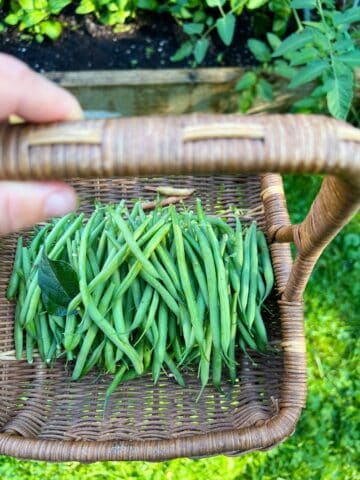
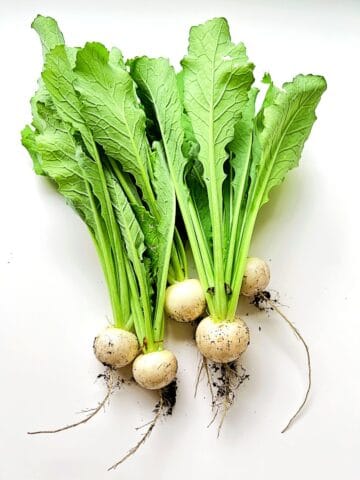
West Coast Seeds - This Canadian vendor supplies a huge range of organic and heirloom seeds, as well as handy planting charts for zones across Canada. I look to this source for regular repeat plantings and new and interesting varieties to try each year. Favourite plantings in the past have included Masai Bush Beans, Mini Purple Daikon, Hakurei Turnip, Ethiopian Kale, and numerous other varieties.
Wheelbarrow Farm - An an organic vegetable farm in Ontario that sells fantastic organic seedlings each spring, directly from their farm and at various locations in and around the Toronto area.
Soil
Pure Life Soil - This soil vender in the GTA region (formerly Pagonis Soil) is where I have sourced my high quality organic soil mix since the beginning of my gardening journey. This soil was recommended to me by other growers when I got started, and I'm still using this soil regularly 9 years later and counting. If you aren't in the GTA area, you can still check out their soil mixes as a guide to searching for something similar in your region.
Working with Pure Life Soil has helped me to understand that healthy soil isn't just dirt—it's a thriving community of helpful microbes, fungi, and worms that work together to feed plants naturally and improve soil biology. I'm proud to use Pure Life Soil and be part of the growing movement that sees soil health as the foundation for better gardens, farms, and a healthier planet.
Community
Farmers Markets - A wonderful source of seedlings or plant starts for gardeners in the spring and summer. I’ve learned quite a bit about various crops and have been inspired to grow new varieties by chatting with farmers at my local market, one of over 180 across Ontario.
Toronto Urban Growers - a community oriented organization that supports the efforts of urban food farmers at whatever scale. They hold information events, showcases and local growing competitions which are fun to view and enter. Your town or city likely has a similar organization nearby.
Seed Saver organizations - there are dozens of grass roots seed saving organizations around the world where you can find, exchange, or donate heirloom seeds. Use this list as a starting point or simple google 'seed savers + your country of residence' to see what is available in your region.
Seeds of Diversity - This Canadian organization dedicated to the protection and preservation of heirloom and endangered food crops is a wonderful source of information for gardeners. They they also organize ‘Seedy Saturdays’, a series of events that facilitate seed swapping between home growers.
Wherever you live, seed swaps are a great place to get and give seeds for free, making it easier to diversify your crops, keep heirloom varieties alive, give back to your local growing communities, and make use of extra seeds so that they don’t go to waste. This organization also produces handy resources and information about saving seeds from your own garden.
Curious to learn more about growing things?
Read more about edible plants that you might enjoy in your garden:

Leave a Reply