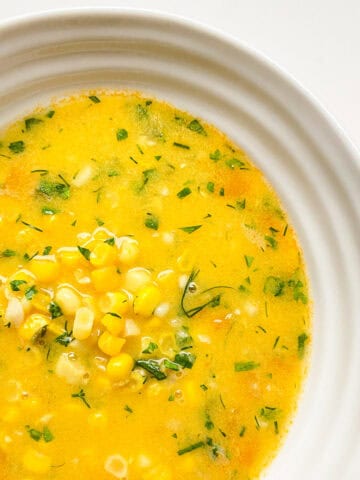
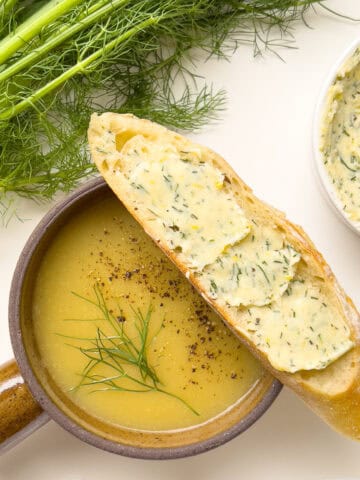
Invitingly citrine-gold in colour, and fragrant with the sweet and earthy notes of fresh corn, Corn Broth extends the abundance of late summer corn. Denuded cobs, which would otherwise go unused, instead generously provide a precious and flavourful elixir that can be used right away, or frozen for future eating delight.
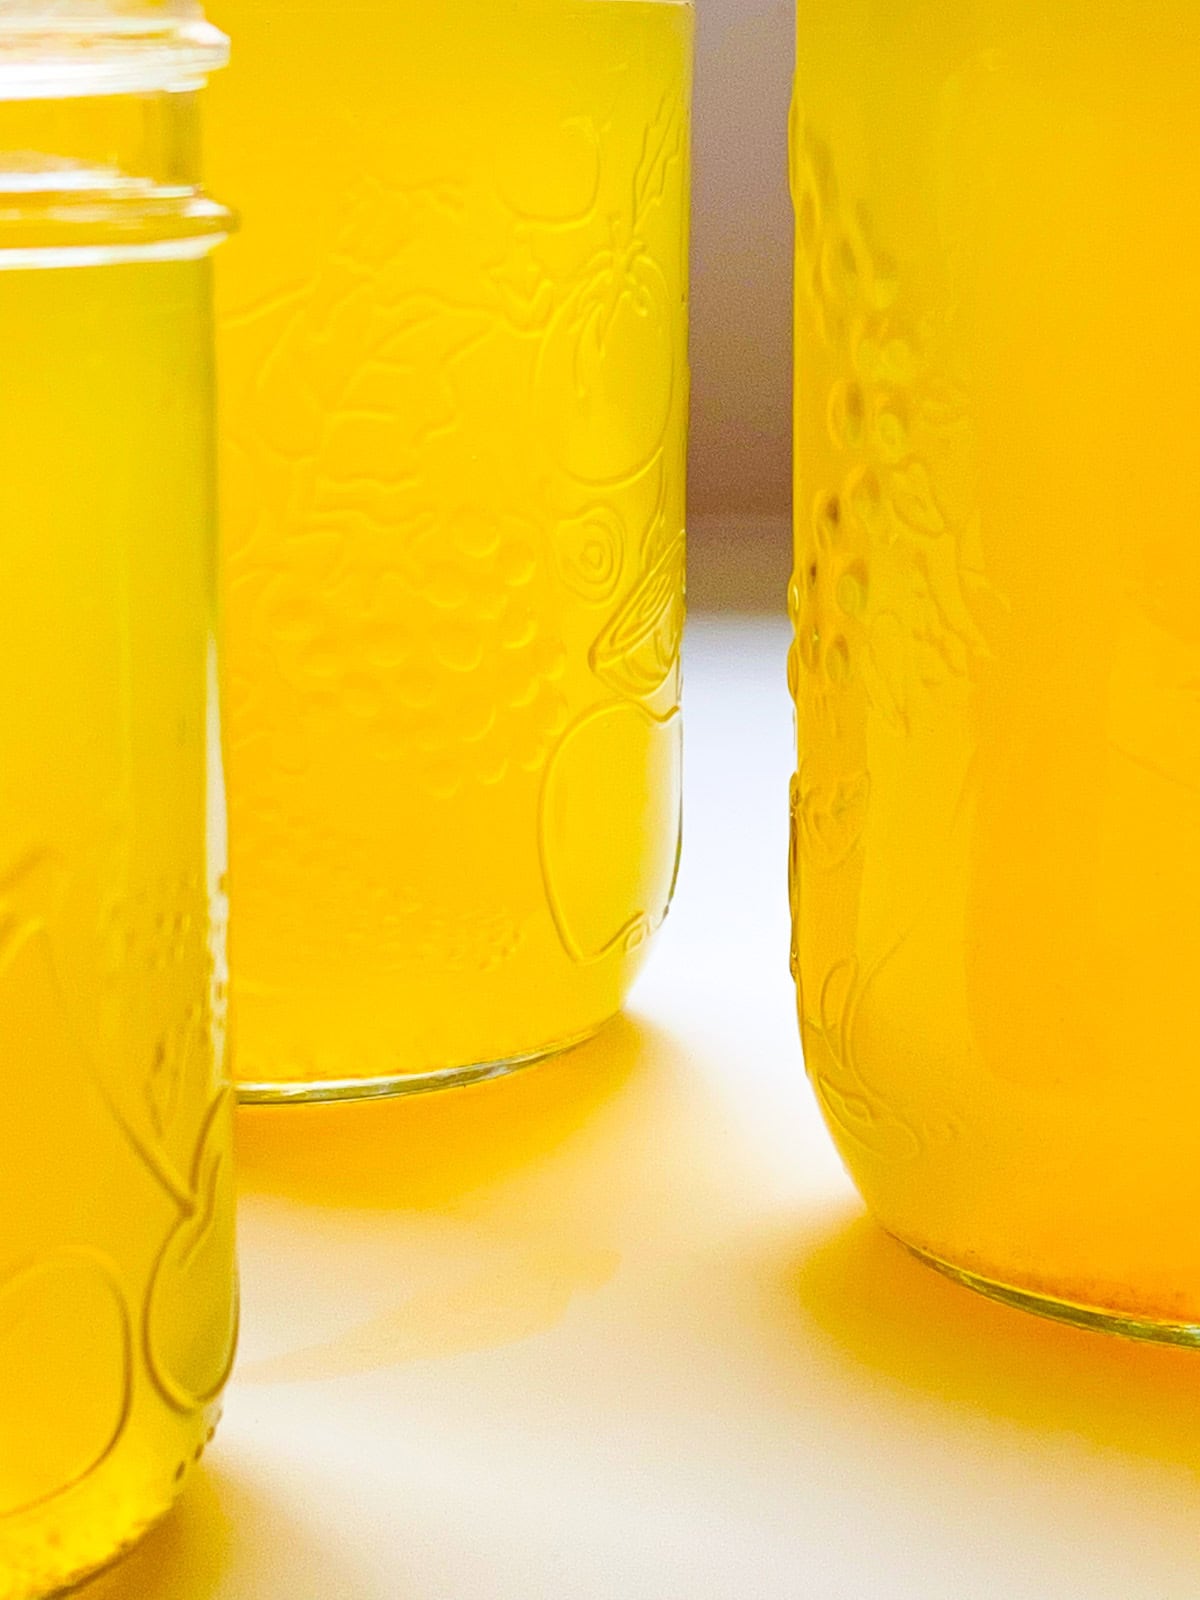
The finished corn broth is a golden delight to the eye, providing a delicious way to use up denuded corn cobs.
I'm a big fan of stocking up my freezer with late summer corn and freezing the kernels in silicone pouches for my enjoyment later on in the doldrums of winter. Having done this a fair number of times, at one point I started notice how many cobs I was left with to dispose of, and despite having been stripped of their main offering - the kernels - how juicy the cobs still seemed to be. An idea was hatched.
Jump to:
Low waste cooking at its finest
Modest recipes such as this Corn Broth take little effort but reward the maker with a certain self-sustaining satisfaction that comes from making something out of nothing, knowing that you have used an ingredient to its fullest, most tasty, potential.
Otherwise destined for the compost unused, corn cobs can in fact provide one more offering for the cook with a few minutes to spare. Once you have unzipped the cobs of their kernels, all that is required is to place the sheared cobs into an Instant Pot or heavy bottomed pot, adding fresh herbs and seasonings of your choice. The broth cooks away unattended, and is ready to store after being strained and jarred.
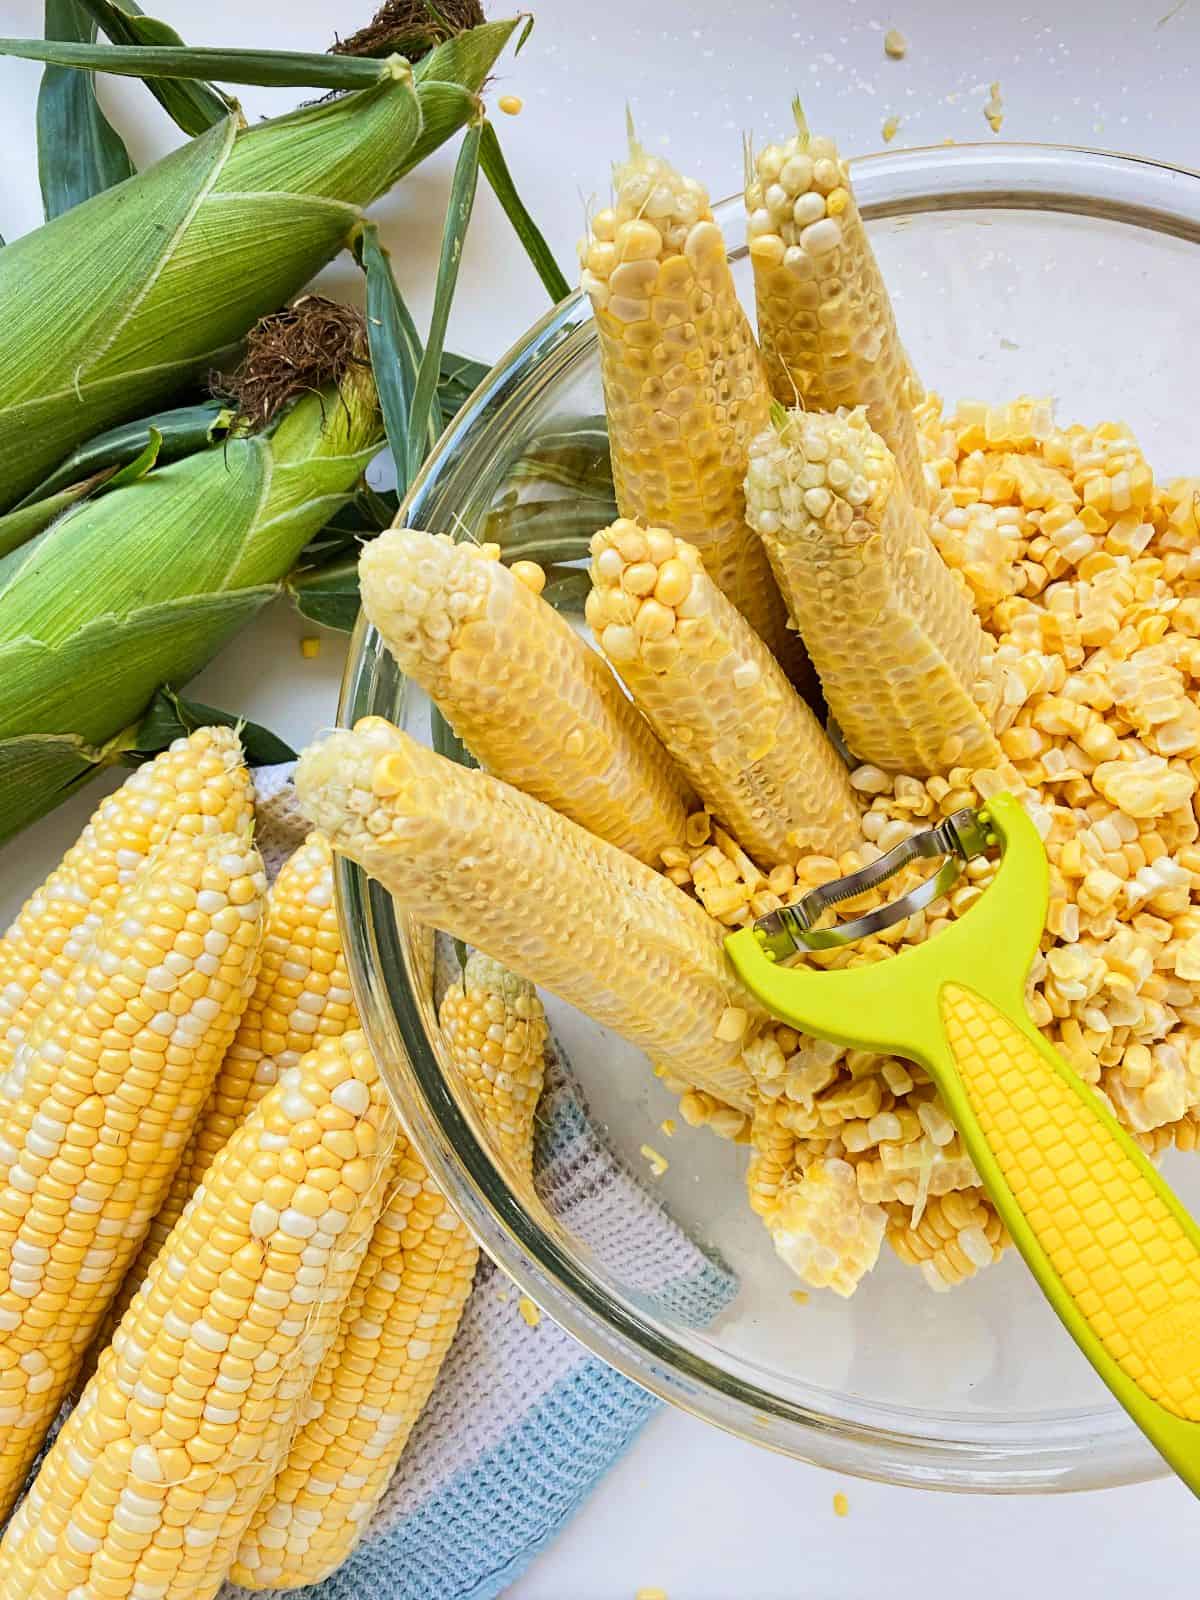
Saving corn kernels is an annual affair every late summer in my kitchen, prompting me to consider what to do with all of those cobs!
Why make corn broth?
Homemade Corn Broth has a light, sweet, and earthy corn taste with the subtle backdrop of herbs and seasonings, depending on what flavours you choose to include. Corn Broth will make an ideal base for recipes that highlight corn, such as Corn Soup with Ginger and Dill, or Corn and Miso Soup, adding a depth of corn flavour that water or generic vegetable stock alone cannot provide. I love using the Instant Pot for making Corn Broth, as I can ‘set it and forget it.’ Using a pot on the stovetop will give you the same results, with just a little bit of a longer, but mostly unattended, cooking time.
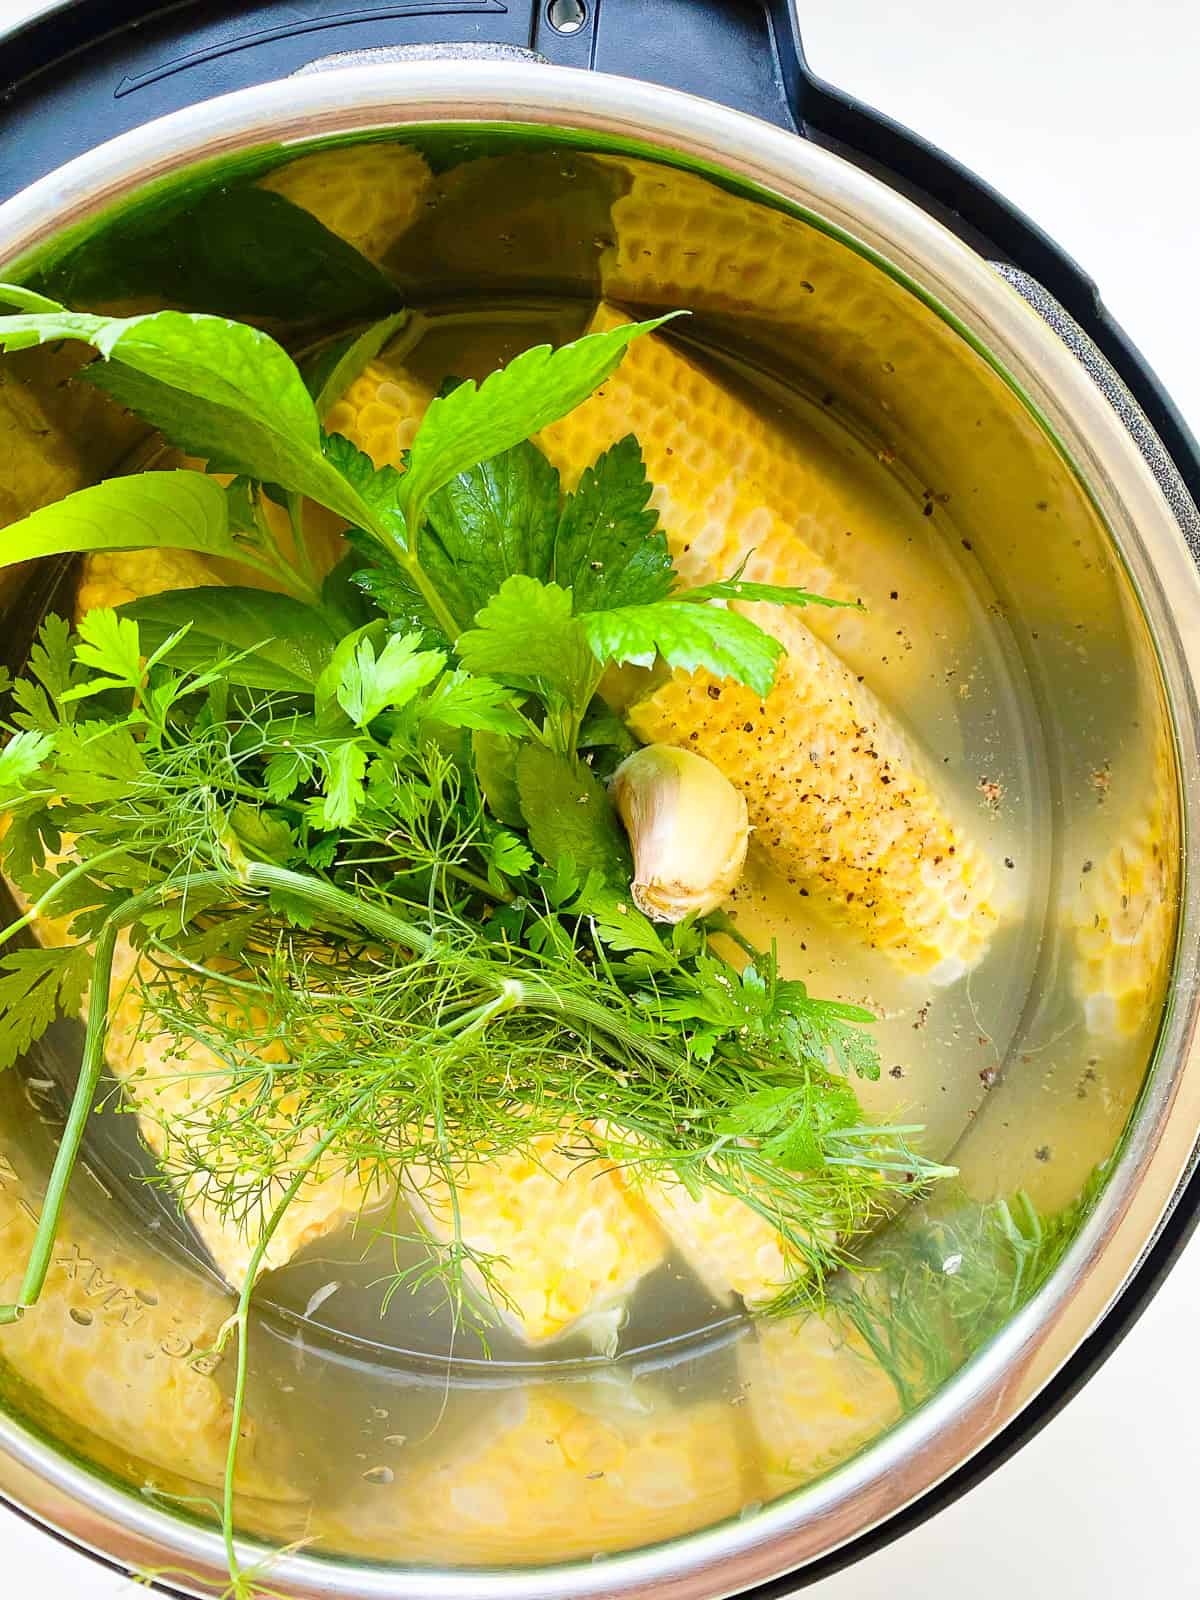
It only takes moments to pile everything into an Instant Pot or a pot in order to get a batch of Corn Broth cooking away.
Flavour variations
Making Corn Broth is not an exact science - apart from the corn cob to water ratio - you can vary what seasonings are included in the broth each time you make it, customizing it to fit your unique preferences. Something I stick to each time is to keep my use of salt very low, if I use salt in it at all. Unless I plan on drinking the broth as it is, I don’t want to accidentally over salt whatever soup or dish I plan to make later on.
I most often flavour my corn broth with fresh herbs. Soft herbs, such as basil, parsley, dill, and cilantro, can lend more subtle flavours, whereas woodier herbs, such as thyme, rosemary, and oregano, can be more assertive. I tend towards using more soft herbs and less woodier herbs in terms of quantity; a sprig of rosemary makes sense here rather than a whole bunch, whereas a larger handful of basil will do rather nicely.
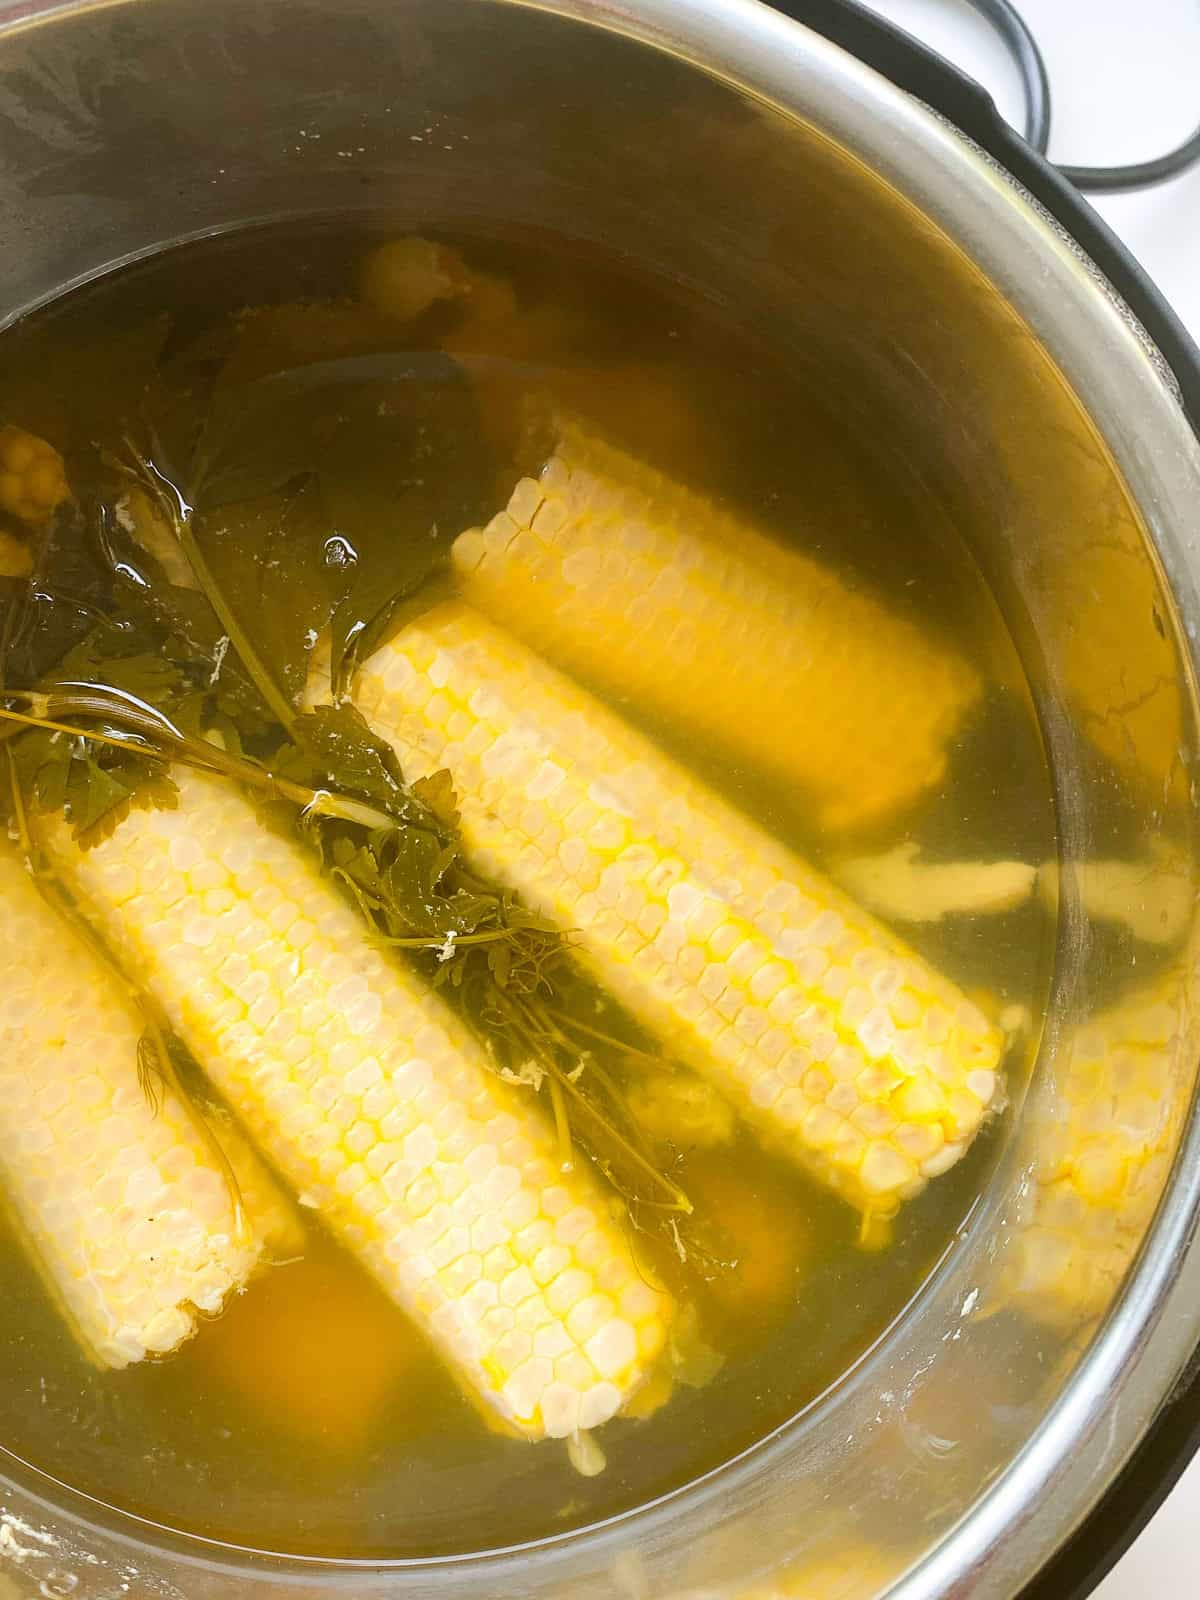
Corn Broth needs nothing more than to cook away ...
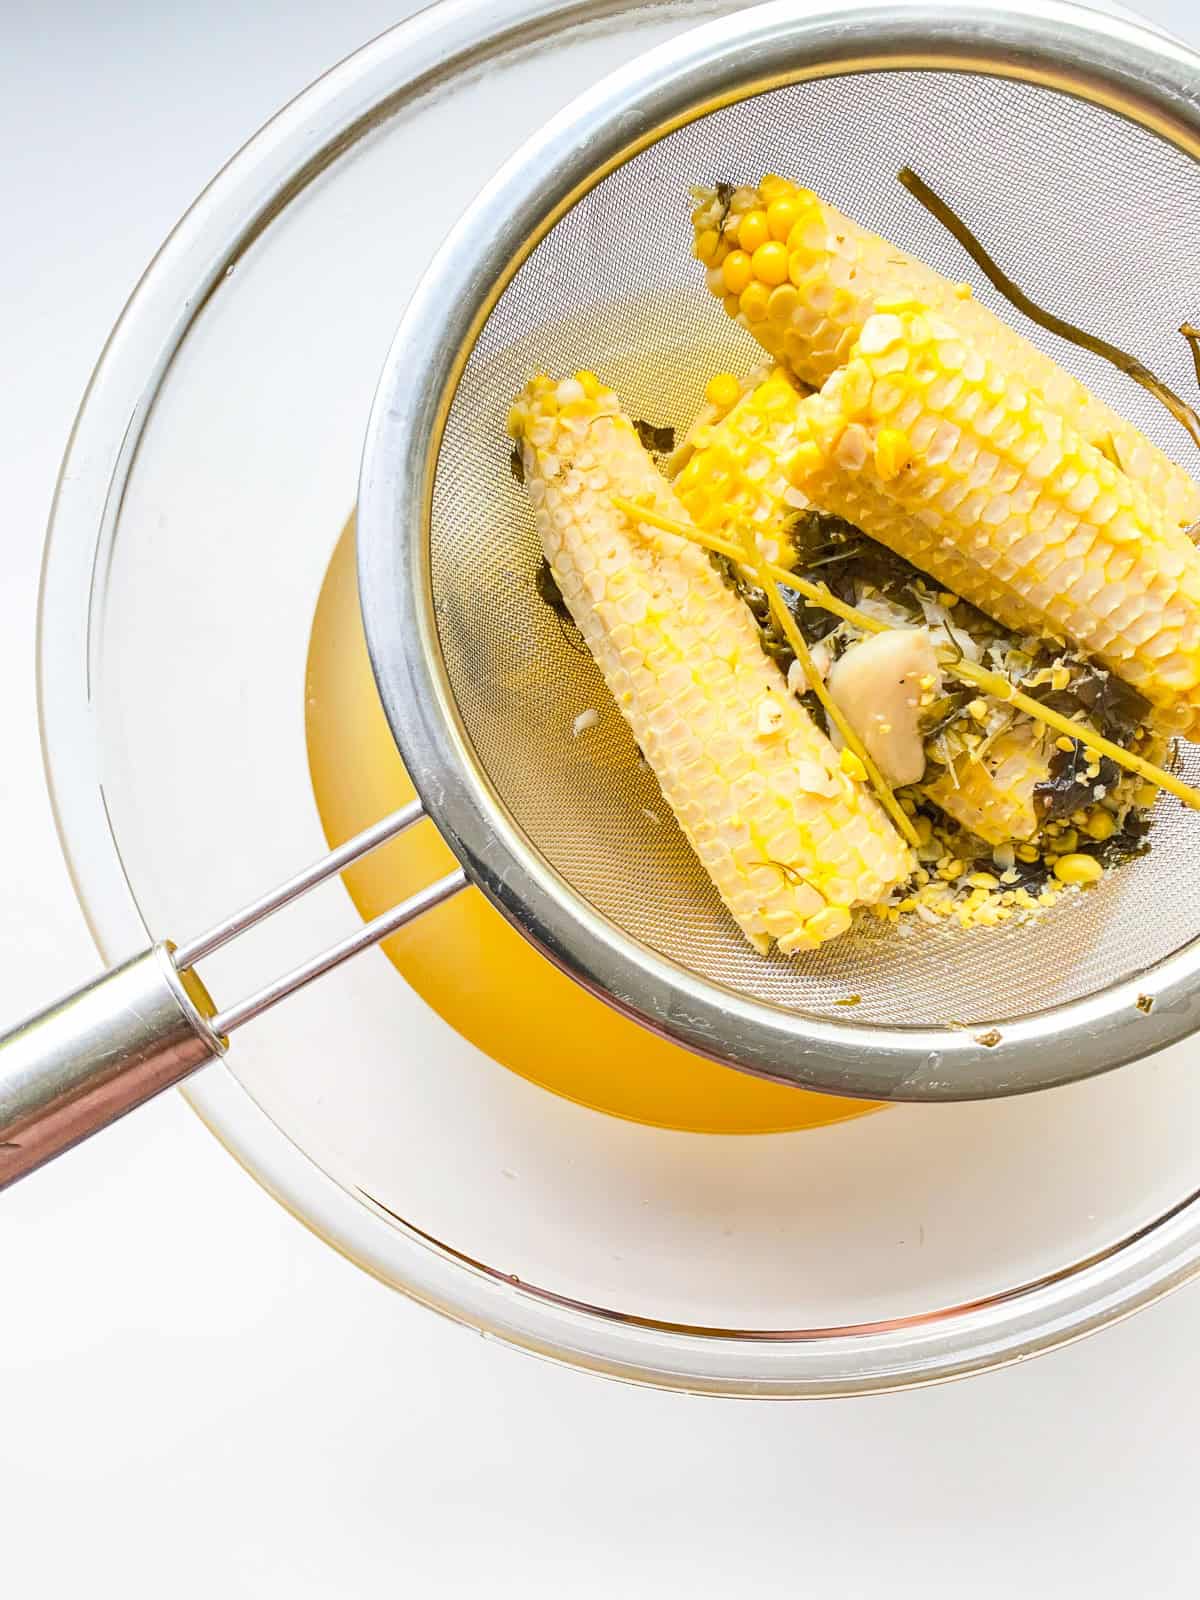
... and be strained, before it is ready to use or store.
Other ingredients, such as onions, dried chillies or garlic can also add their intense essence, so smaller amounts of those ingredients are preferable, unless a strong flavour note is desired.
When making this broth without a specific use in mind, keep the seasoning on the conservative side so that the broth can have a multipurpose flavour profile, adding perhaps a smashed garlic clove, a whole green onion, and a few black peppercorns or coriander seeds, and a handful of basil.
If you’re making this broth for use in a specific recipe, like Corn Soup with Ginger and Dill for example, you might include some of the same seasonings that the finished dish includes: ginger, dill, parsley, and coriander, to bolster and echo those flavour notes.
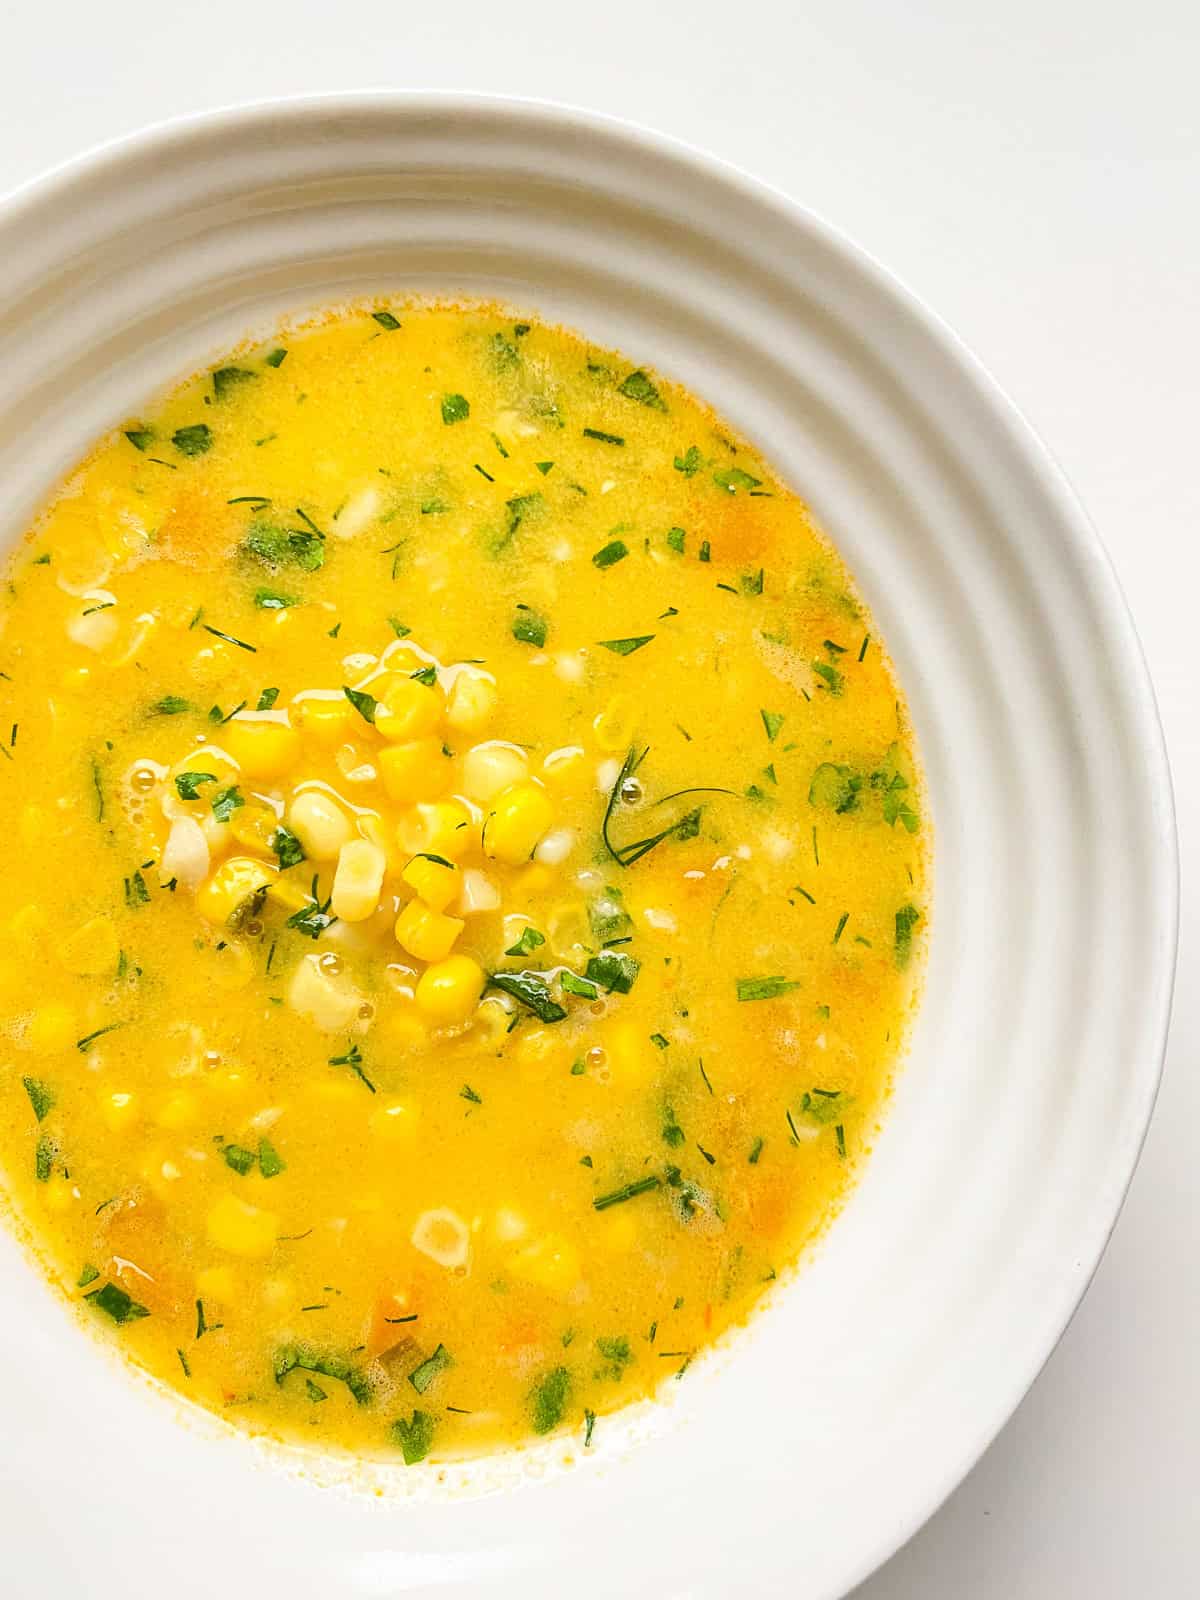
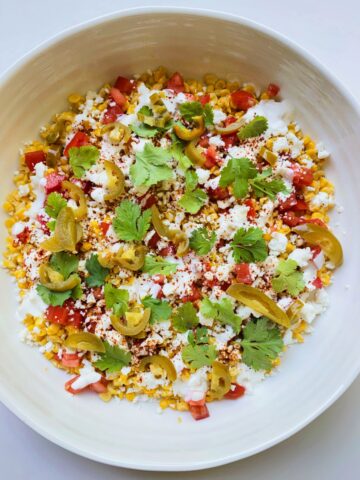
Corn Soup with Ginger and Dill is just one of the many corn-centric dishes that can be made with Corn Broth.
Storage
Once the broth has been cooked, it can be used right away in the recipe of your choice. For use later on, the broth should be cooled down to room temperature before storing in the fridge or in the freezer.
Knowing that steaming bowls of corn soup will lift my spirits in the coming colder seasons, I most often jar and freeze my finished corn broth, and everytime I open the freezer, the frozen amber gems peek out at me, reminding me of eating pleasures to come.
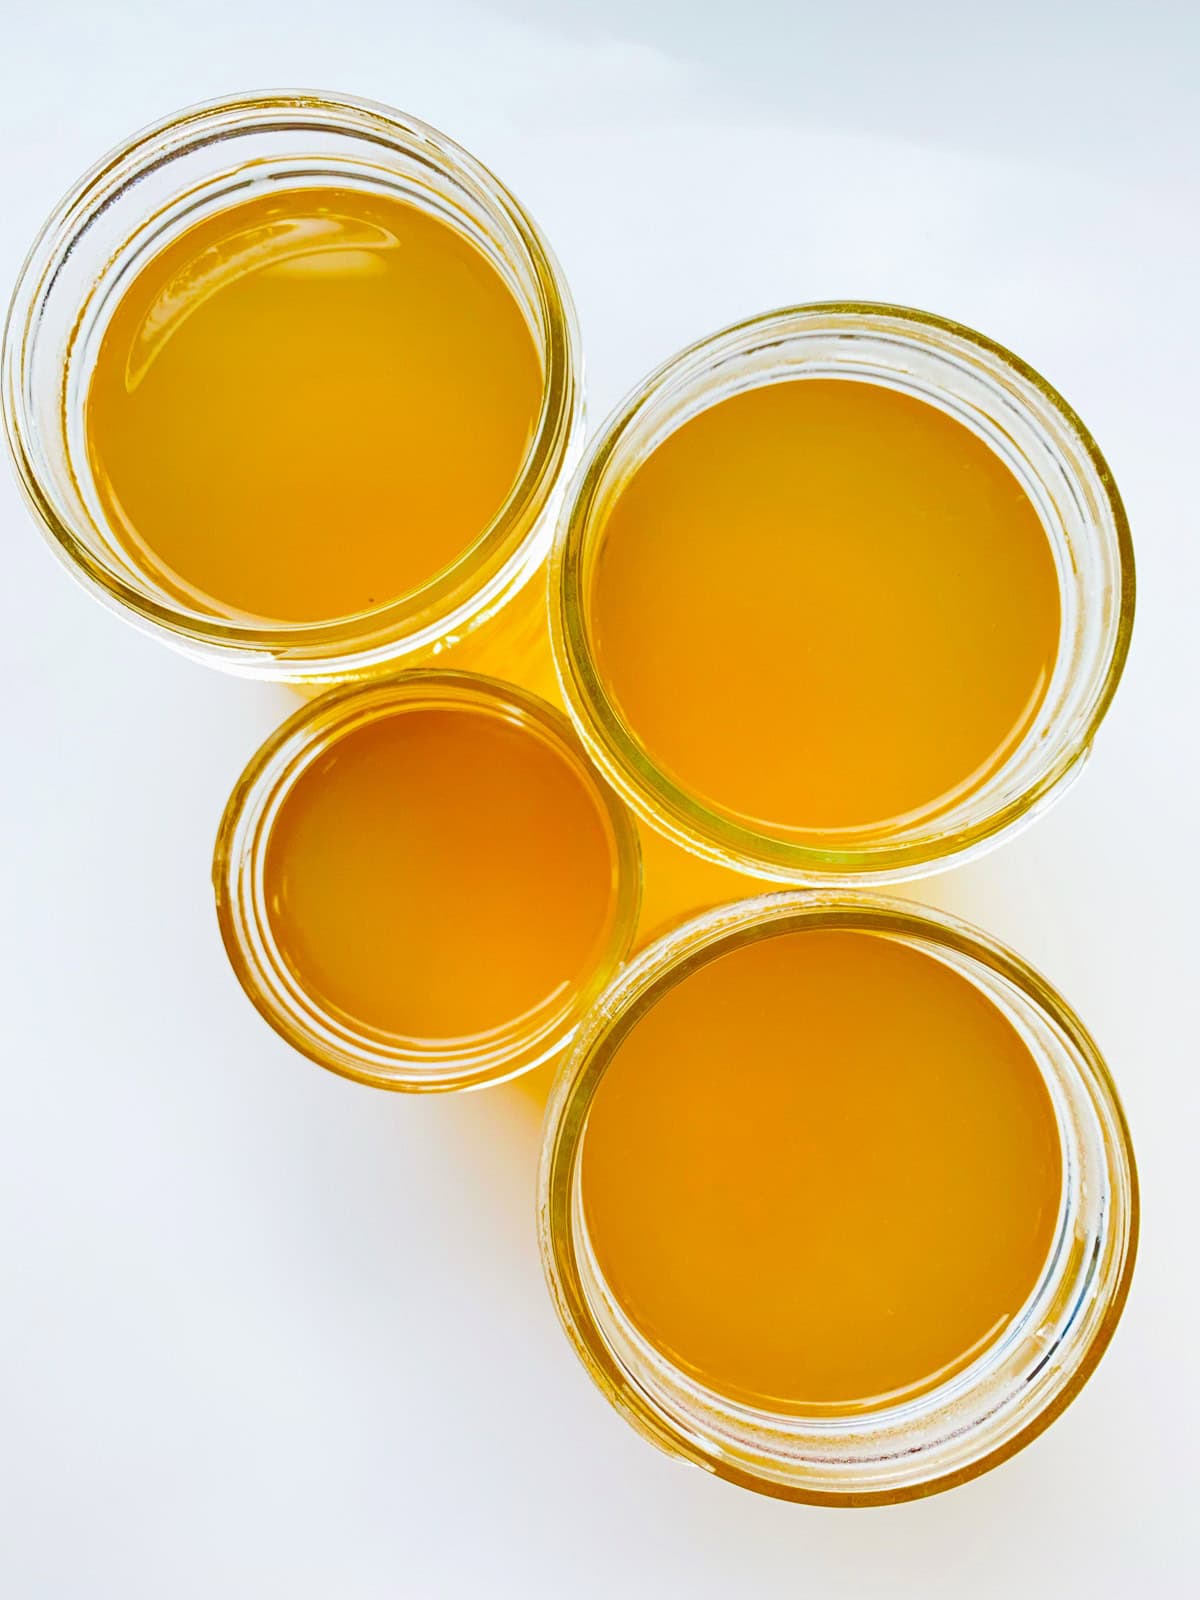
Using glass jars to freeze instead of plastic
As part of continued efforts to reduce the use of plastics in my kitchen, I now am in the habit of freezing broth and soups in glass canning jars, and I invite you to do the same. You might think - wait, won’t those jars crack?- and the answer is no! Simply follow a few simple steps, detailed here.
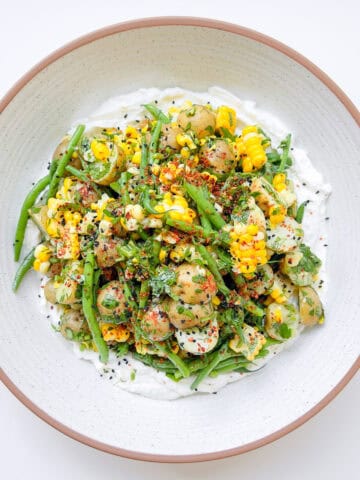
More corn-centric recipes to explore on Daraeats!


Corn Broth
Ingredients
- 8 corn cobs kernels stripped and reserved for another use
- 8-9 cups of filtered water
- 1 mixed handful of washed herbs of your choice: such as basil, parsley, cilantro, celery leaf, thyme, rosemary, oregano, etc. (don’t bother to remove any stems etc.)
- Optional ingredients: green onion, smashed garlic clove, whole black peppercorns, slices of ginger, dried chillies
- Optional: pinch of sea salt or Himalayan salt
Instructions
- For the Instant Pot: Place your sheared corn cobs into the stainless steel inner pot. Pour in 8 cups of filtered water. Add your chosen herbs and seasoning ingredients.
- Secure the lid and set your instant pot on high pressure for 30 minutes.
- Important note: Once your Instant Pot has completed its cooking time, DO NOT release the pressure manually (as this will put you at risk of releasing boiling hot liquid out of the pressure release valve). Let the pressure release naturally on its own, making sure the locking pin has released and no more pressure remains inside the pot, before you unlock and remove the lid.
- Once your broth is completed, let it cool down to room temperature. At some point while your broth is cooling, set up a fine meshed strainer over a large bowl that can fit at least 8 cups. Once your broth is cooled, use tongs to gather the corn cobs and anything else you can grab out of the broth and place in the strainer, then pour the remaining broth over the solids already in the strainer. Press down on the solids in the strainer to extract as much goodness as you can, and leave to drain for a few extra minutes.
- Ladle or pour your broth into your jars, making sure to use straight sided jars and leaving 1” headspace if freezing (see detailed notes below). Bring your broth to room temperature before placing it in the fridge or freezer.
- If using within a few days, chill in the fridge until use, otherwise freeze for future eating delight.
- For the stovetop: Follow the instructions as above, but instead of using the Instant Pot, use a heavy bottom pot, such as a dutch oven. Place all of the ingredients into the pot, bring to a boil on high heat, then reduce to a simmer on the stovetop, for 45 minutes to one hour. If you find your broth has reduced too much, you can top it up with extra water so that your resulting strained broth equals about 7 to 8 cups. Follow the steps above to strain and store.

Leave a Reply