[ Note: I don't consider myself an expert, just someone who loves growing edible plants and enjoys sharing what I have learned with others, as so many others have done for me.]
I consider myself an organic gardener, and while I don't follow a specific organic method, I use contaminant free, nutrient rich organic soil and amendments, and I don’t use chemicals of any kind on or near my garden. An important part of organic gardening, as I have come to learn, is accepting that there will be a certain level of bug, critter, pest, and visitor activity in and around your garden. While I won’t regale you with the story of how critters ate my entire beautiful crop of soybeans the night before harvesting (sad face!) I will say that a certain amount of critter proofing raised garden beds may be advisable depending on your garden setting.
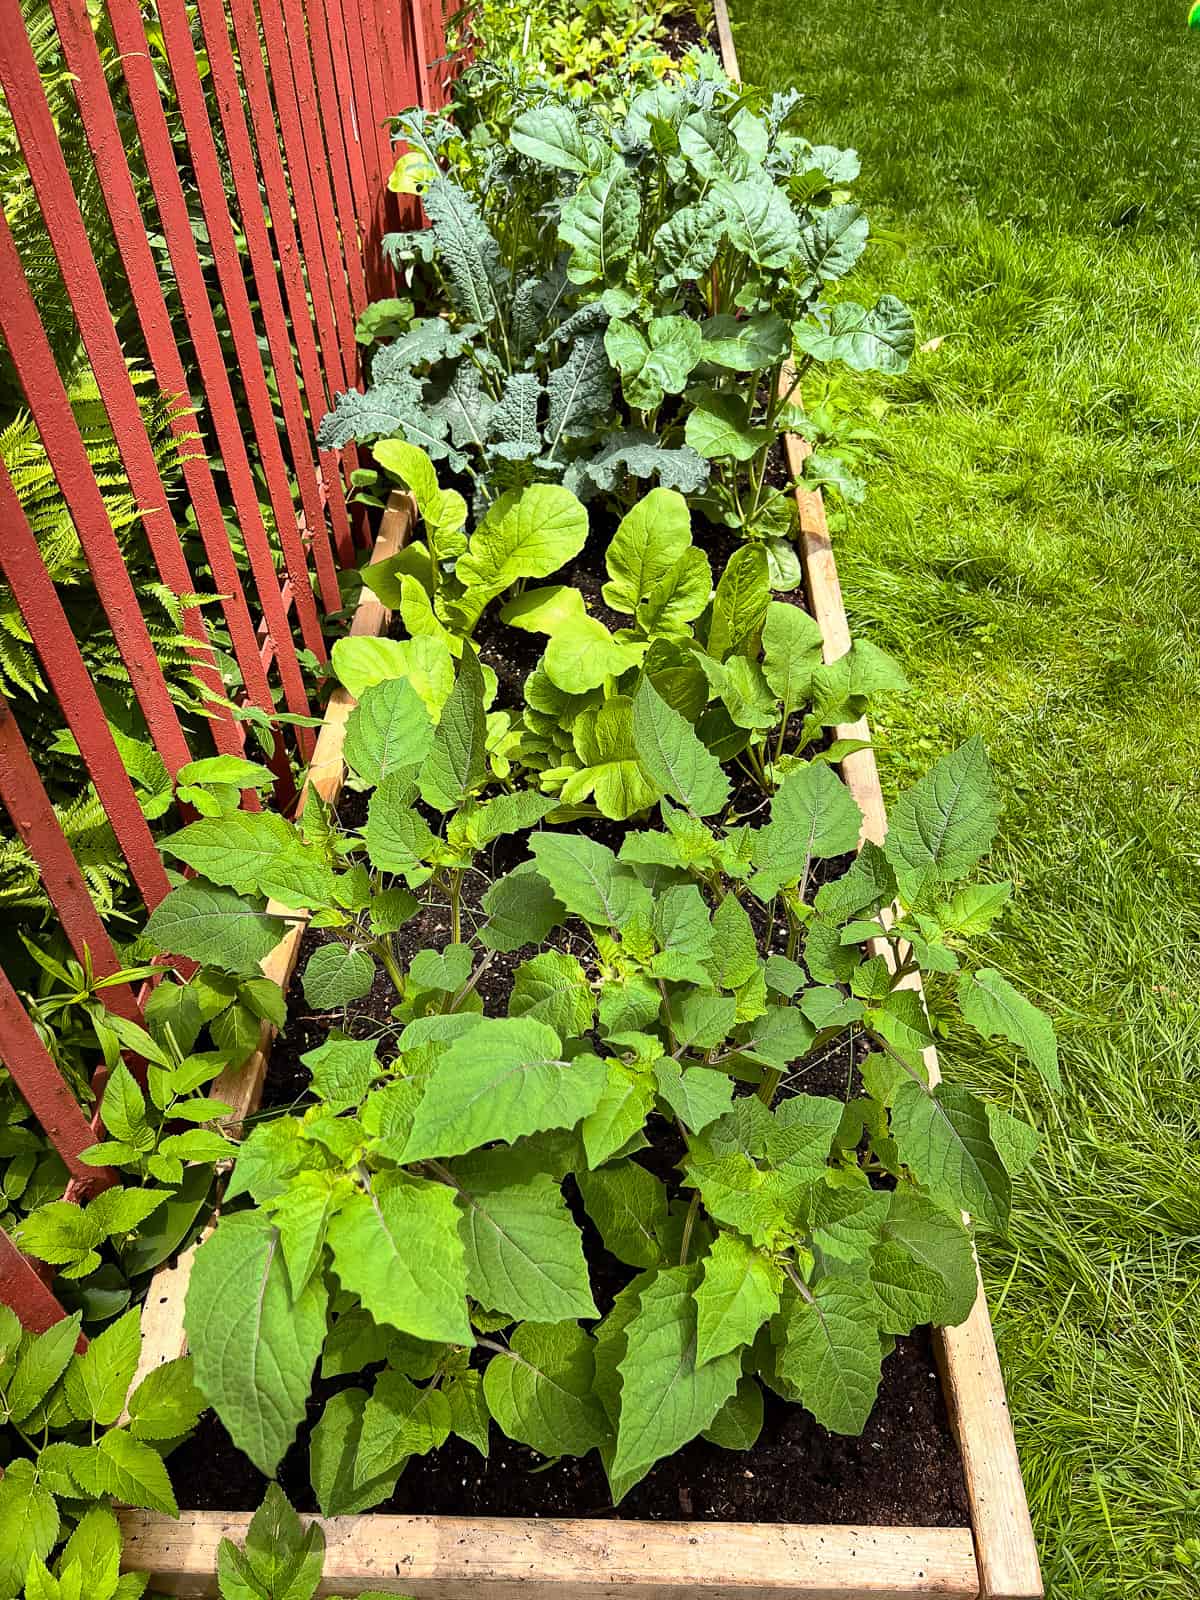
A raised garden bed, filled to the brim with fresh, tender vegetables, is an attractive target for garden critters from above and below. While sharing a portion of the yield is only fair, taking precautionary steps to reduce serious pest incursion is a wise move.
Jump to:
Surprise! Critters want your veggies too!
Before I started gardening, just before I set up my raised beds, I was quite surprised to learn from other gardeners that some critters can cause issues by coming into the raised beds from below (!). This of course will not be a problem if you are using a solid bottomed bed made of metal or plastic for example, or if your bed is placed on a hard surface like concrete, but if your beds are on top of soil, like mine are, then this is a potential cause for concern.
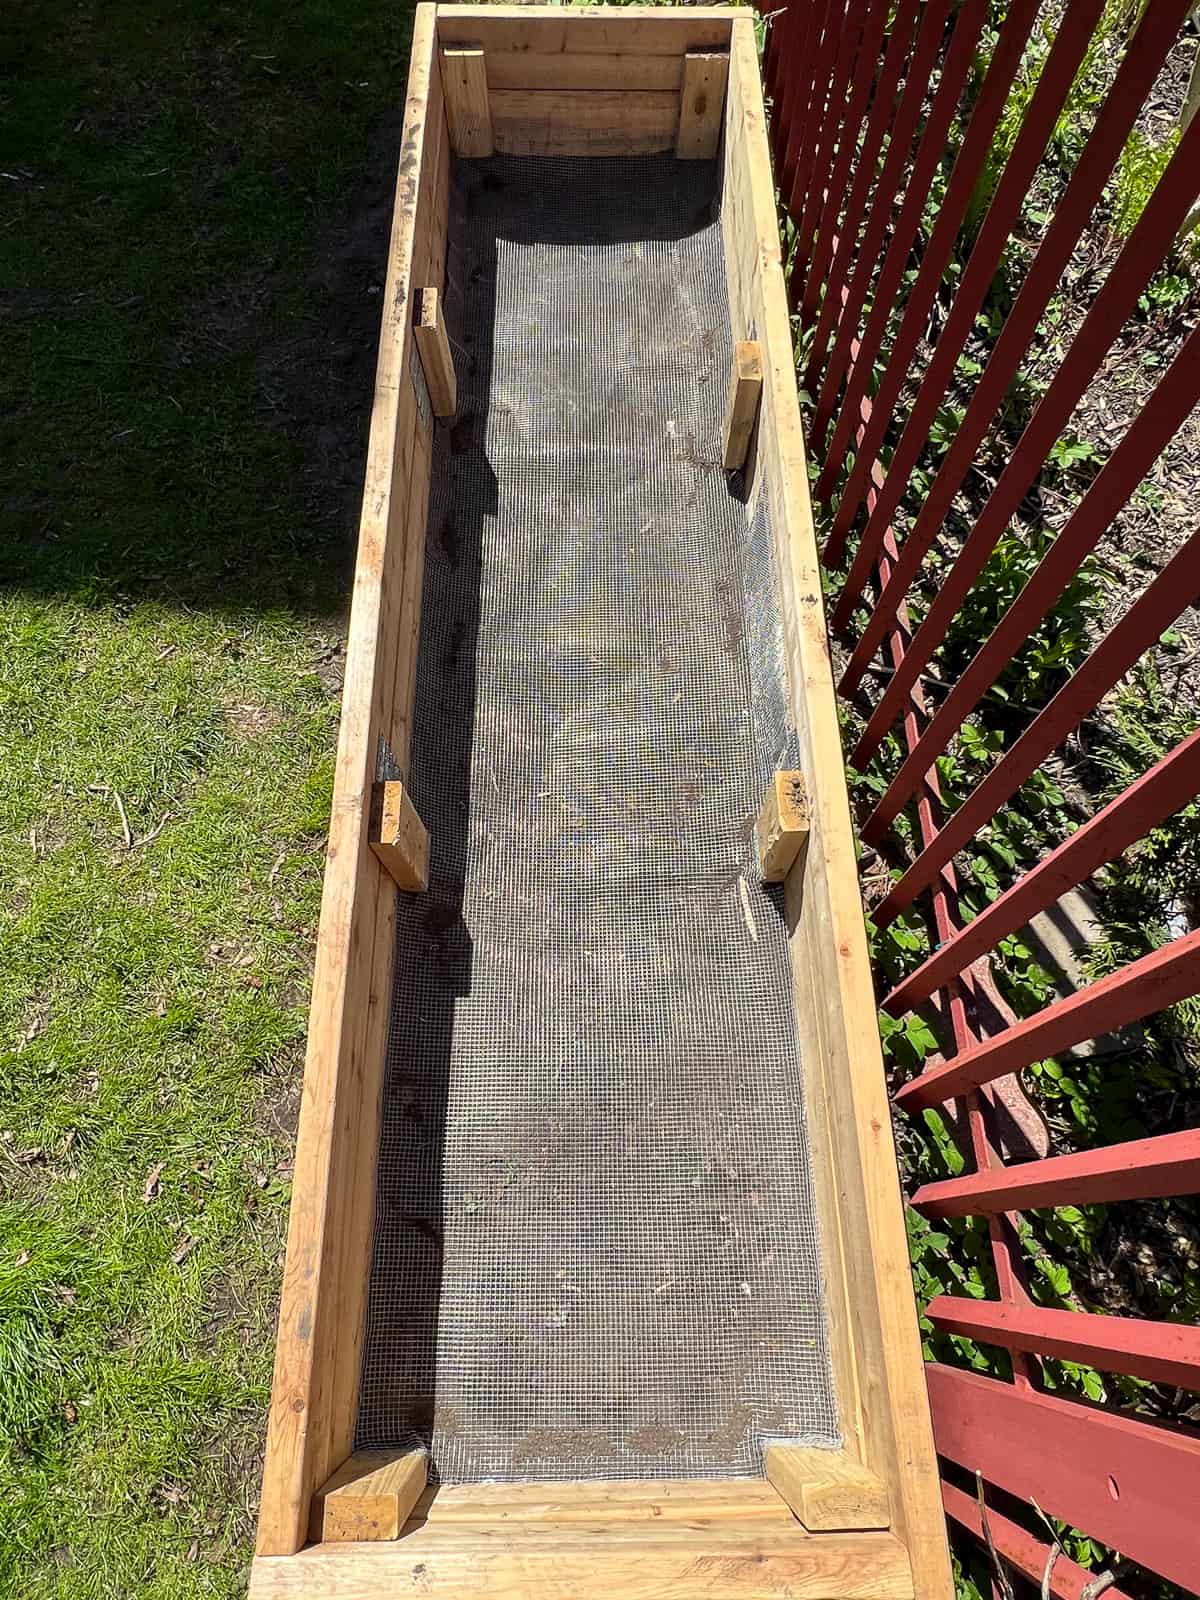
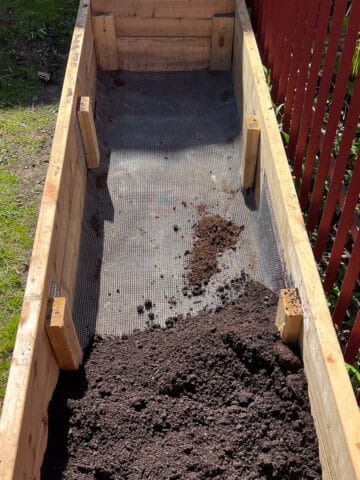
An empty raised garden bed, lined with metal hardware cloth that will impede critters from tunneling into the bed from below.
Get familiar with pests
It had simply never occurred to me that animals might be able to, or might even especially like to, tunnel into garden beds from below! And given that in my area there are rats, mice, voles, racoons, possums, squirrels and who knows what else, this seemed to be a realistic and necessary concern to be addressed.
Again based on the sage advice of other seasoned gardeners that I received from my gardening group, I took the extra step of critter proofing my raised beds from below. While there are a multitude of solutions to be found online to deal with critter and pest issues above the surface, the method I detail below seems to be the tried and true method to reduce the potential for subterranean critter tunneling into raised beds.
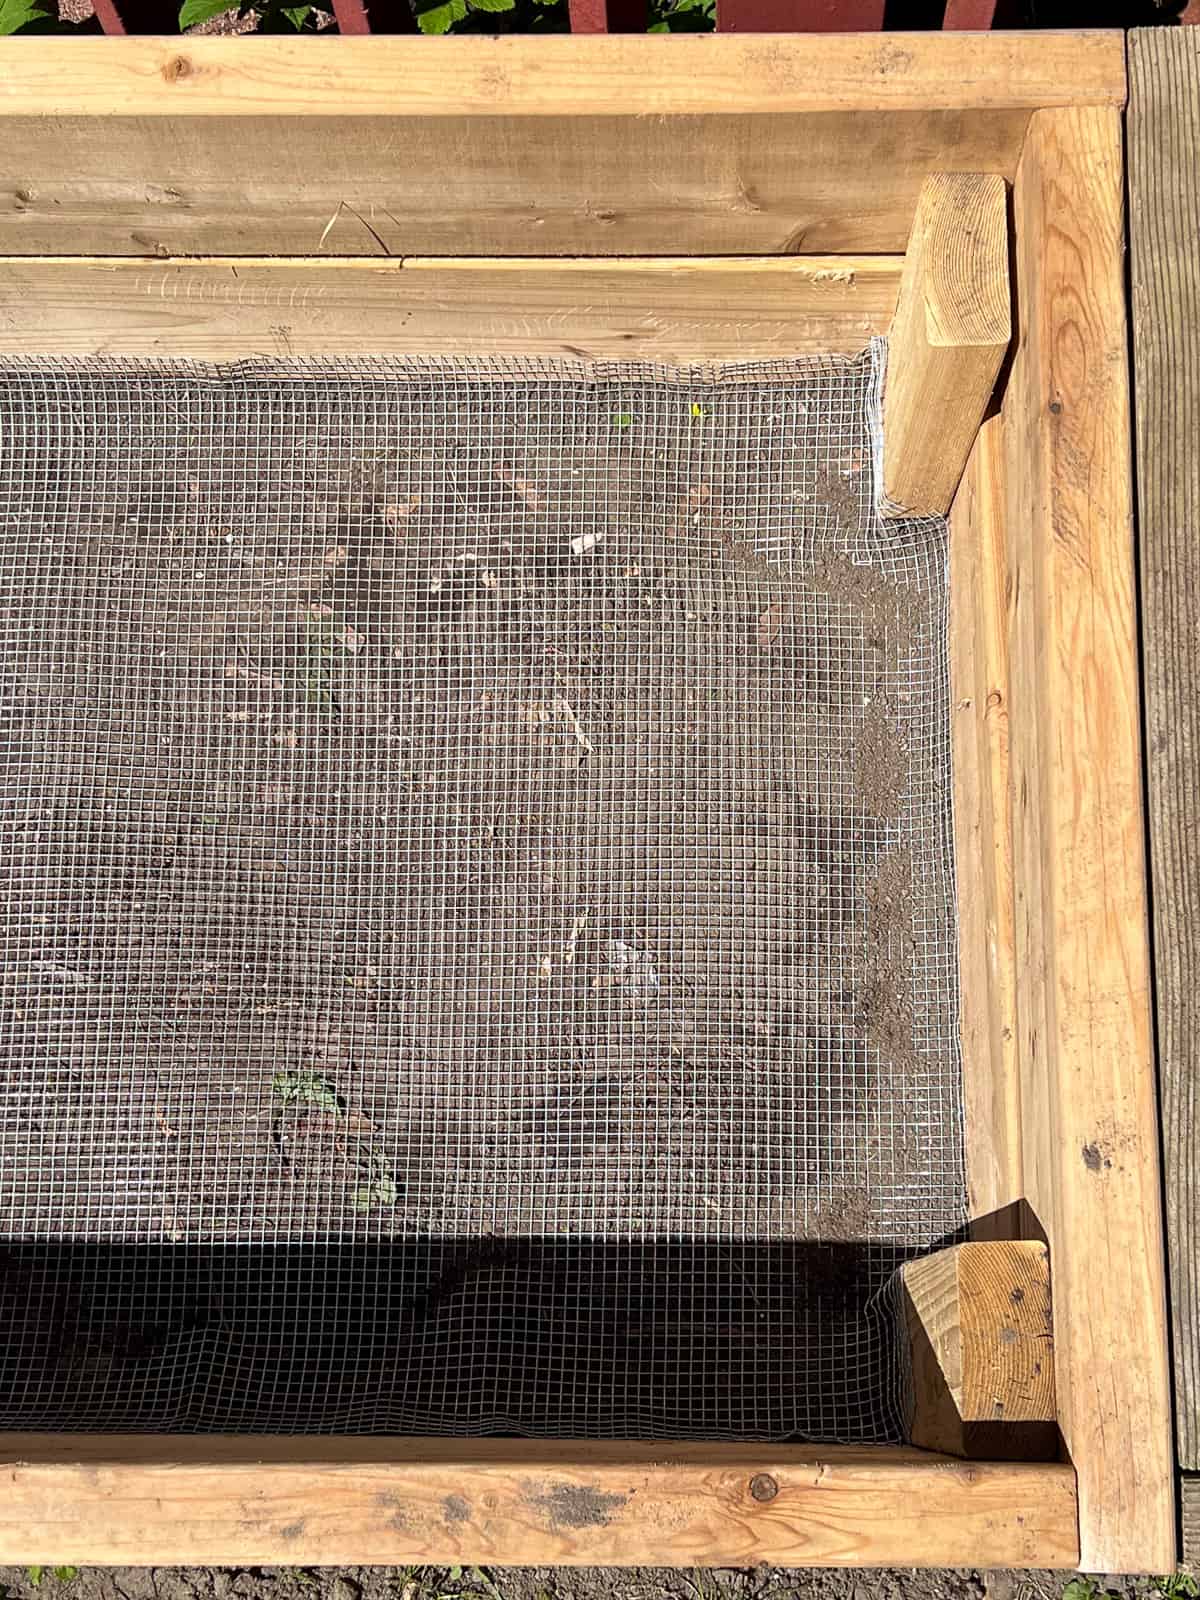
This close-up of a lined bed shows how the metal mesh, known as hardware cloth, is used to line the bottom and the lower sides of the bed.
Lining your raised beds
Once your beds are built, leveled, and set in place, you will need lengths of stiff yet flexible metal mesh known as “hardware cloth” that features a small square grid pattern. This mesh will give even the smallest critter would trouble getting through, and still allows for both water drainage and access by beneficial insects such as worms. The length of mesh used for each bed should be wider and longer than the dimensions of your particular raised bed.
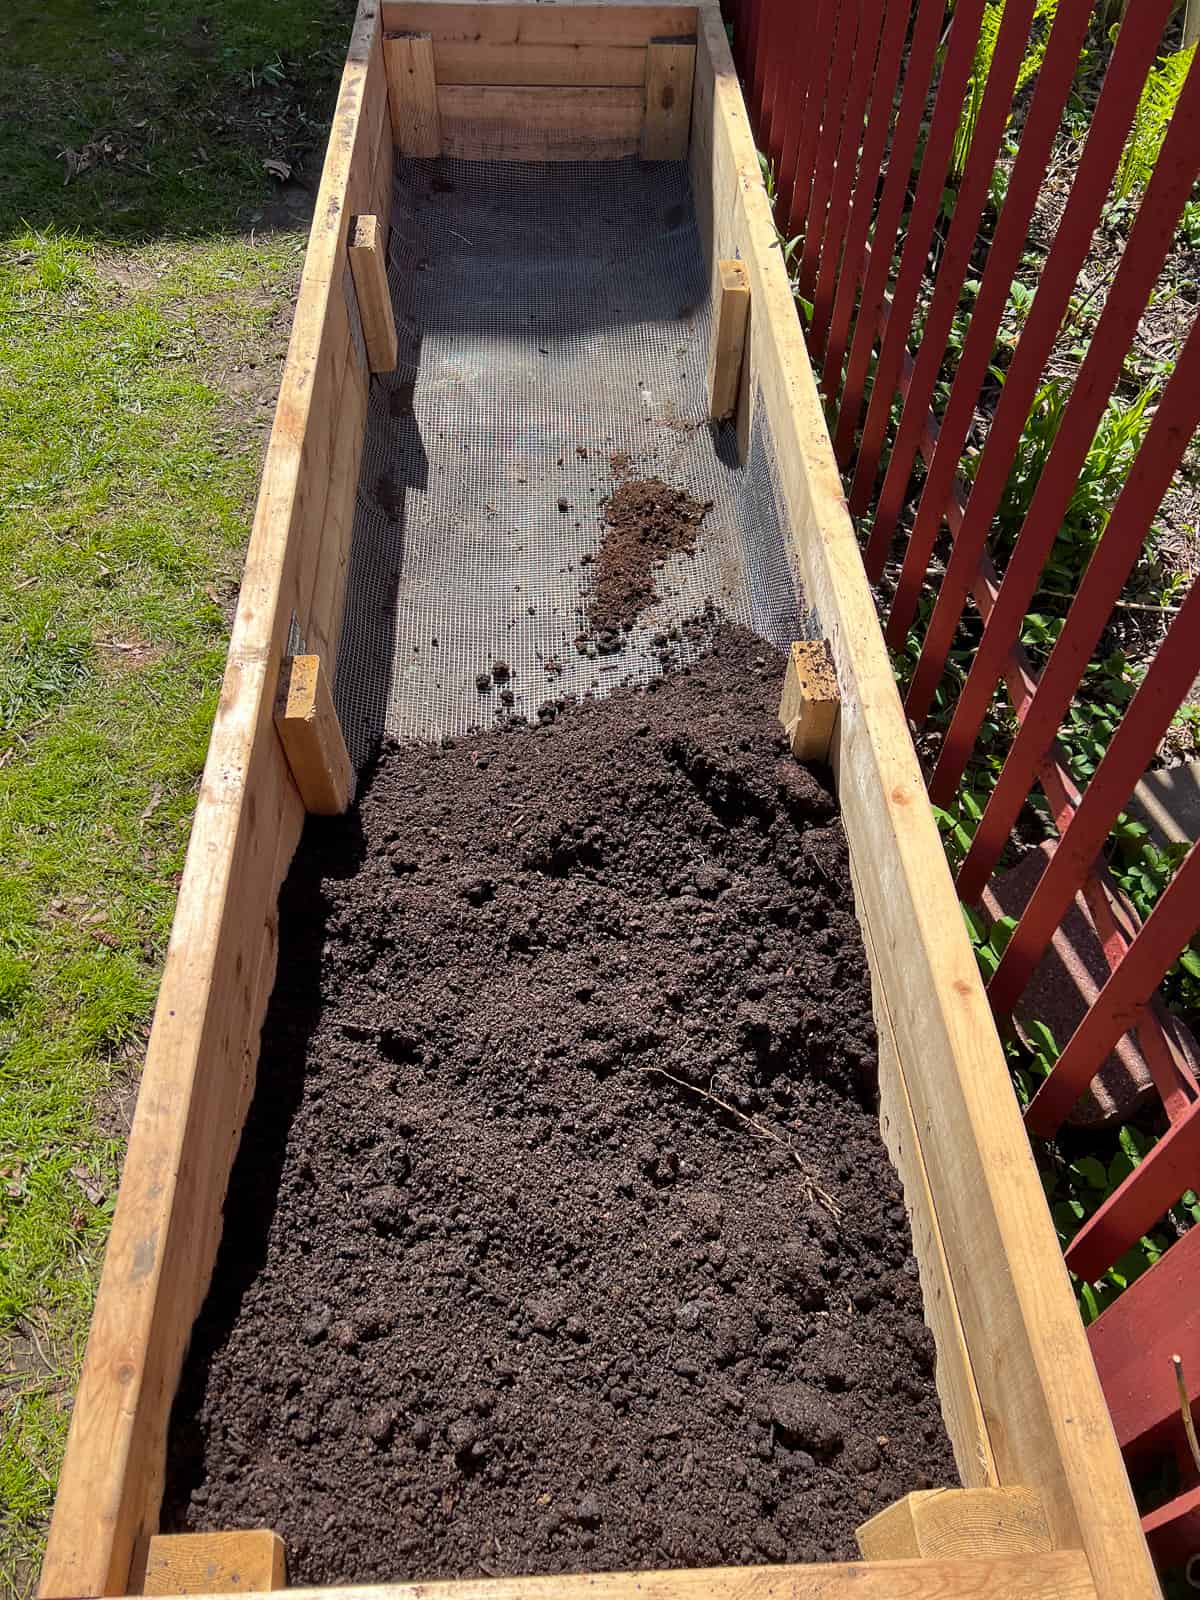
Once the bed is fully lined with the metal mesh, you can start to fill your bed with soil.
Using gloves and long sleeves to handle the mesh - I didn’t the first time and I really scratched up my arms - unroll the mesh so that it is at least a few inches longer on each side of the bed. You will likely need “tin snips” - heavy duty scissors that can cut metal - to cut the mesh as it is very sturdy.
Once cut to size, push the mesh down flat to the bottom of the bed to form it into place with your boots, and push it up the sides of the bed, creating a kind of mesh inset bottom. Using a manual staple gun with heavy duty staples, staple the mesh in place so that there are no gaps that anything could tunnel through.
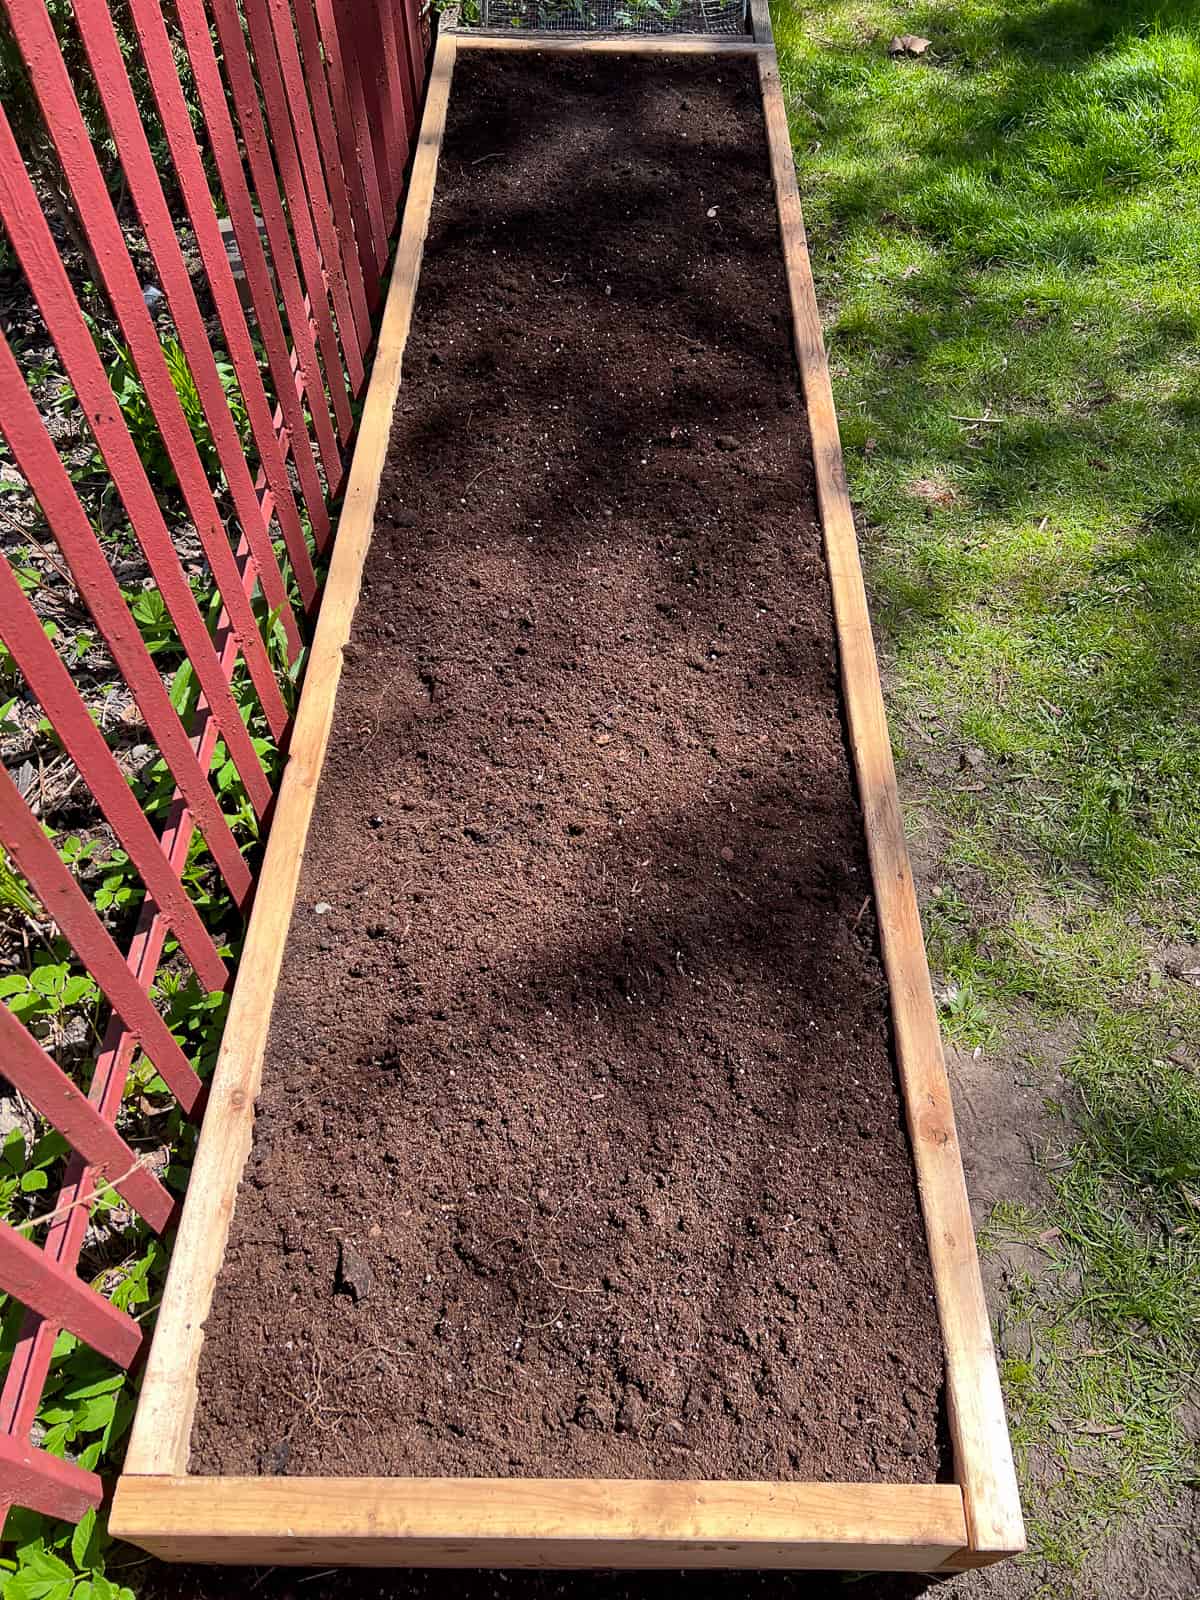
Once your bed is filled with soil, give it some time to settle, adding more soil as needed until the bed is completely filled.
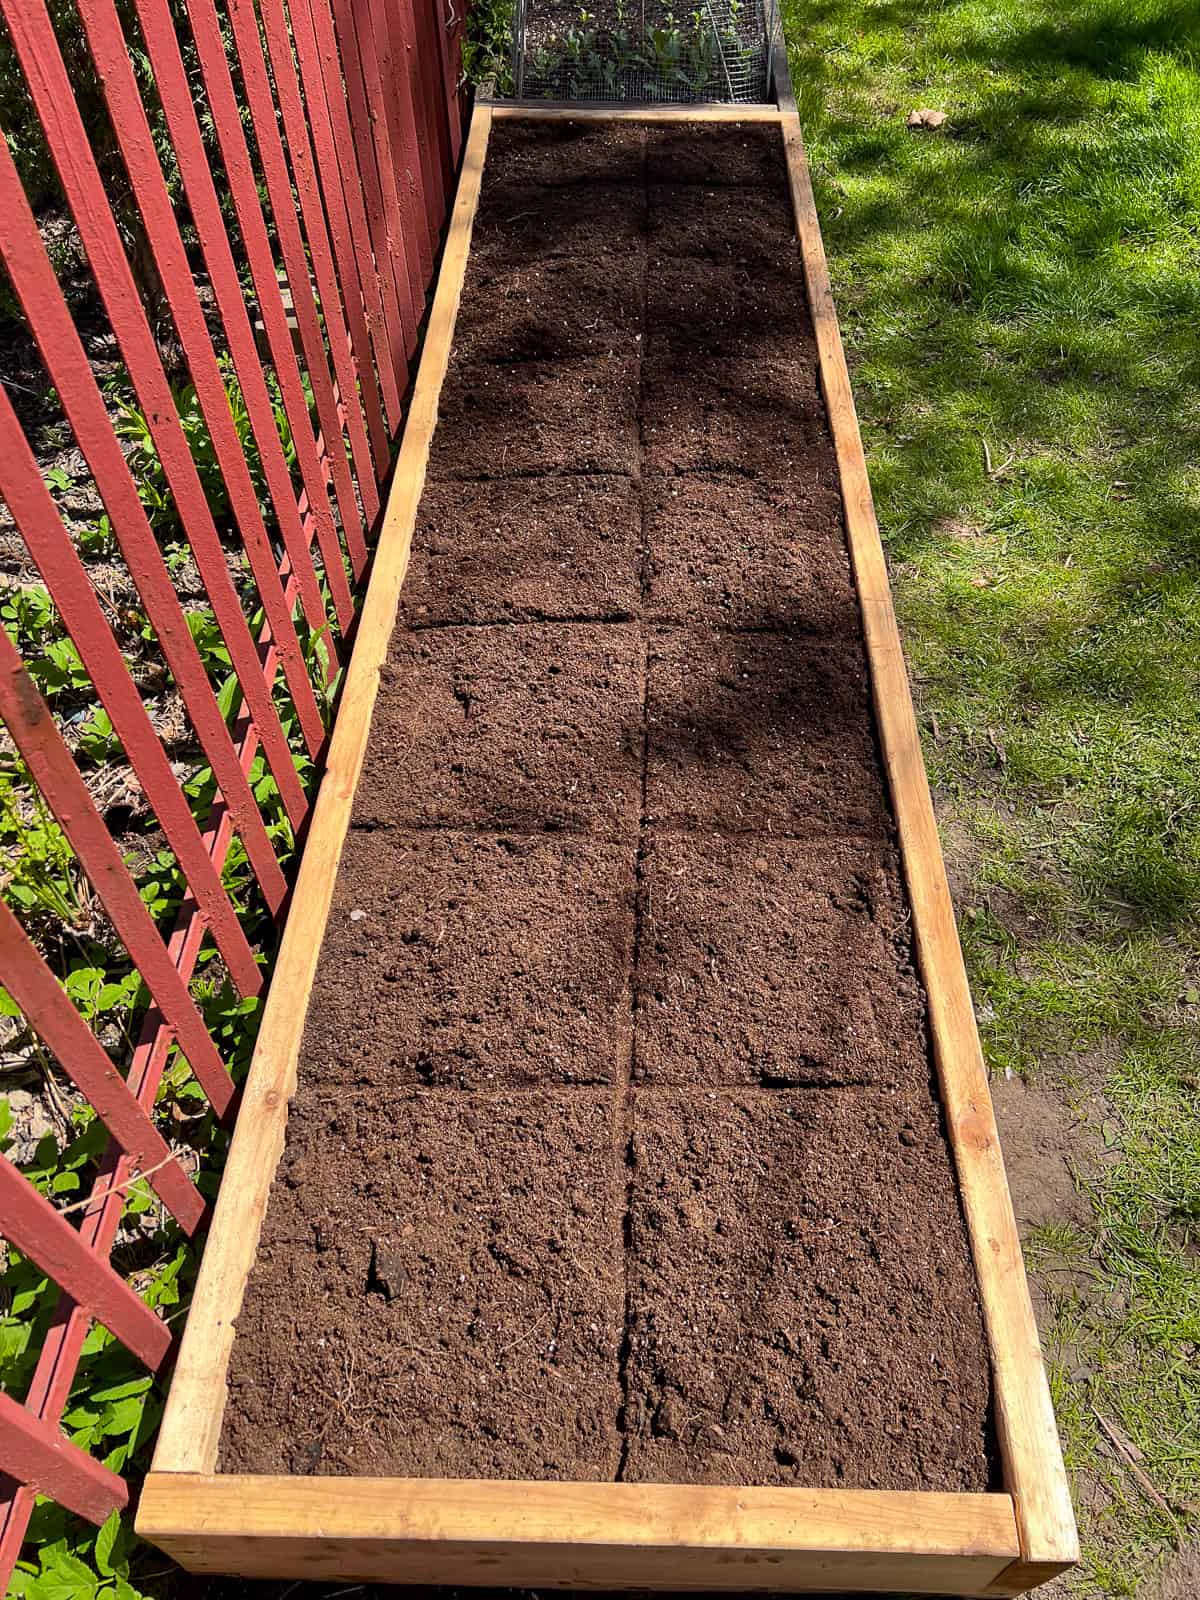
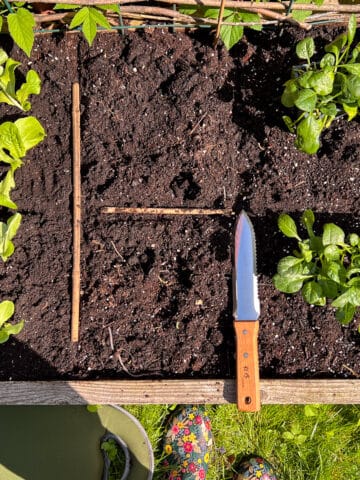
Once your filled bed is settled and ready to go, it can be marked out into square foot plots, ready for planting.
An optional final step
There is one last preparatory step, which I learned from other more experienced growers, which I did for some of my beds, and not for others (like the bed in these photos), probably because I simply forgot! For this last optional step, after you have installed your metal mesh, line your beds with with torn cardboard before adding your soil. Make sure to use only unprinted cardboard so as not to introduce other chemicals into your soil. Apparently worms love to eat cardboard and will be attracted to colonizing your beds once they are filled with soil; these are the kinds of critters you do want!
Other people use dried leaves and other discarded plant material to line the bottom of their beds instead of cardboard - use what you have, just making sure you leave the majority of the space for soil. If you are using closed bottomed containers, there is no need for either of these bed lining steps.
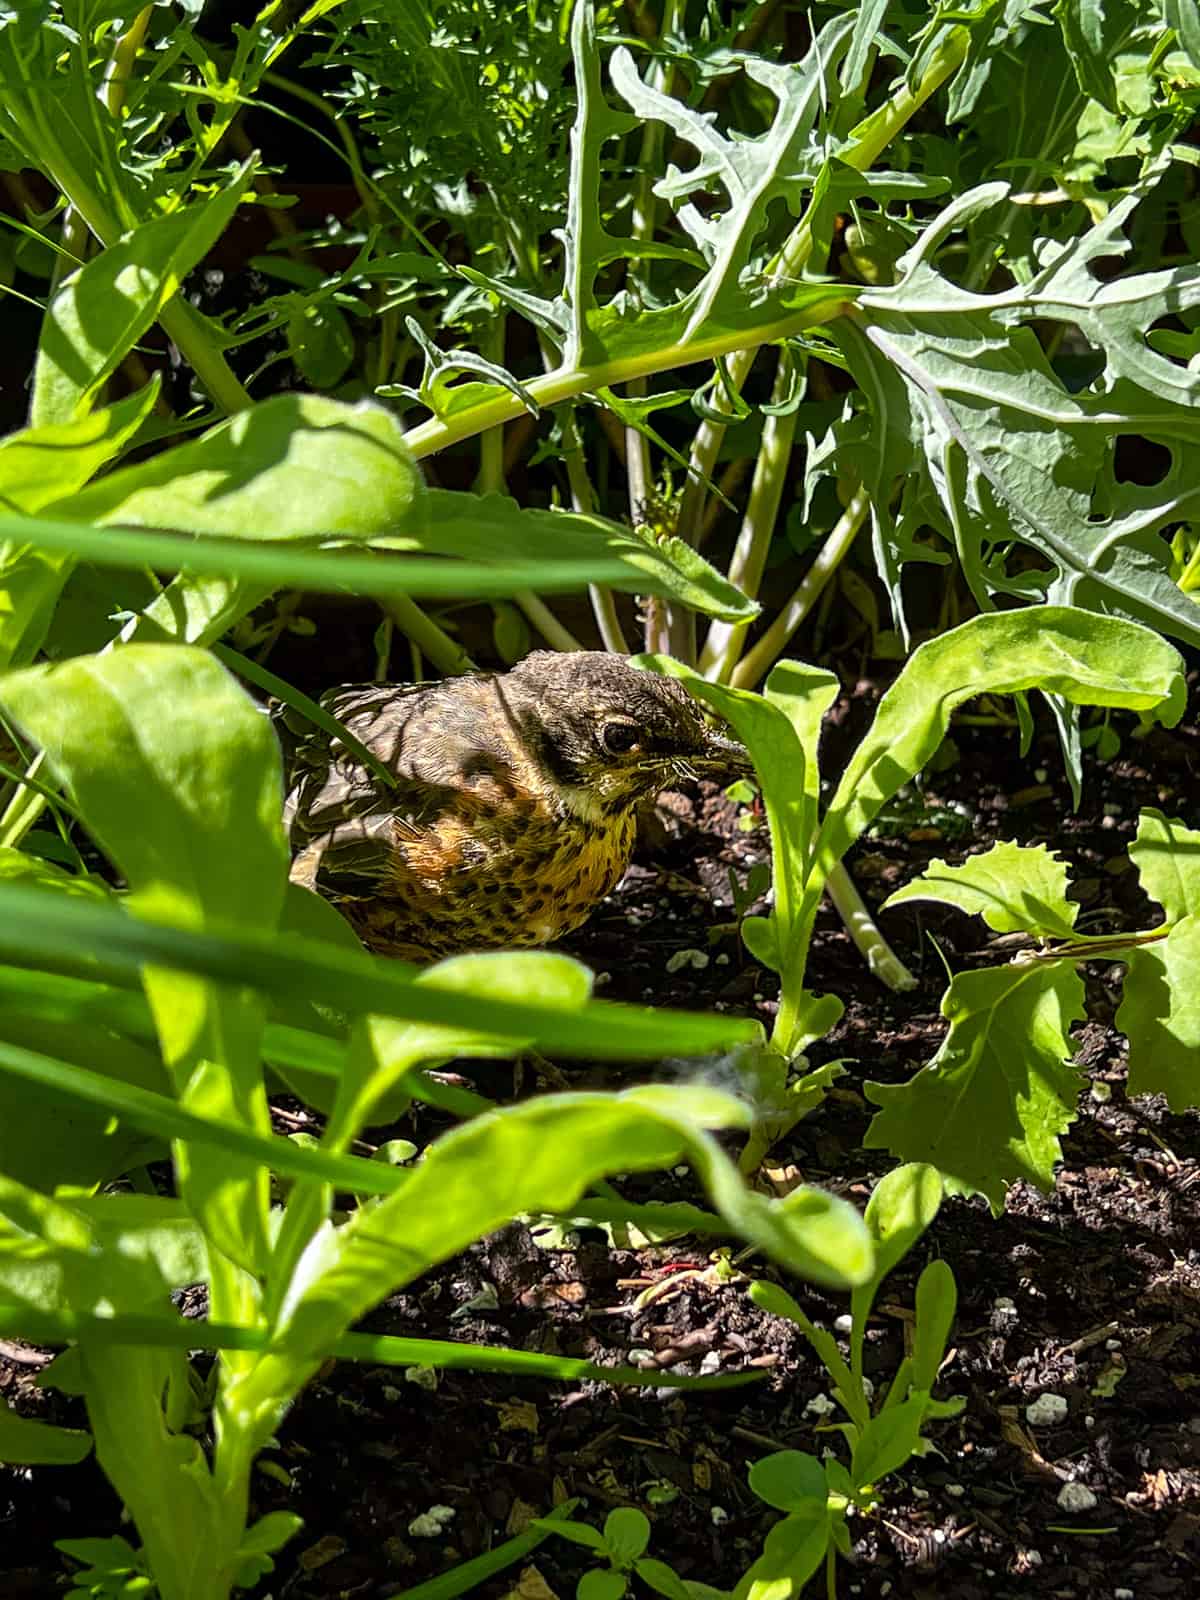
There are certainly all manner of critters, like this juvenile robin finding a touch of shade on a hot day, that you can happily host in your garden beds. Some critters visit because your garden has now become part of an ecosystem that they have come to need for their fare share of food or shelter.
While I do have a certain amount of bug, critter, and pest activity that varies from year to year and season to season, nothing has ever entered my beds from below! And now, with years of experience under my belt, I see the nibbled leaves and stolen cherry tomatoes as my offering to the ecosystem that my garden is a part of.
When I see a squirrel eating the last of the late fall kale, or a bluejay picking seeds out of the spring mulch, I know I am gardening according to my principles. Giving back a percentage of my gardening yield is a small price to pay for the joy, beauty, and health that my garden gives to me, my family, and the surrounding backyard ecosystem.
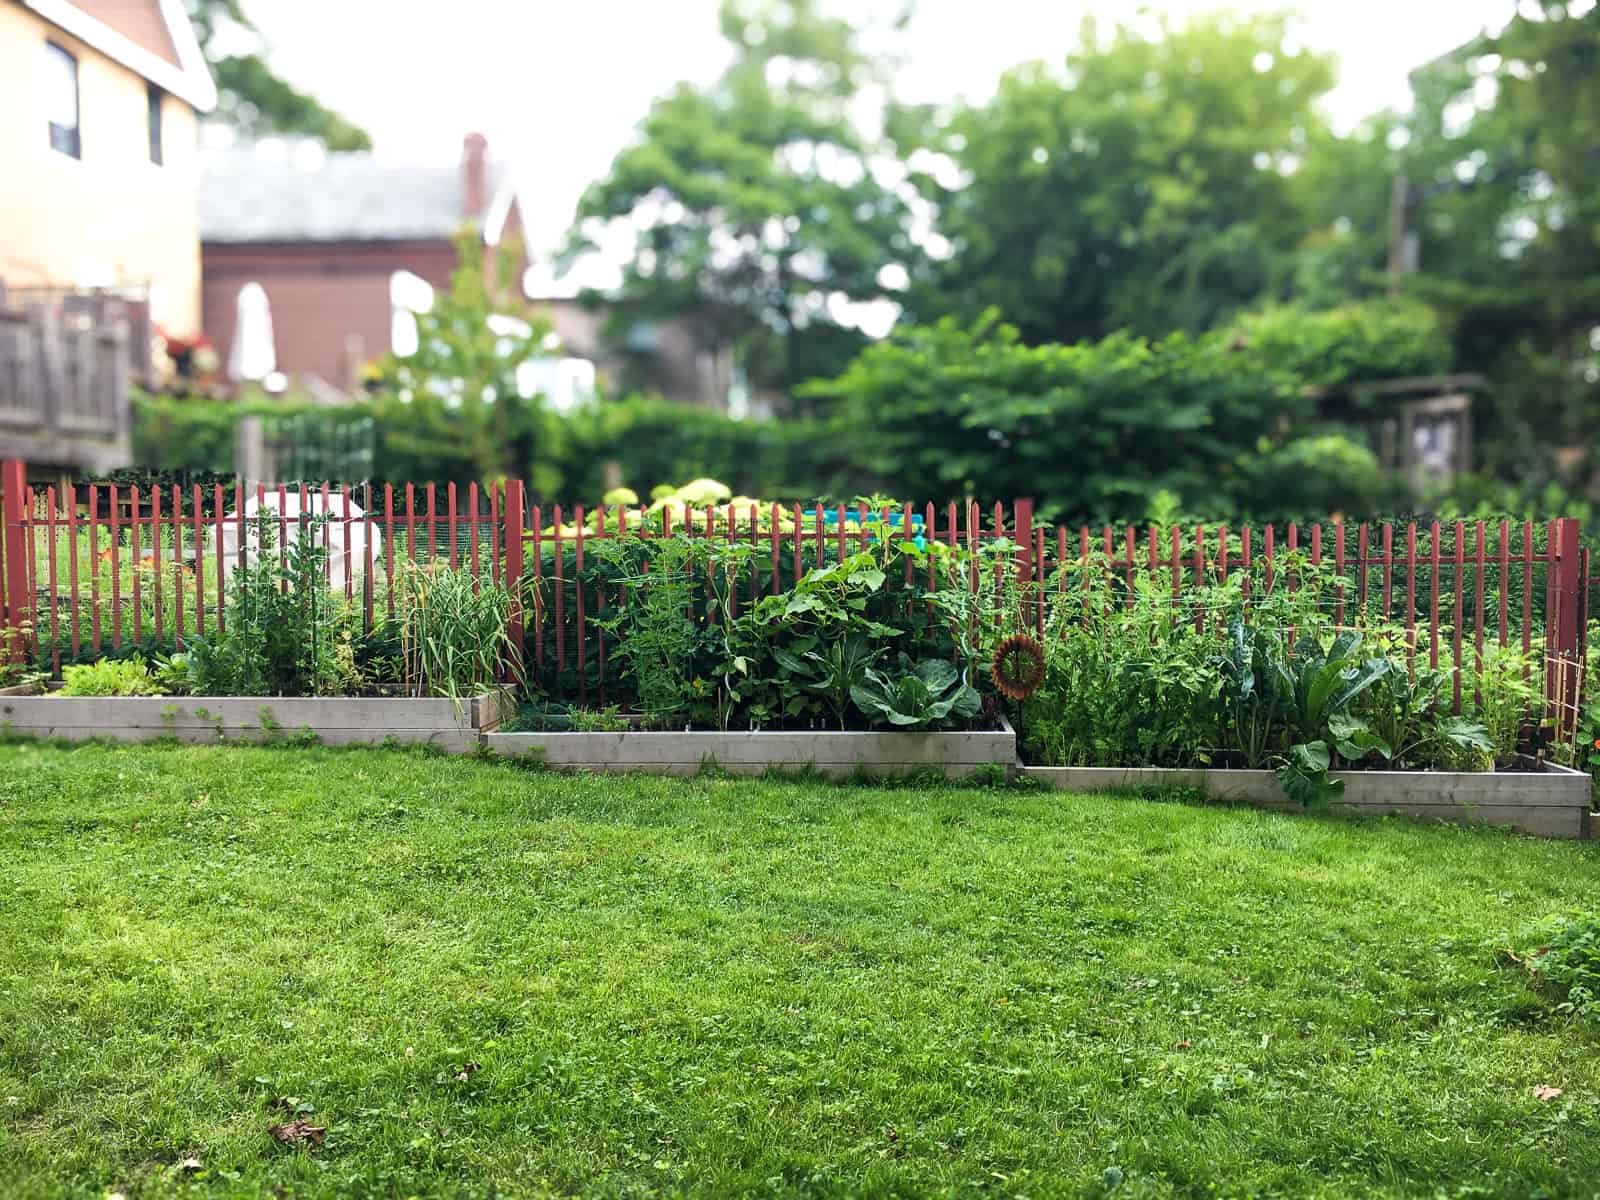
While lining your beds is extra work, it's well worth doing, and is one more step towards protecting the glorious harvests that will surely come your way.
Interested in reading more about
Square Foot Gardening?
Read more in my Square Foot Gardening series:
Favourite resources
[Note: any of the methods, organizations, products, or companies mentioned in this post solely reflect my own personal preferences.]
Growing Things - Check out my ongoing series of posts detailing my journey into square foot gardening, and some of the herbs, fruits, and vegetables that I have grown.
Square Foot Gardening Foundation - Find out more about the method from the originators of this urban friendly and social justice oriented growing practice.
Seeds and seedlings
Farmacie Isolde - I adore this small scale seed vendor as much for the pleasure of reading their seed and plant descriptions as for the truly interesting and successful harvests I have been rewarded with from using their seeds. Favourite plantings in the past have included Golden Sweet Snow Pea, Romanesco Zucchini, Bear Necessities Kale, Cilician Parsley, and numerous unusual herbs.
Richters - If you love herbs, this place has the motherload. If you are ever in the neighbourhood or fancy a drive in the country, is it more than worth it to walk through their greenhouse and become acquainted with hundreds of types of herbs, many that you may have never even heard of. Their catalogue contains a huge range of herbal and medicinal seeds, as well as a selection of interesting vegetables and fruit seeds. They also sell plant starts which I have yet to try.
Urban Harvest - This local vendor carries organic seeds for vegetable gardening essentials and also produces plant starts in the spring.
West Coast Seeds - This Canadian vendor supplies a huge range of organic and heirloom seeds, as well as handy planting charts for zones across Canada. I look to this source for regular repeat plantings and new and interesting varieties to try each year. Favourite plantings in the past have included Masai Bush Beans, Mini Purple Daikon, Hakurei Turnip, Ethiopian Kale, and numerous other varieties.
Wheelbarrow Farm - An an organic vegetable farm in Ontario that sells fantastic organic seedlings each spring, directly from their farm and at various locations in and around the Toronto area.
Soil
Pure Life Soil - This soil vender in the GTA region (formerly Pagonis Soil) is where I have sourced my high quality organic soil mix since the beginning of my gardening journey. This soil was recommended to me by other growers when I got started, and I'm still using this soil regularly 9 years later and counting. If you aren't in the GTA area, you can still check out their soil mixes as a guide to searching for something similar in your region.
Working with Pure Life Soil has helped me to understand that healthy soil isn't just dirt—it's a thriving community of helpful microbes, fungi, and worms that work together to feed plants naturally and improve soil biology. I'm proud to use Pure Life Soil and be part of the growing movement that sees soil health as the foundation for better gardens, farms, and a healthier planet.
Community
Farmers Markets - A wonderful source of seedlings or plant starts for gardeners in the spring and summer. I’ve learned quite a bit about various crops and have been inspired to grow new varieties by chatting with farmers at my local market, one of over 180 across Ontario.
Toronto Urban Growers - a community oriented organization that supports the efforts of urban food farmers at whatever scale. They hold information events, showcases and local growing competitions which are fun to view and enter. Your town or city likely has a similar organization nearby.
Seed Saver organizations - there are dozens of grass roots seed saving organizations around the world where you can find, exchange, or donate heirloom seeds. Use this list as a starting point or simple google 'seed savers + your country of residence' to see what is available in your region.
Seeds of Diversity - This Canadian organization dedicated to the protection and preservation of heirloom and endangered food crops is a wonderful source of information for gardeners. They they also organize ‘Seedy Saturdays’, a series of events that facilitate seed swapping between home growers.
Wherever you live, seed swaps are a great place to get and give seeds for free, making it easier to diversify your crops, keep heirloom varieties alive, give back to your local growing communities, and make use of extra seeds so that they don’t go to waste. This organization also produces handy resources and information about saving seeds from your own garden.
Curious to learn more about growing things?
Read more about edible plants that you might enjoy in your garden:

Leave a Reply