During the golden days of summer in Ontario, neighbourhood farmers' markets are full to bursting with a huge variety of local produce. From everbearing strawberries to bunching onions, asparagus to green garlic, and donut peaches to yellow plums, the options that appear during the hotter months are mind boggling. If vegetal insanity starts to grip you, as it has me many a time, an easy way to preserve summer's bounty is at hand!
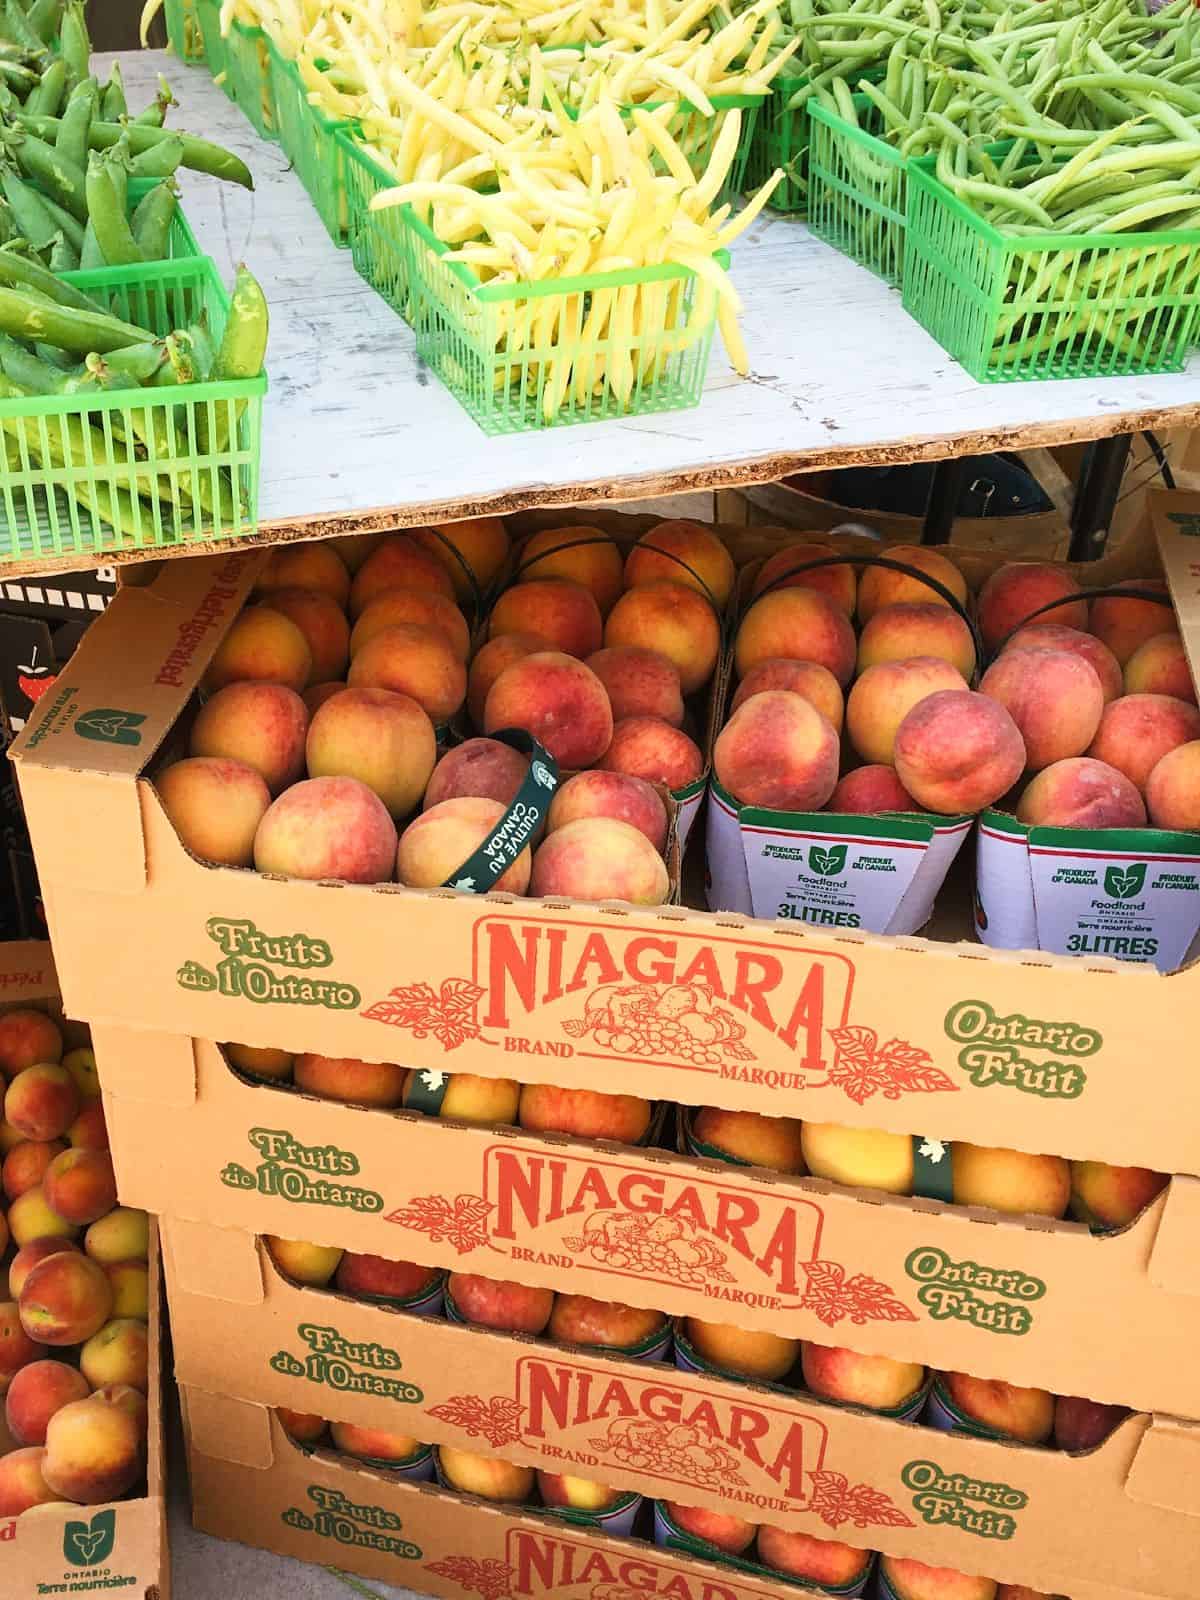
During one memorable farmers market trip, I found myself buying three different kinds of melons, a huge basket of strawberries, two dozen ears of corn, two kinds of peaches, and a big container of pickling cucumbers! What was I thinking ?!
I just couldn’t bear to miss out on the true, ripe flavour of local produce, often more flavourful than what you can generally find in a supermarket that has been flown or trucked in from a location many miles away. As as result, I needed to turn to an easy way to preserve a large amount of fresh produce without too much extra fuss.
Jump to:
Why preserve fruit and vegetables?
Imagine strawberries that are actually red inside, that taste and smell like strawberries! Sweet corn that is plump and succulent! Peaches that aren’t mealy! At least while this bounty is available, I try my best to buy local fruit and vegetables this way, making a small dent in reducing my use of imported produce and the attendant plastic packaging.
While canning and other more involved forms of preserving are absolutely worth taking on, there is an easy way to preserve summer's bounty that may not be top of mind; freezing!
I especially love to freeze strawberries for smoothies, peaches for lassis or baking, and corn for a variety of dishes, from Street Corn Salad to Corn Broth. Freezing local seasonal produce only takes a little bit of easy kitchen prep, reduces reliance on imported and packaged goods, supports local farmers, and most importantly, just tastes so good!
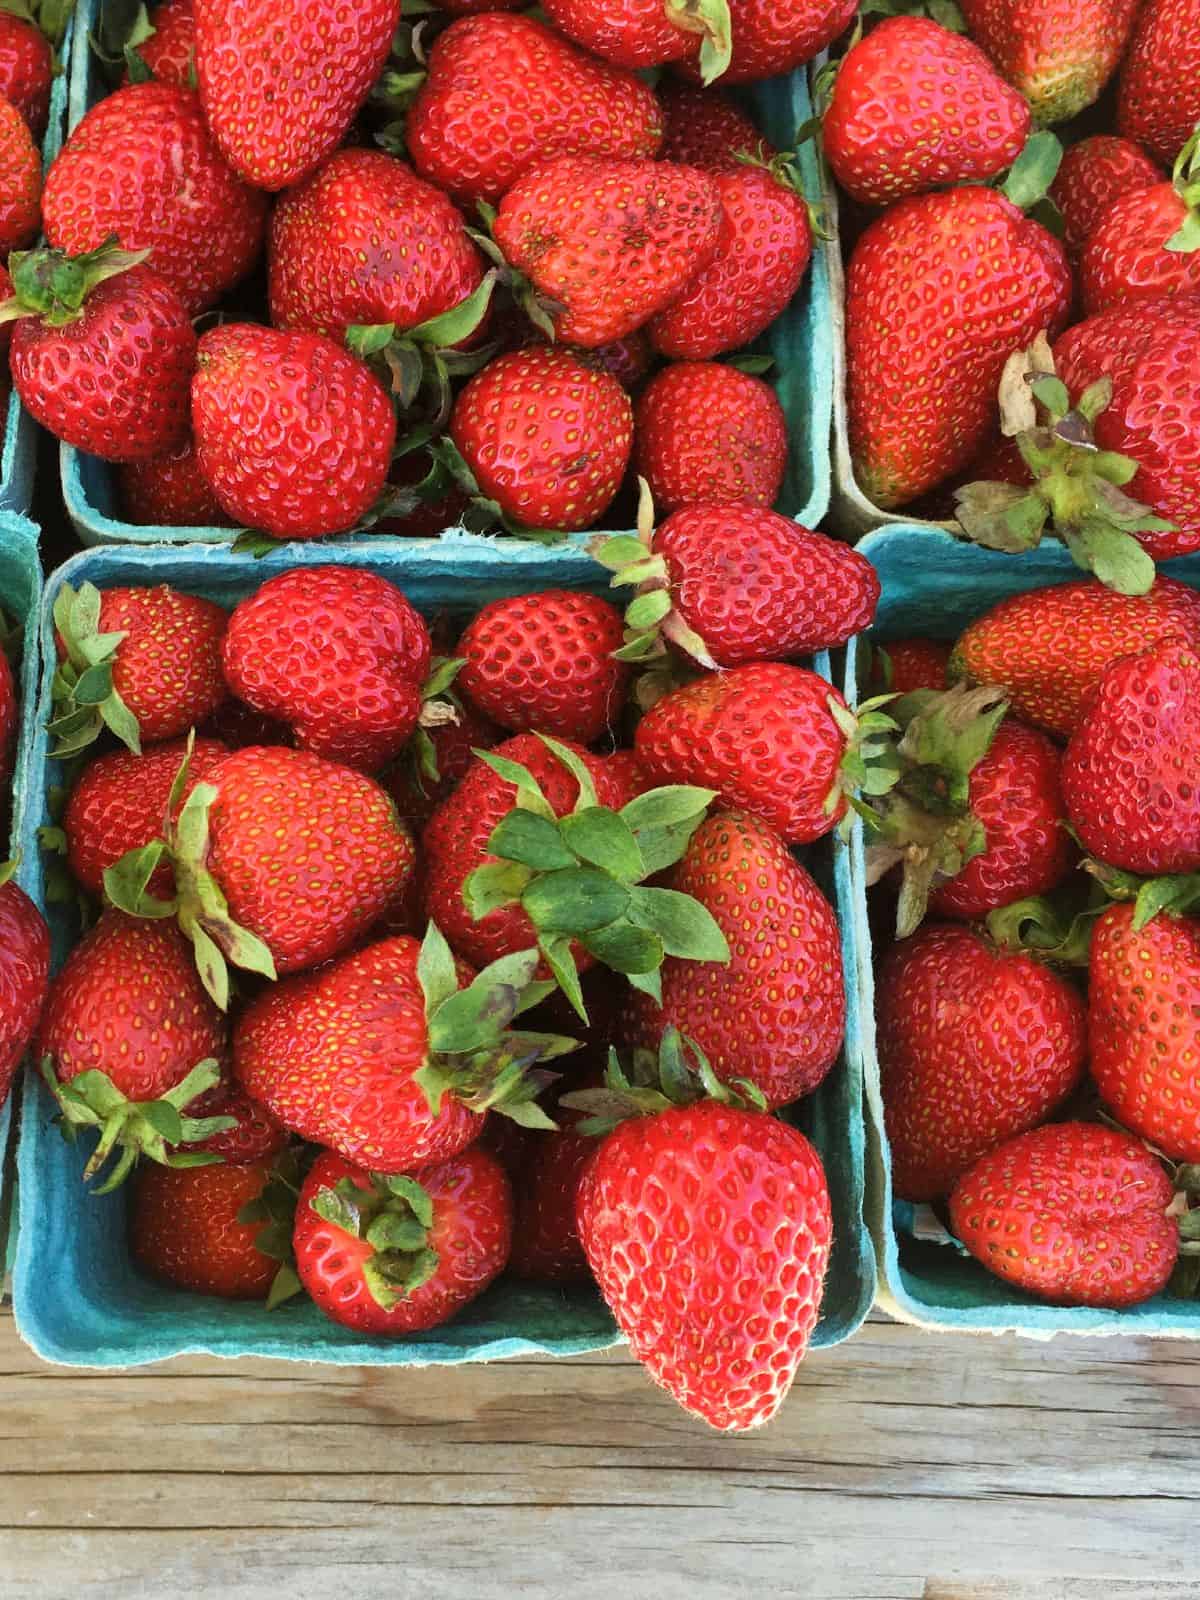
How to freeze summer produce
Fruit that does not have too high a water content is great to freeze. I wouldn’t personally freeze melon or cucumber for example, but softer fruits that you know you will use by blending (as in a smoothie) or cooking (as in a sauce, pie, stew, or soup) are great contenders for freezing.
I most often freeze berries and stone fruit, which freeze well, are easily used in my kitchen, and are relatively easy to prepare. These kinds of fruits are best frozen in two quick steps. First, the individual berries or fruit segments are frozen. Then, once the fruit segments are frozen, they can be easily packed into silicone pouches or other reusable containers. Freezing the individual segments first means that you don’t end up with a giant fruit iceberg that you have to chip away at or partially defrost before using.
Freezing strawberries, peaches, and similar fruit
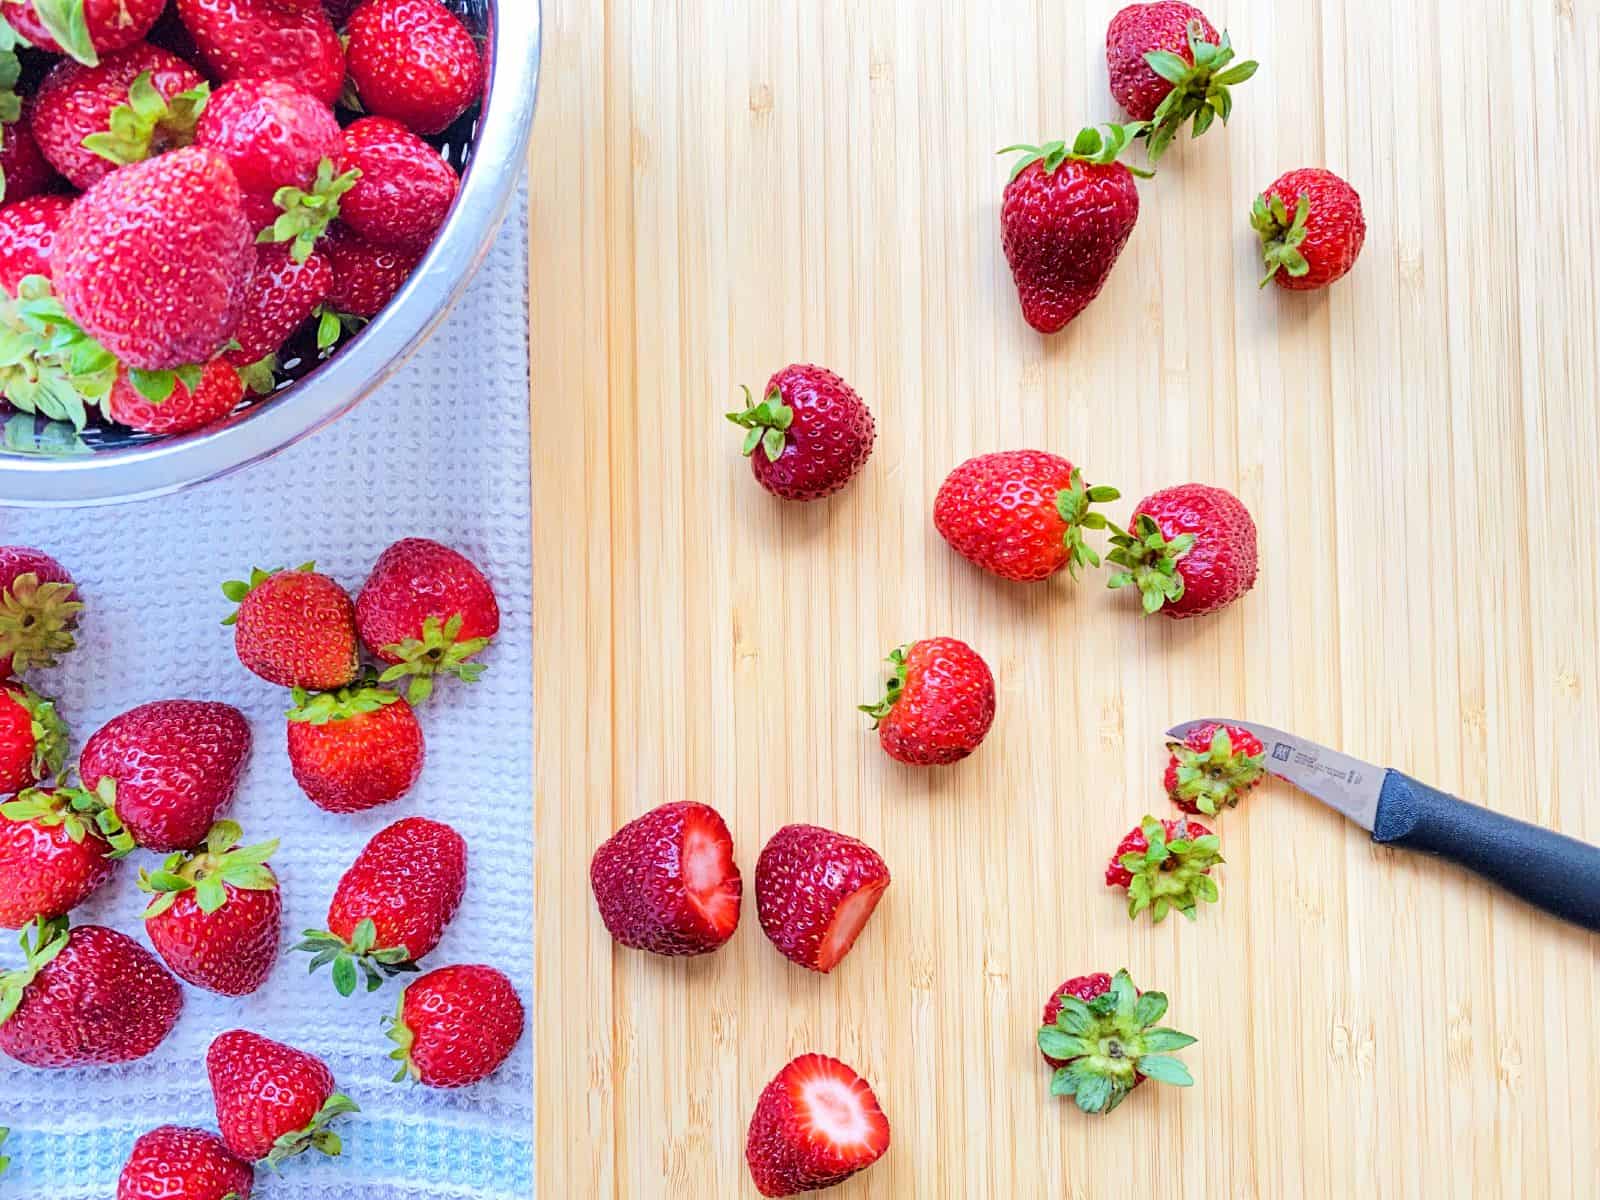
Whatever you are freezing, gently wash your fruit or produce just before you prepare it for freezing, and then let it air dry a bit on a clean tea towel laid out on your kitchen counter.
Strawberries
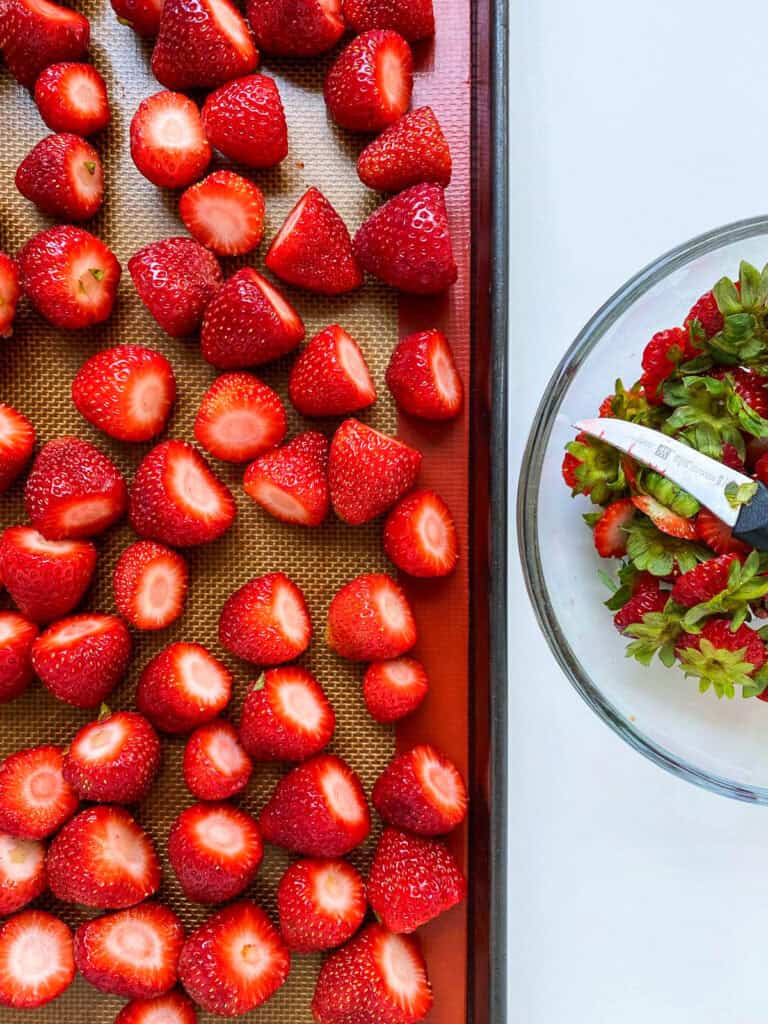
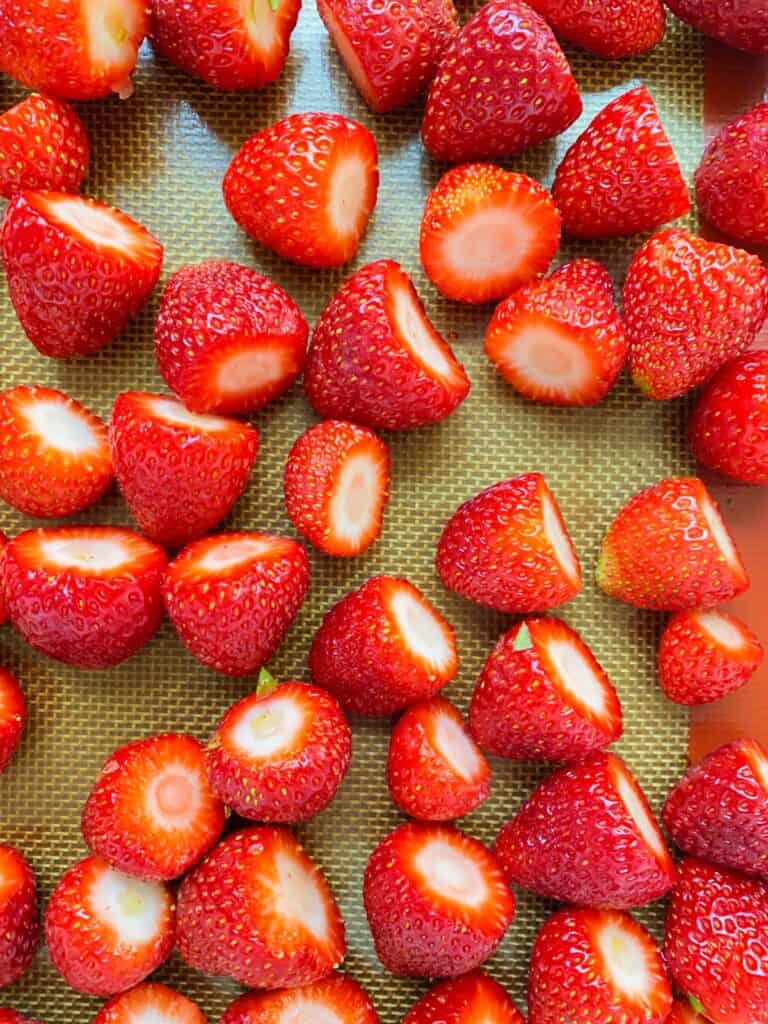
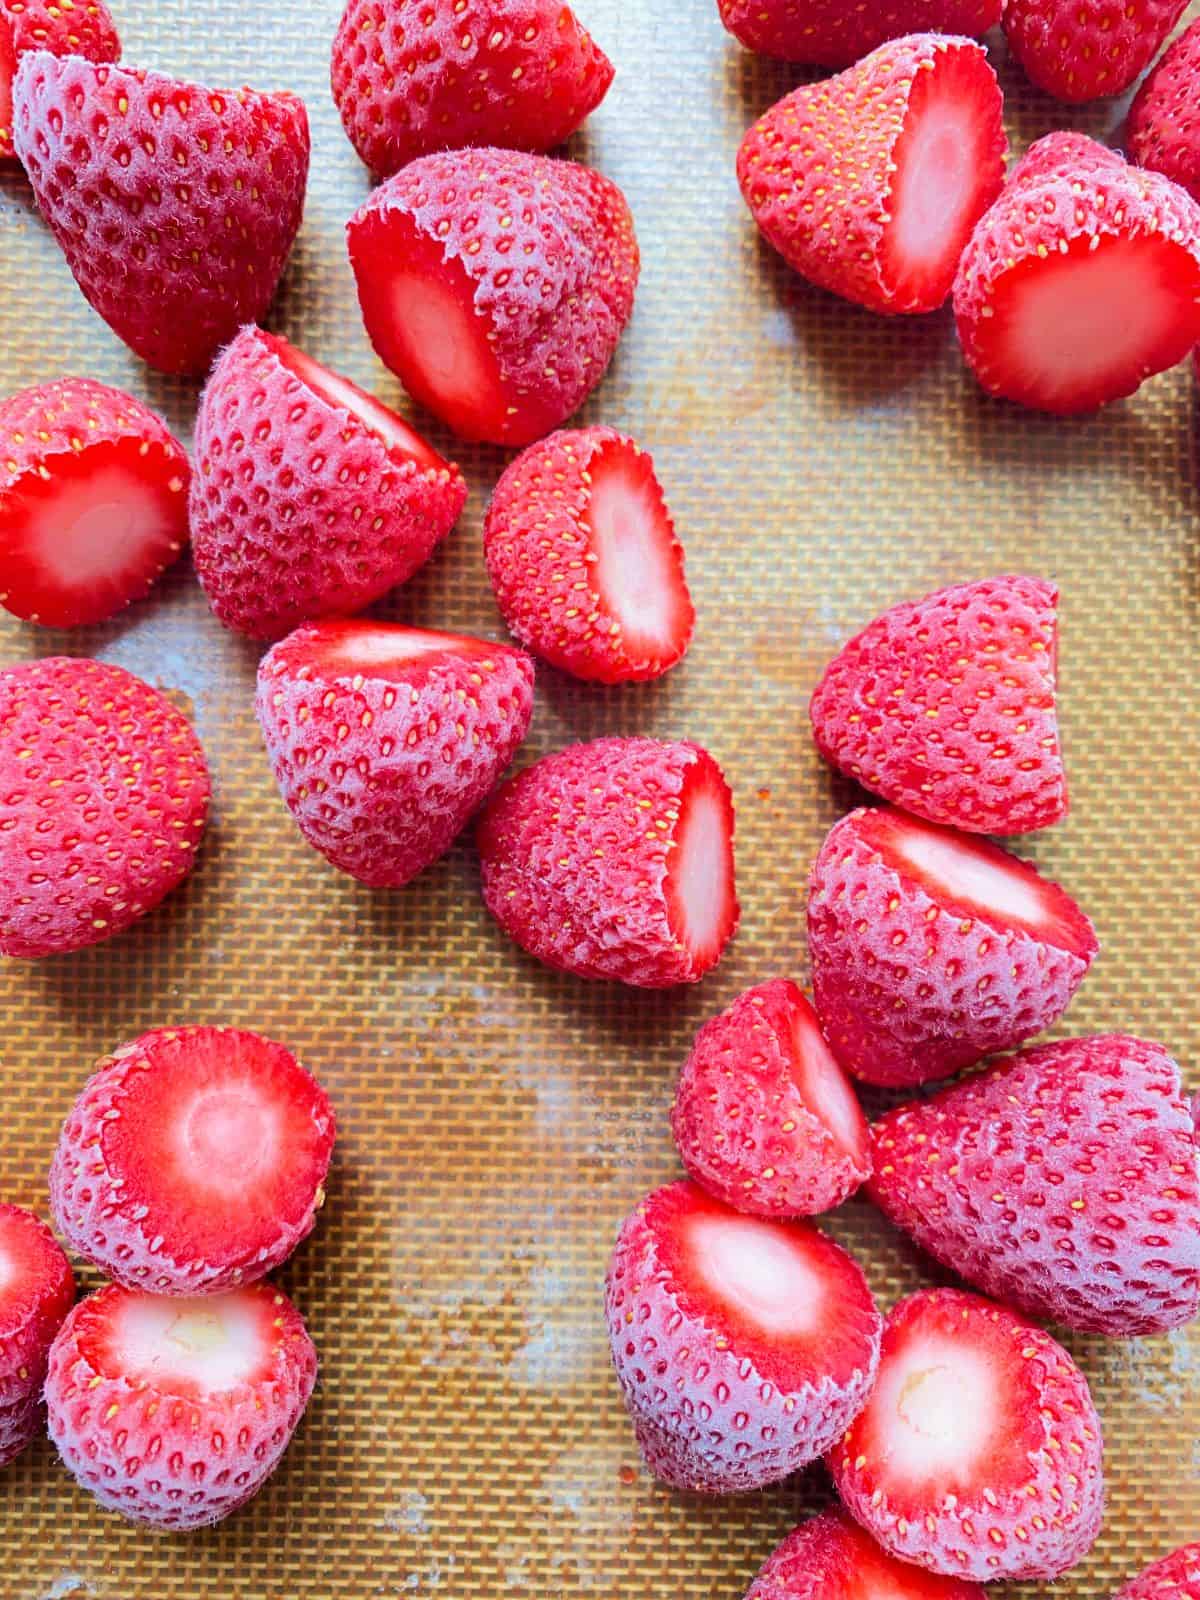
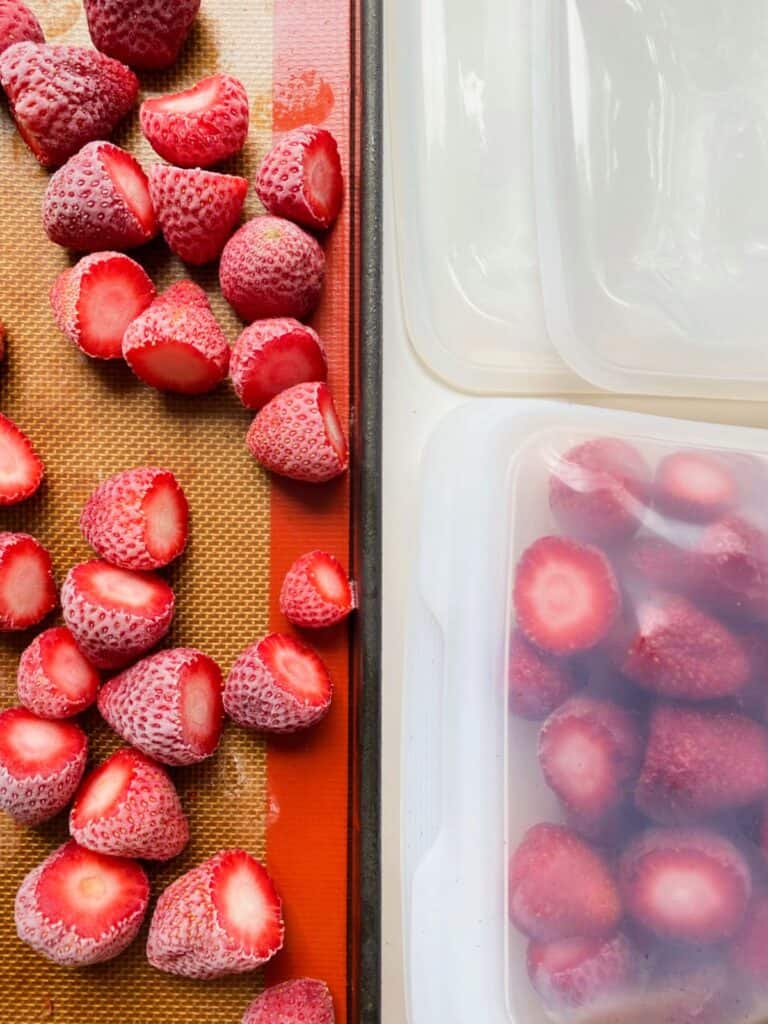
Hull the strawberries using a small paring knife and lay the pruned strawberries onto a tray lined with a silicone liner or parchment paper, so the strawberries don’t stick - first making sure your tray will fit into your freezer! Once your tray is filled with fruit, pop the tray into the freezer and let the berries freeze overnight. Once frozen solid, pack the fruit into silicone pouches and tuck away into the freezer for that smoothie you know you are going to need one dreary day in the future!
Peaches
For peaches, a slightly different approach is needed. Some varieties of peaches have skins that are easy to slip off, and others, the skin and flesh are practically welded together. Before you begin, cut one of your peaches in half and see if you can tease the skin off with a paring knife. If this is easy, skip the next step (and enjoy that cut peach as a snack) but if it won’t budge, do the following.
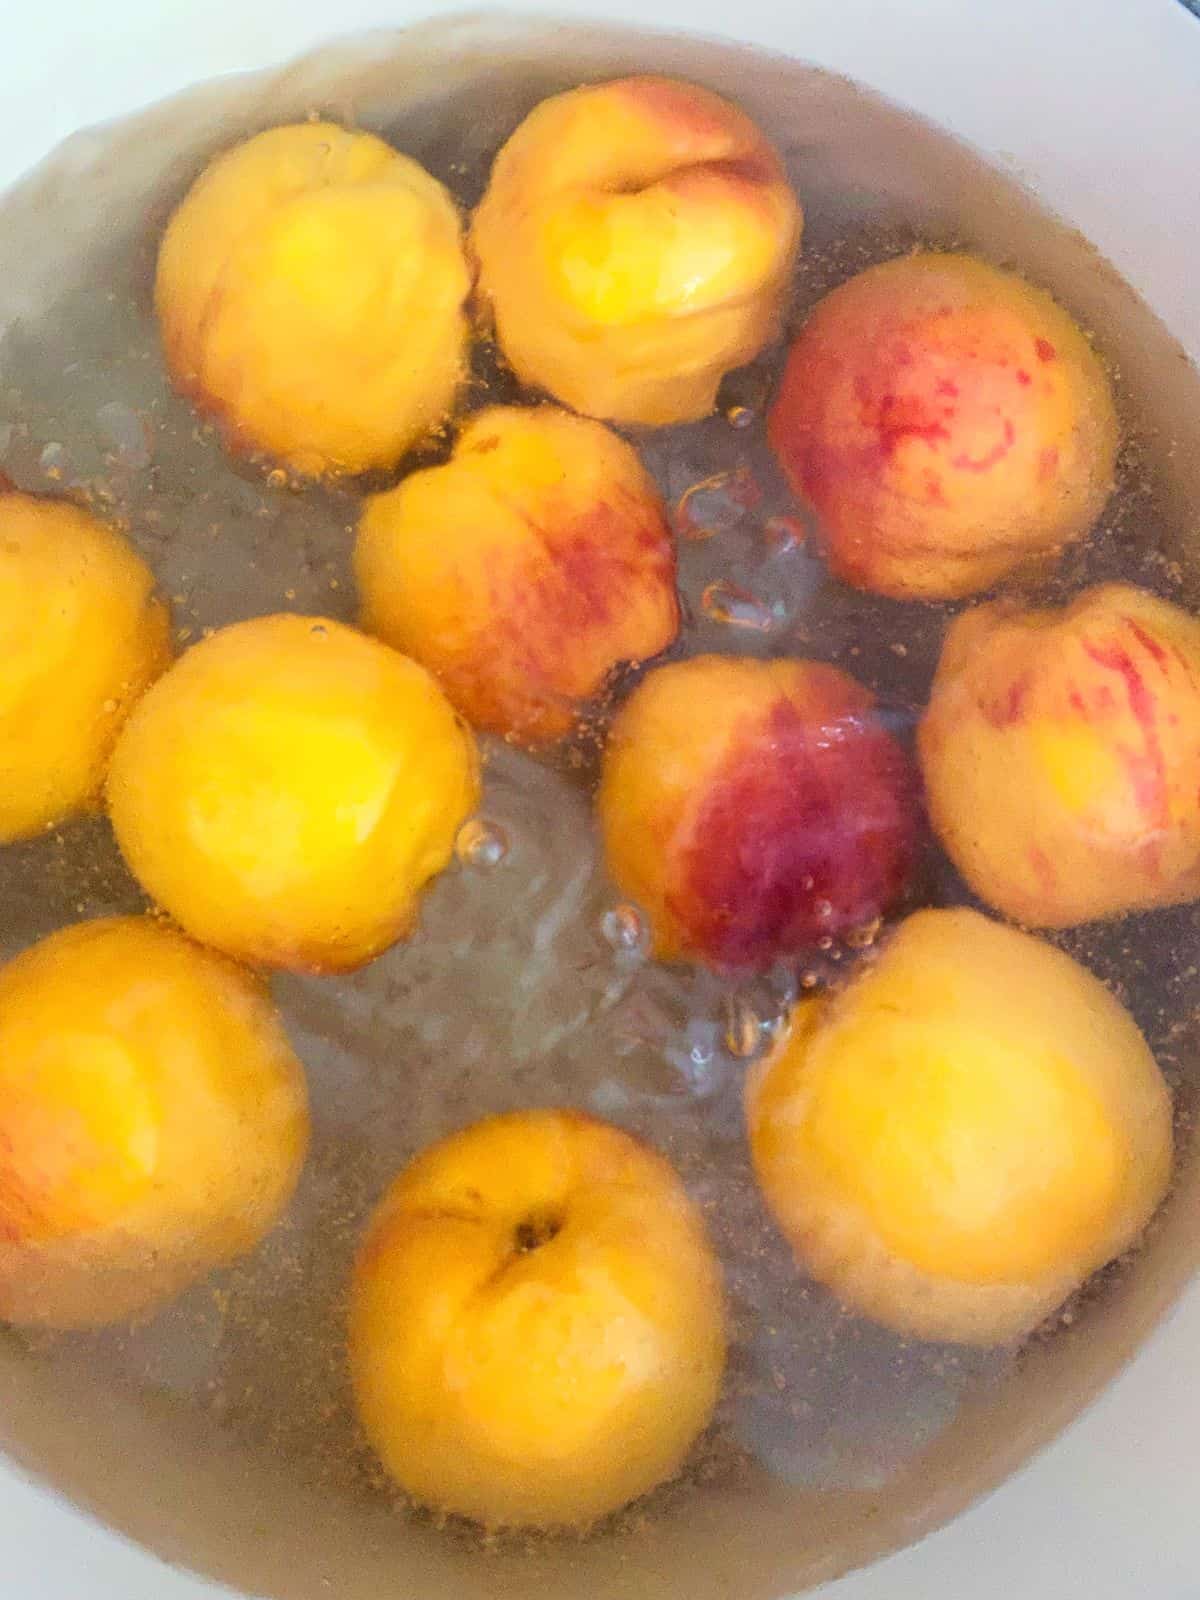
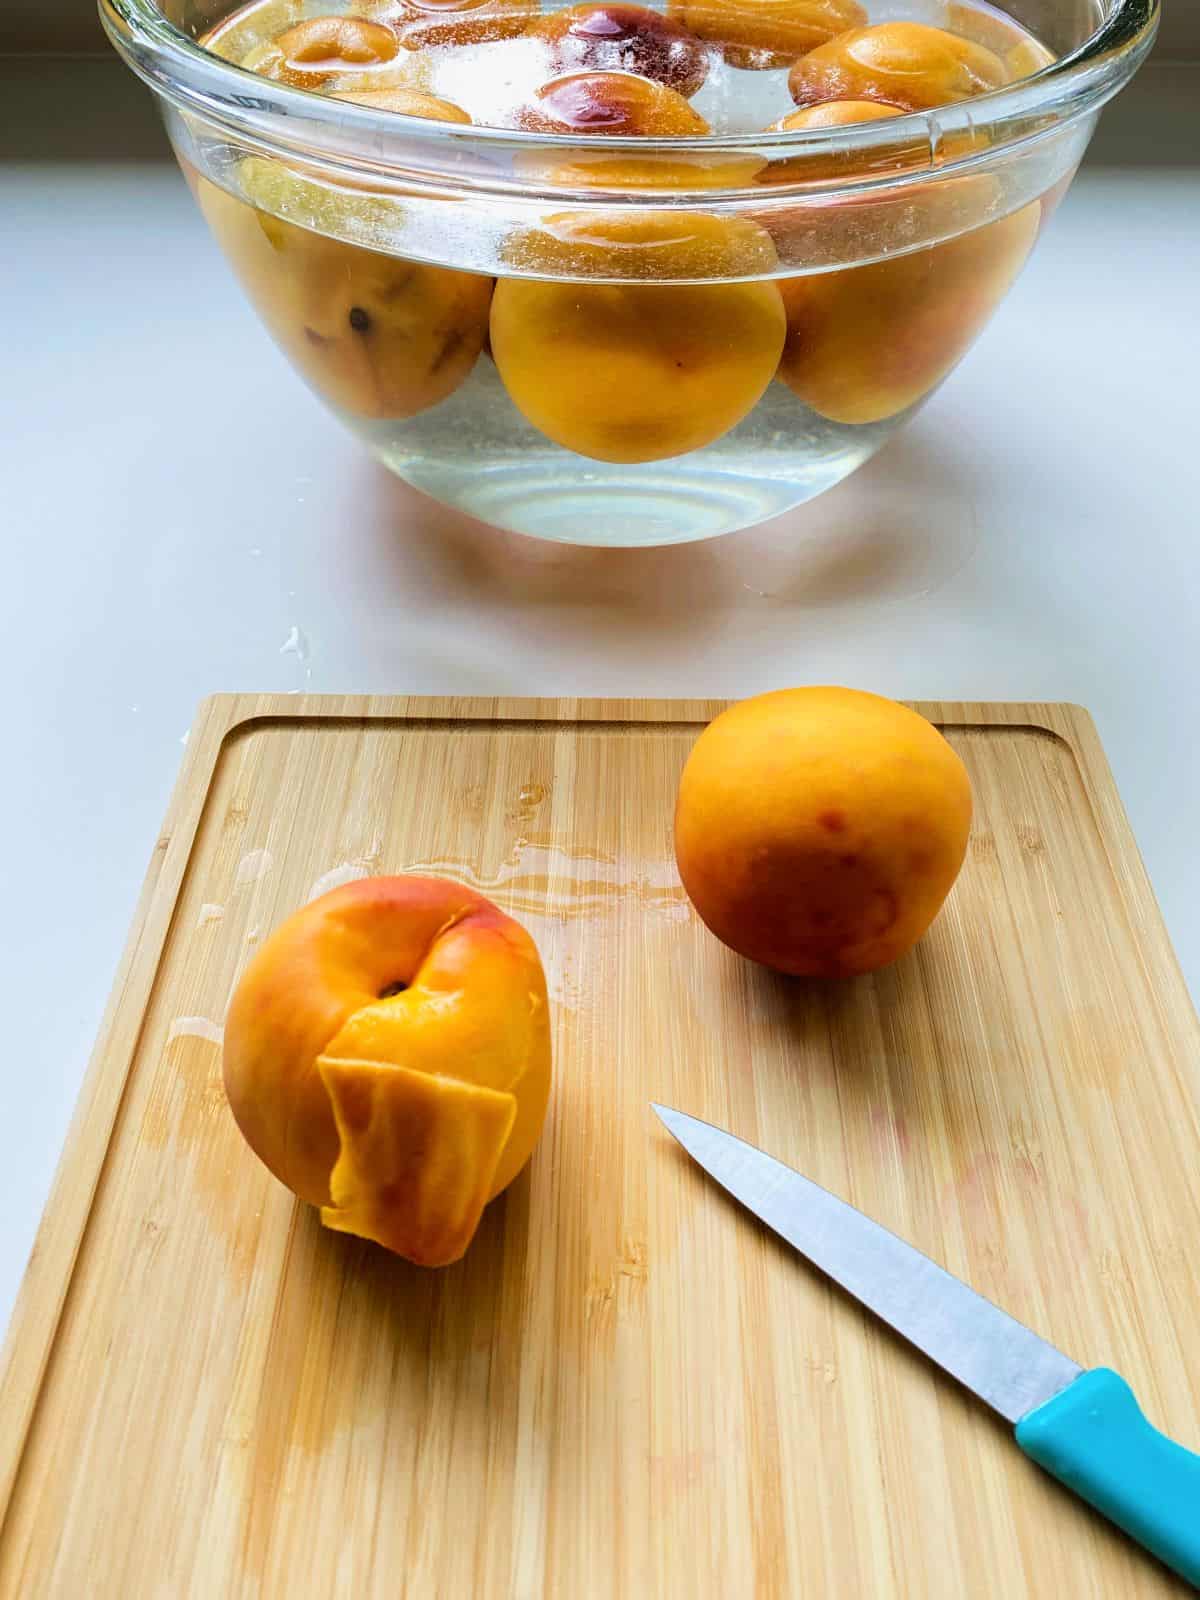
Set a large pot of water to boil. Once boiling, lower your peaches whole into the boiling water and leave for about a minute. Remove your peaches from the boiling water and place them into a bowl filled with cold water and some ice.
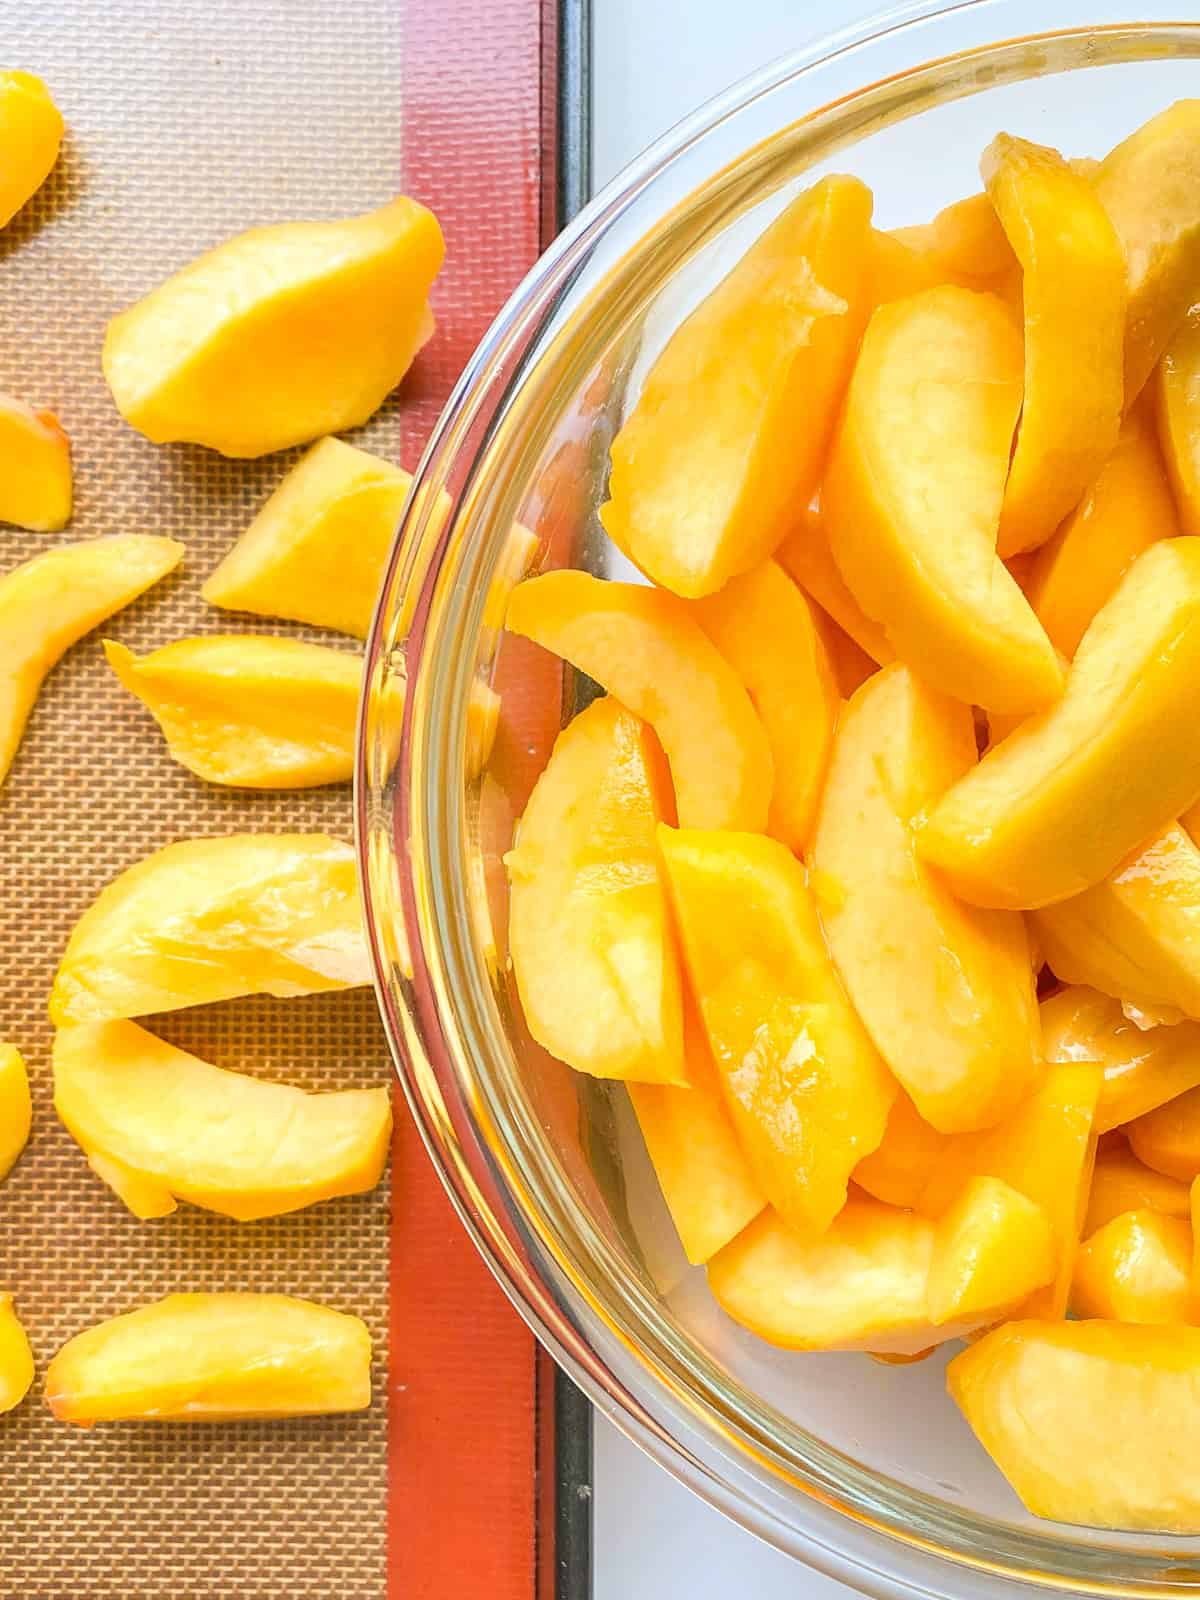
Remove your peaches from the iced water, cut in half and remove the pits. Due to the boiling and chilling, you should find the skins come off relatively easily. Remove all of the skin from each peach with your paring knife, cut into segments and lay out on a tray lined with a silicone liner or parchment paper so the fruit doesn’t stick - first making sure your tray will fit into your freezer!
Once your tray is filled with fruit, pop the tray into the freezer and let the peach segments freeze overnight. Once frozen through, pack the fruit segments into silicone pouches and tuck away into the freezer for your future enjoyment.
Fruits such as blueberries, raspberries, plums, and apricots need nothing other than a wash, some cutting up and pitting if called for, and to be frozen with the same methods as described above.
Freezing corn kernels
Every year I make a point to preserve a pretty large amount of local corn. I would say on average I freeze around 20 cups of corn kernels each year, much to my family’s eating pleasure during the winter, when a piping hot bowl of corn soup or a bright corn salad is just what we need to feel nourished.
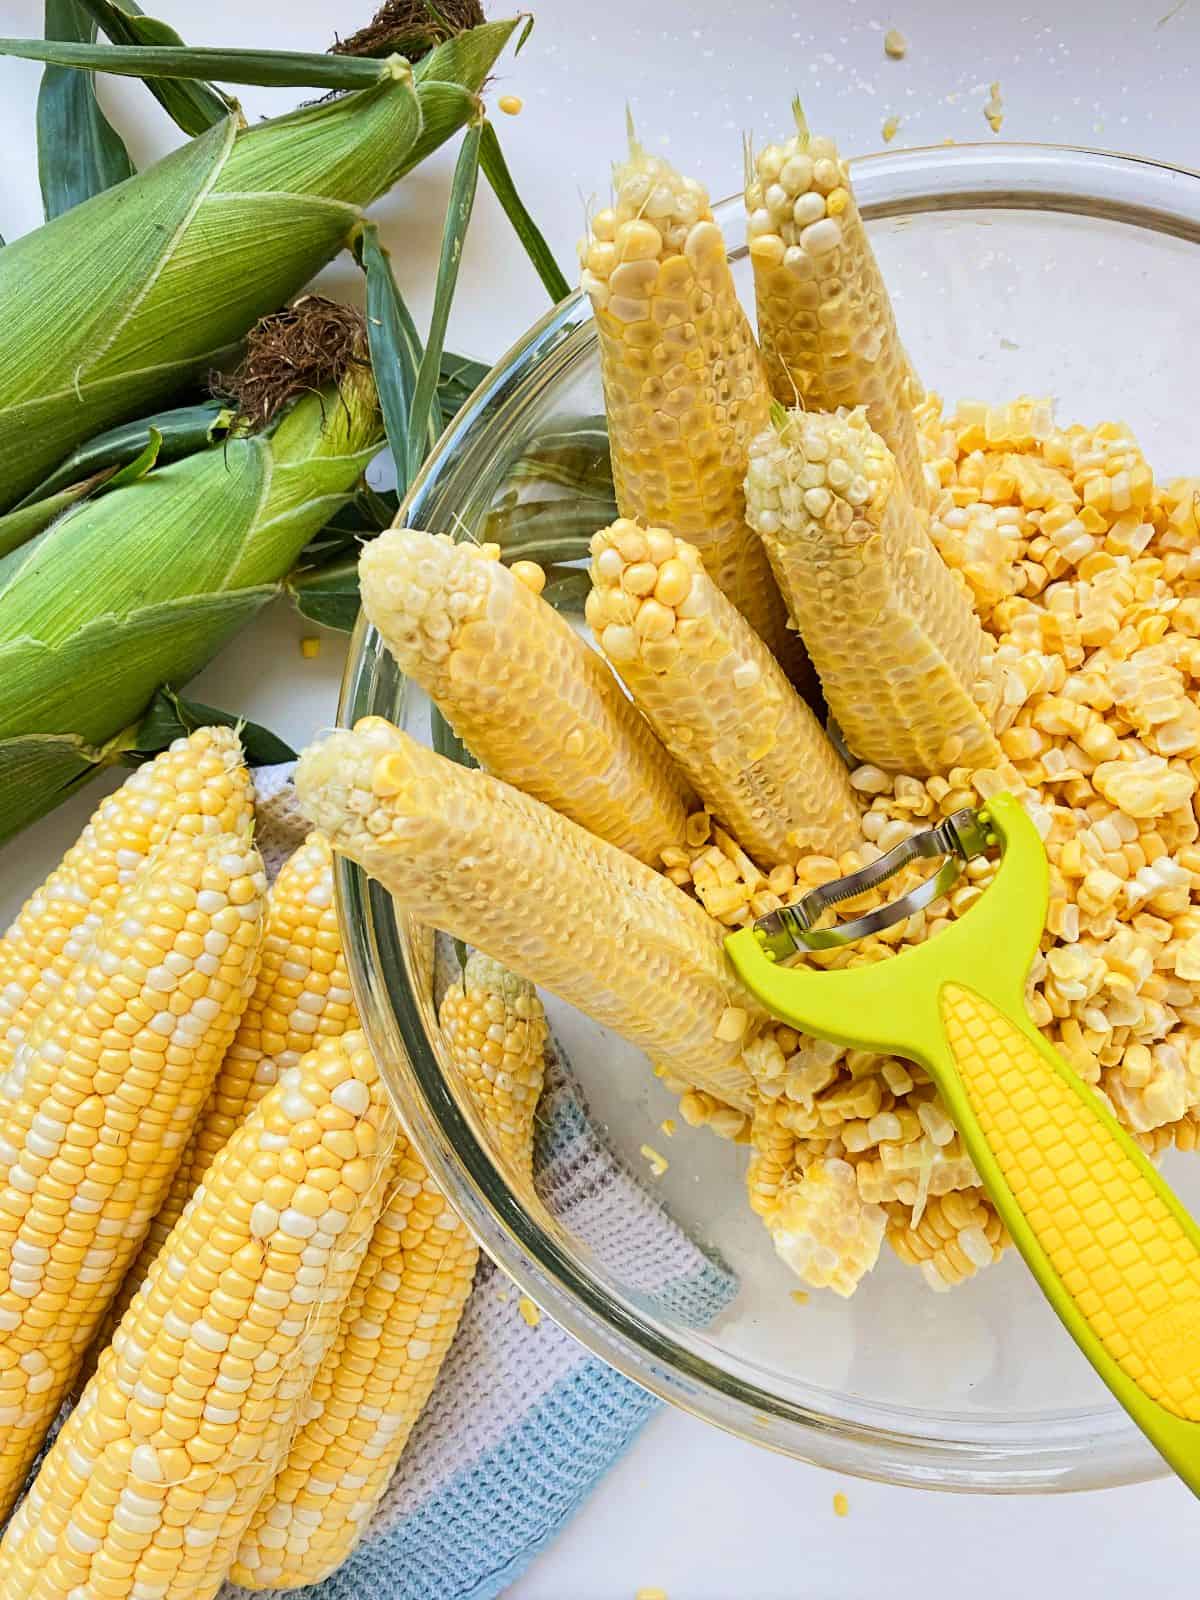
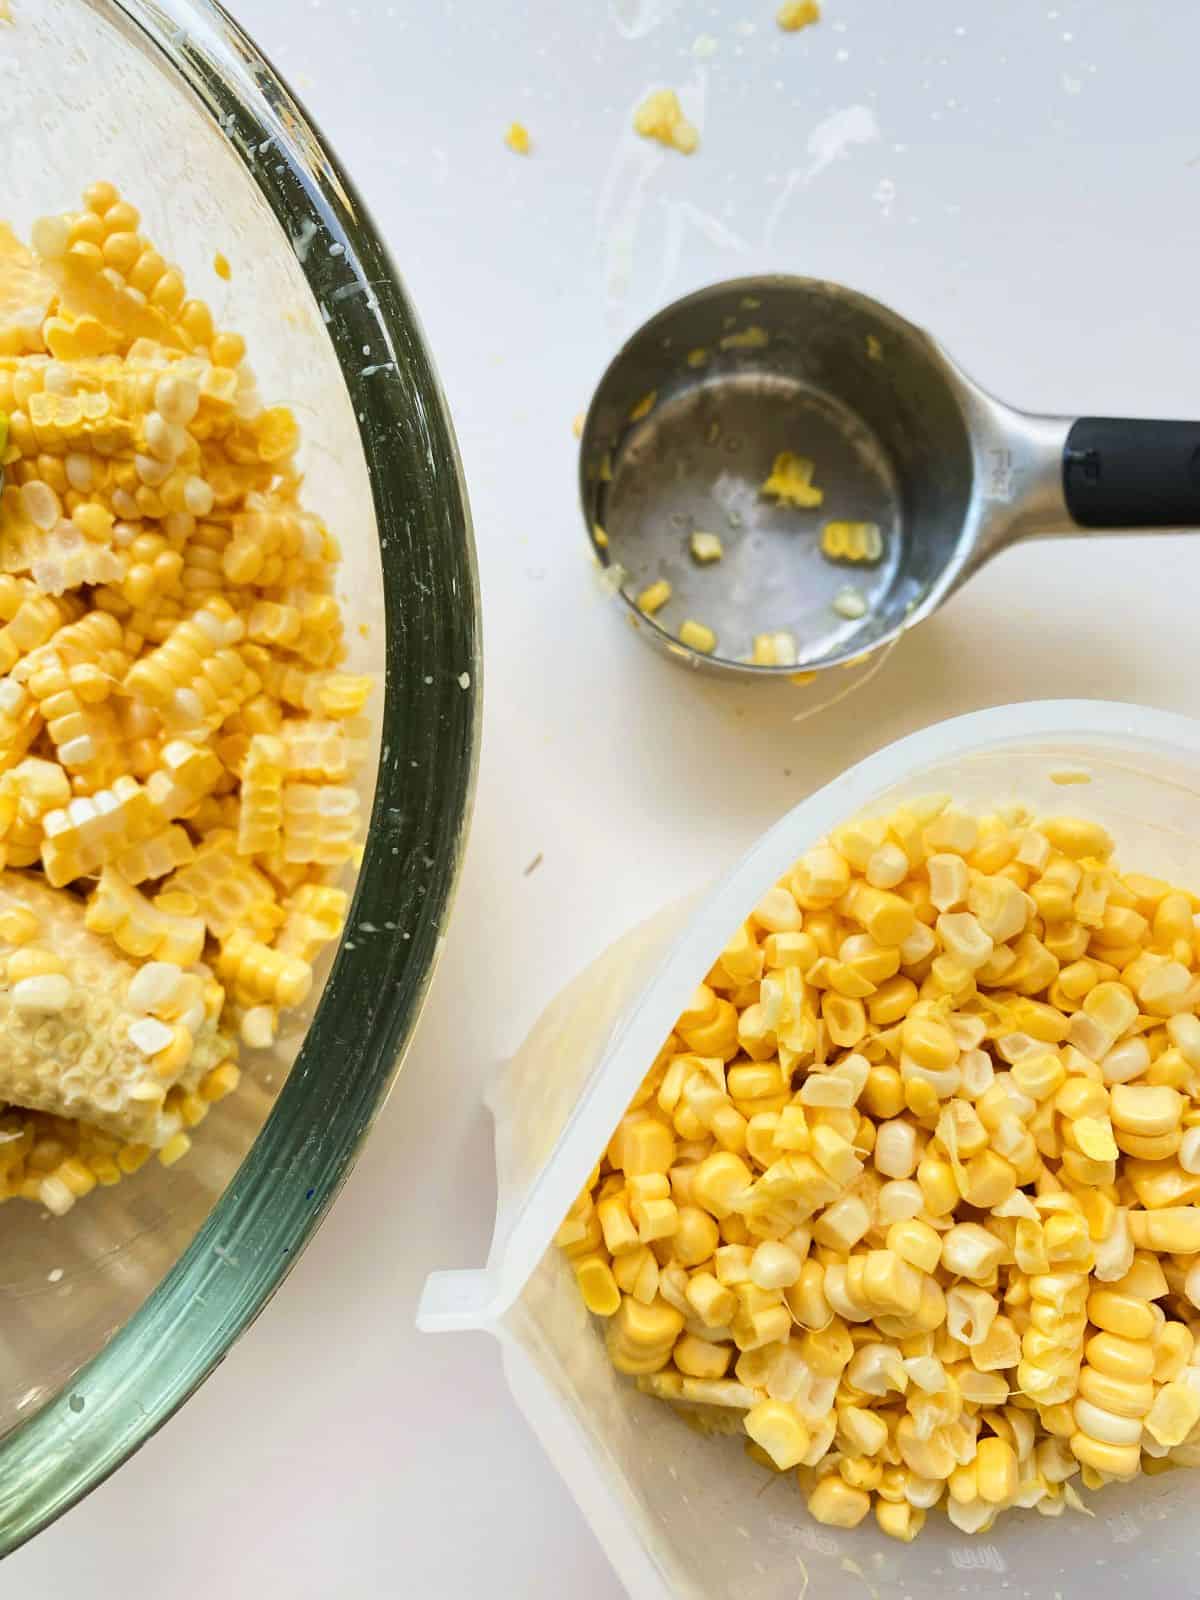
Corn requires a little bit of simple preparation to freeze. First, shuck and rinse your corn cobs to remove any debris. Using the ever handy corn zipper, remove the corn kernels from the cob, using a large bowl to collect the corn kernels as you work. I won’t lie, corn juice is going to splatter on you and your counter and it's worth it!
If you don’t yet have a corn zipper, run a sharp knife down the length of each cob, cutting away the kernels from the cob. Don’t cut too deeply as you don’t want chewy ends on your kernels. If you want to extract even more goodness from your corn, make sure to reserve the cobs to make Corn Broth.
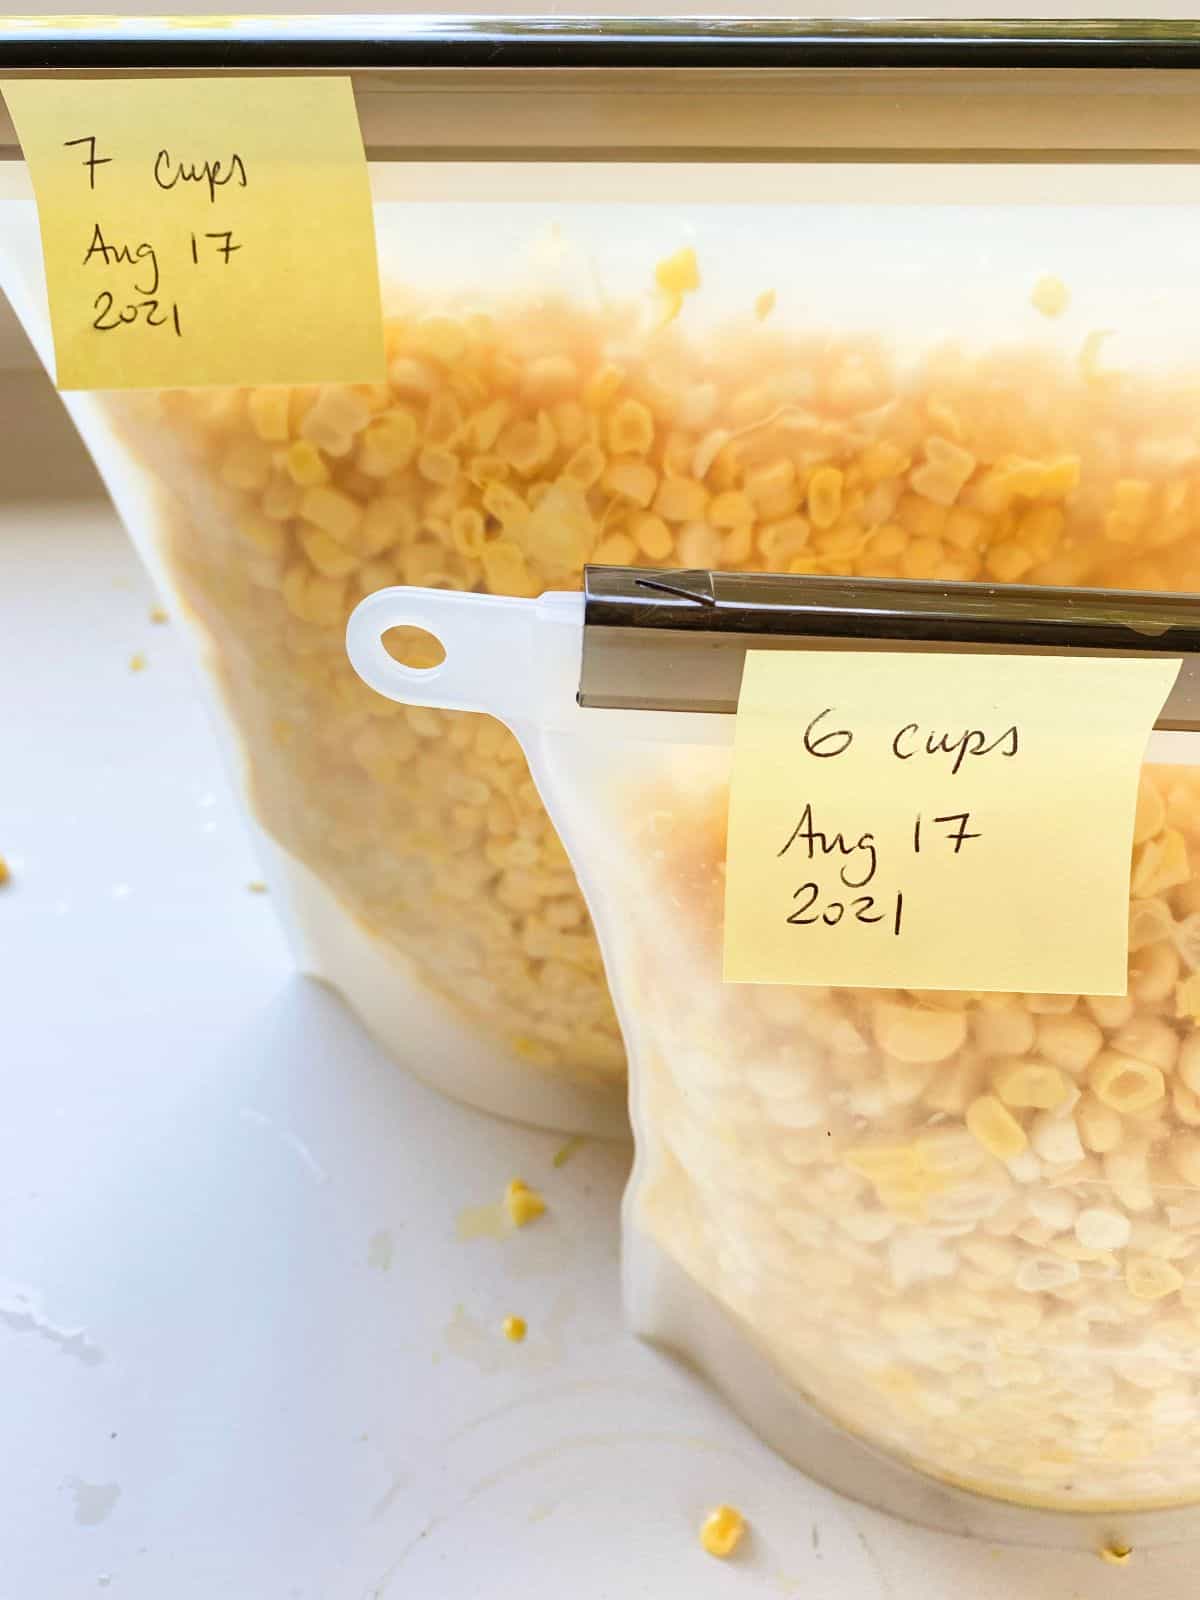
Once you have unzipped or cut down all of the corn kernels you plan to freeze, pack the kernels into silicone pouches and freeze! I don’t bother to freeze corn kernels individually, as they separate easily after a few minutes out of the freezer, and I don’t find the need to pre cook the kernels either.
As I don’t like to write on my silicone pouches, I just grab a little post-it note and jot down the amount in each pouch and attach it to the pouch. It may fall off later on, but as I won’t move my pouches around until I need them, I find the little notes will stay put long enough.
Other fruit and vegetables that freeze well
There are of course many other contenders for preserving that you can bring home from the market and easily prep for the freezer. Some of my favourite options are whole chili peppers, local ginger, green garlic cut into thin slices, chopped celery, and blanched and frozen hardy greens such as kale or collards.
Why use silicone pouches instead of plastic bags?
In my ongoing quest to reduce my use of plastics in my kitchen, freezing has presented a bit of a conundrum. Most materials used for freezing are made of plastic and they produce good results - food in ziplocks, plastic containers, or in plastic wrap or bags stores well in the freezer, making plastic products to give up.
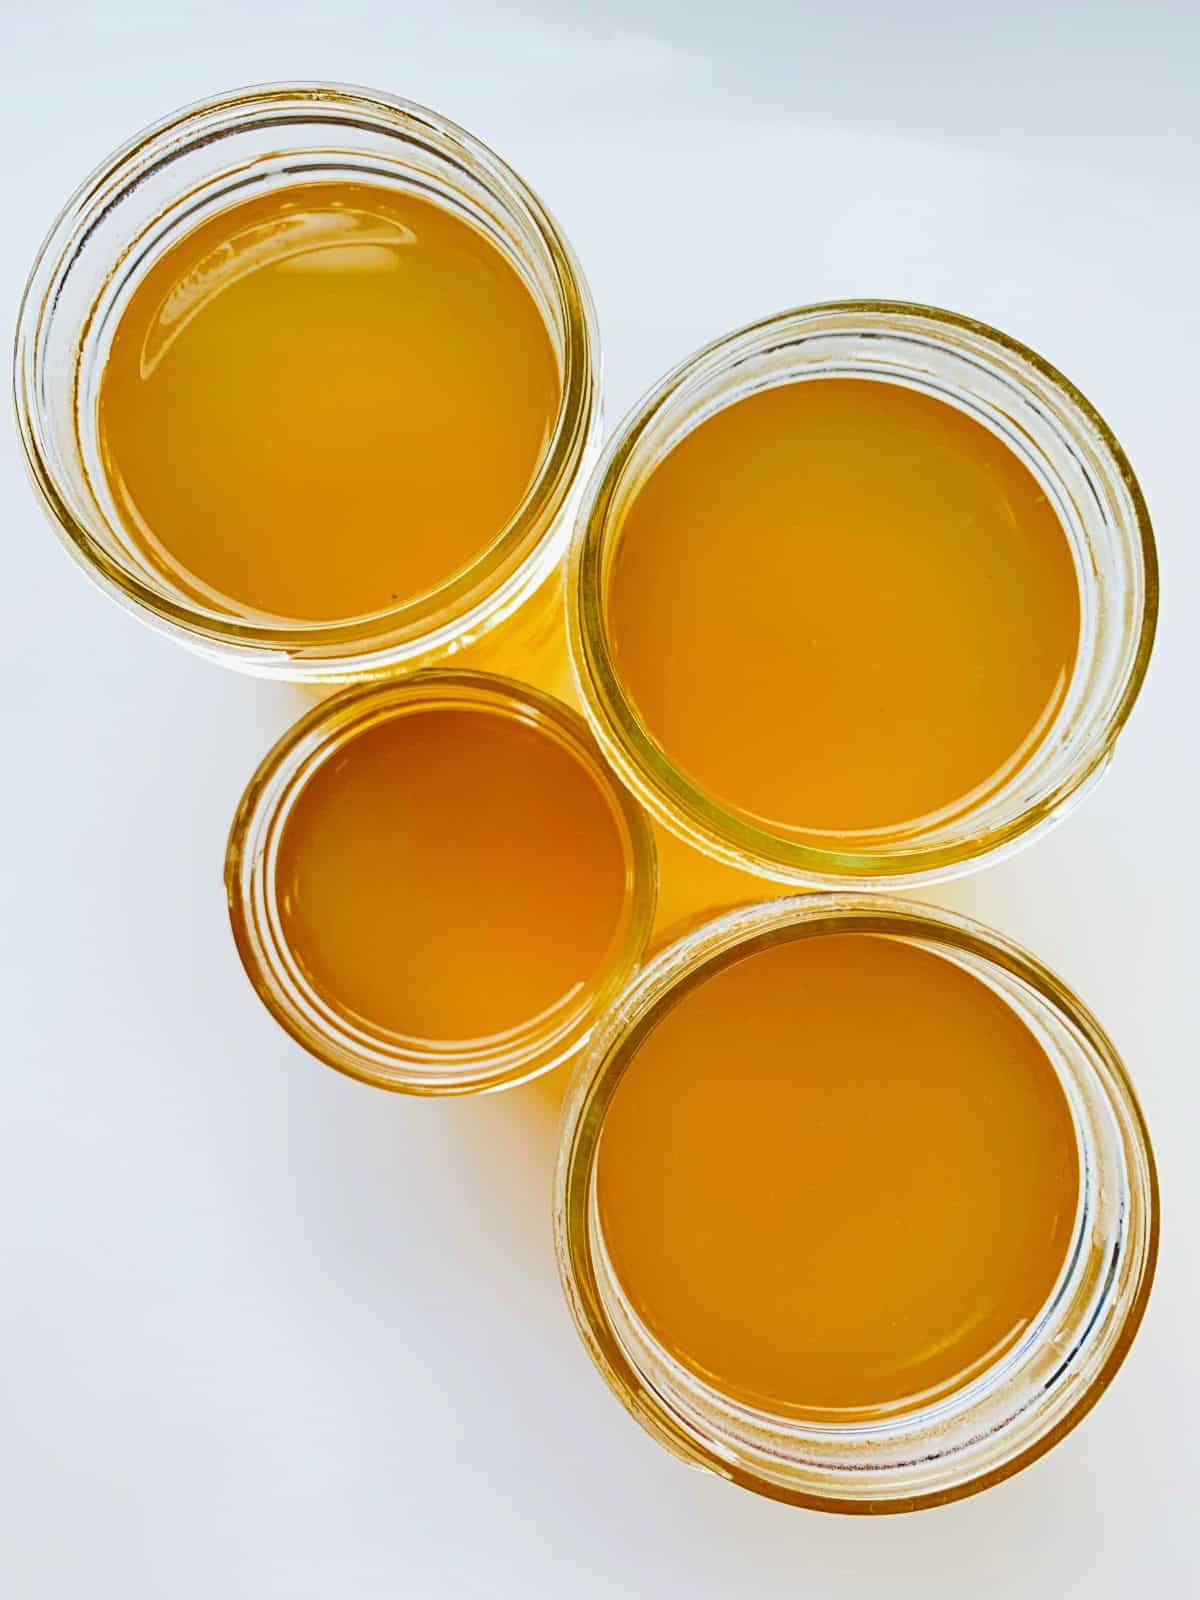
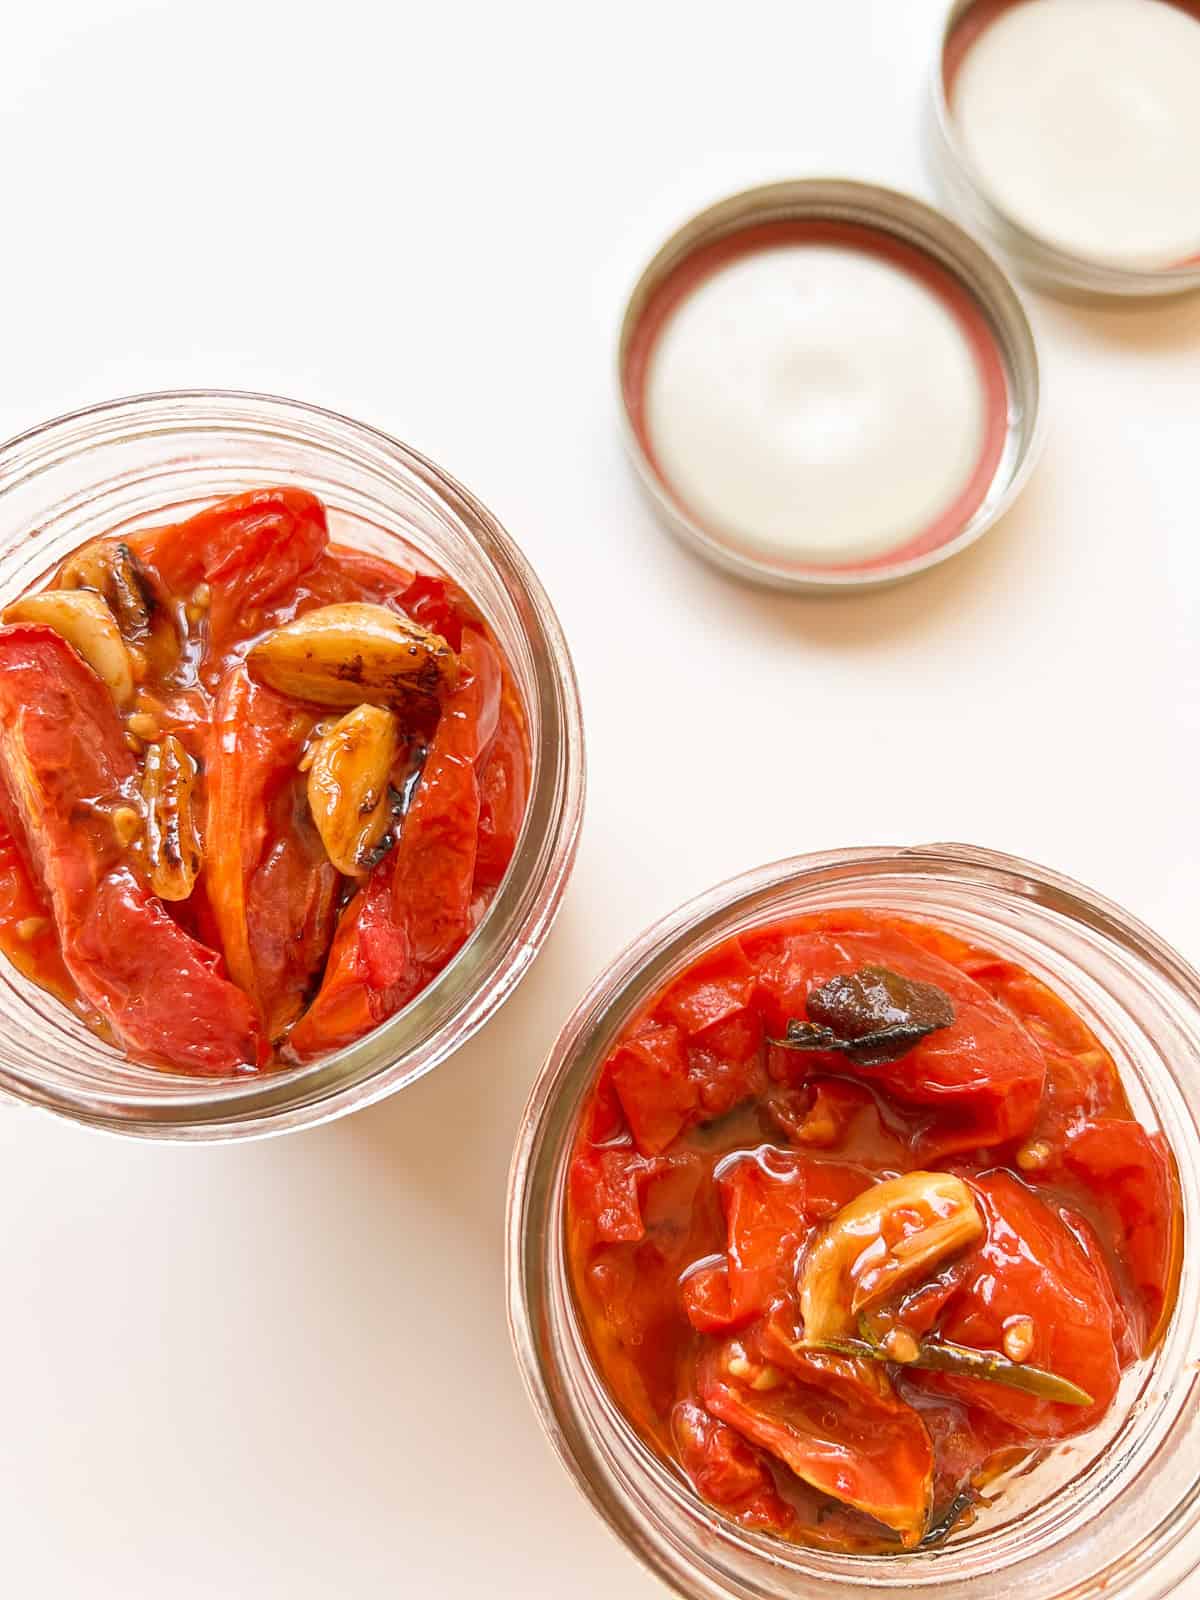
In some cases, glass containers work very well, such as when freezing Corn Broth or Oven Roasted Tomatoes, but a rigid container is bulky and doesn’t pack well with odd shaped produce. Enter the solution - the silicone pouch! Over time I have been stocking up on these pouches when I find them on sale. Silicone pouches are eminently reusable, flexible, dishwasher and freezer safe, and are the most easy to find replacement for plastic ziploc bags that I have come across.
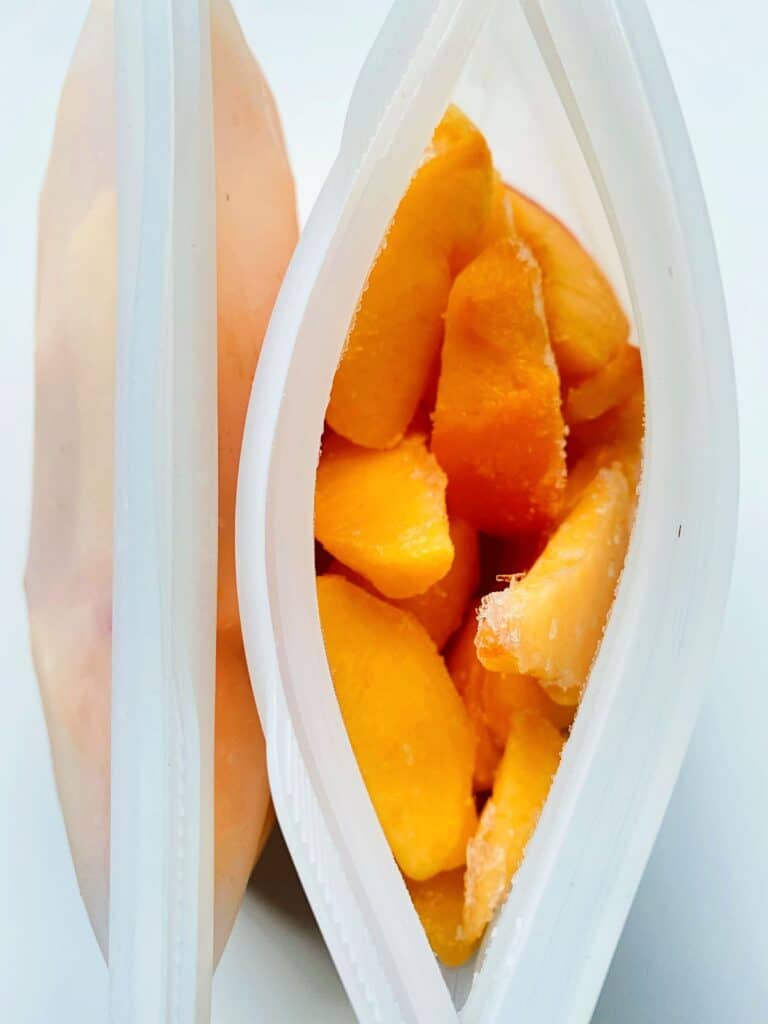
There are various kinds of silicone pouches, from models that feature an oversized ziplock style closure, to those that use a rigid rod to slide across and seal the pouch opening. I’m always experimenting with styles and brands, and I’ve switched over to these pouches completely with great results, using them to stock my freezer with frozen local produce to enjoy later on in the year.
Other methods of easy preserving
For another easy approach, I now am in the habit of freezing broths, soups, curries, stews, roasted tomatoes, syrups, fruit butters, sauces, and all manner of other foods in glass mason jars, and I invite you to do the same. You might think - wait, won’t those jars crack?- and the answer is no, not if you follow a few simple steps. Freezing food in glass jars is easy and economical, and once you become familiar with three simple considerations, there’s no stopping you!
You may also find that you have fresh herbs or edible seeds to preserve, especially at the end of the summer when it becomes clear that you simply cannot use all that you have grown - fresh herbs wait for no one! Read more about drying herbs and seeds.



Leave a Reply