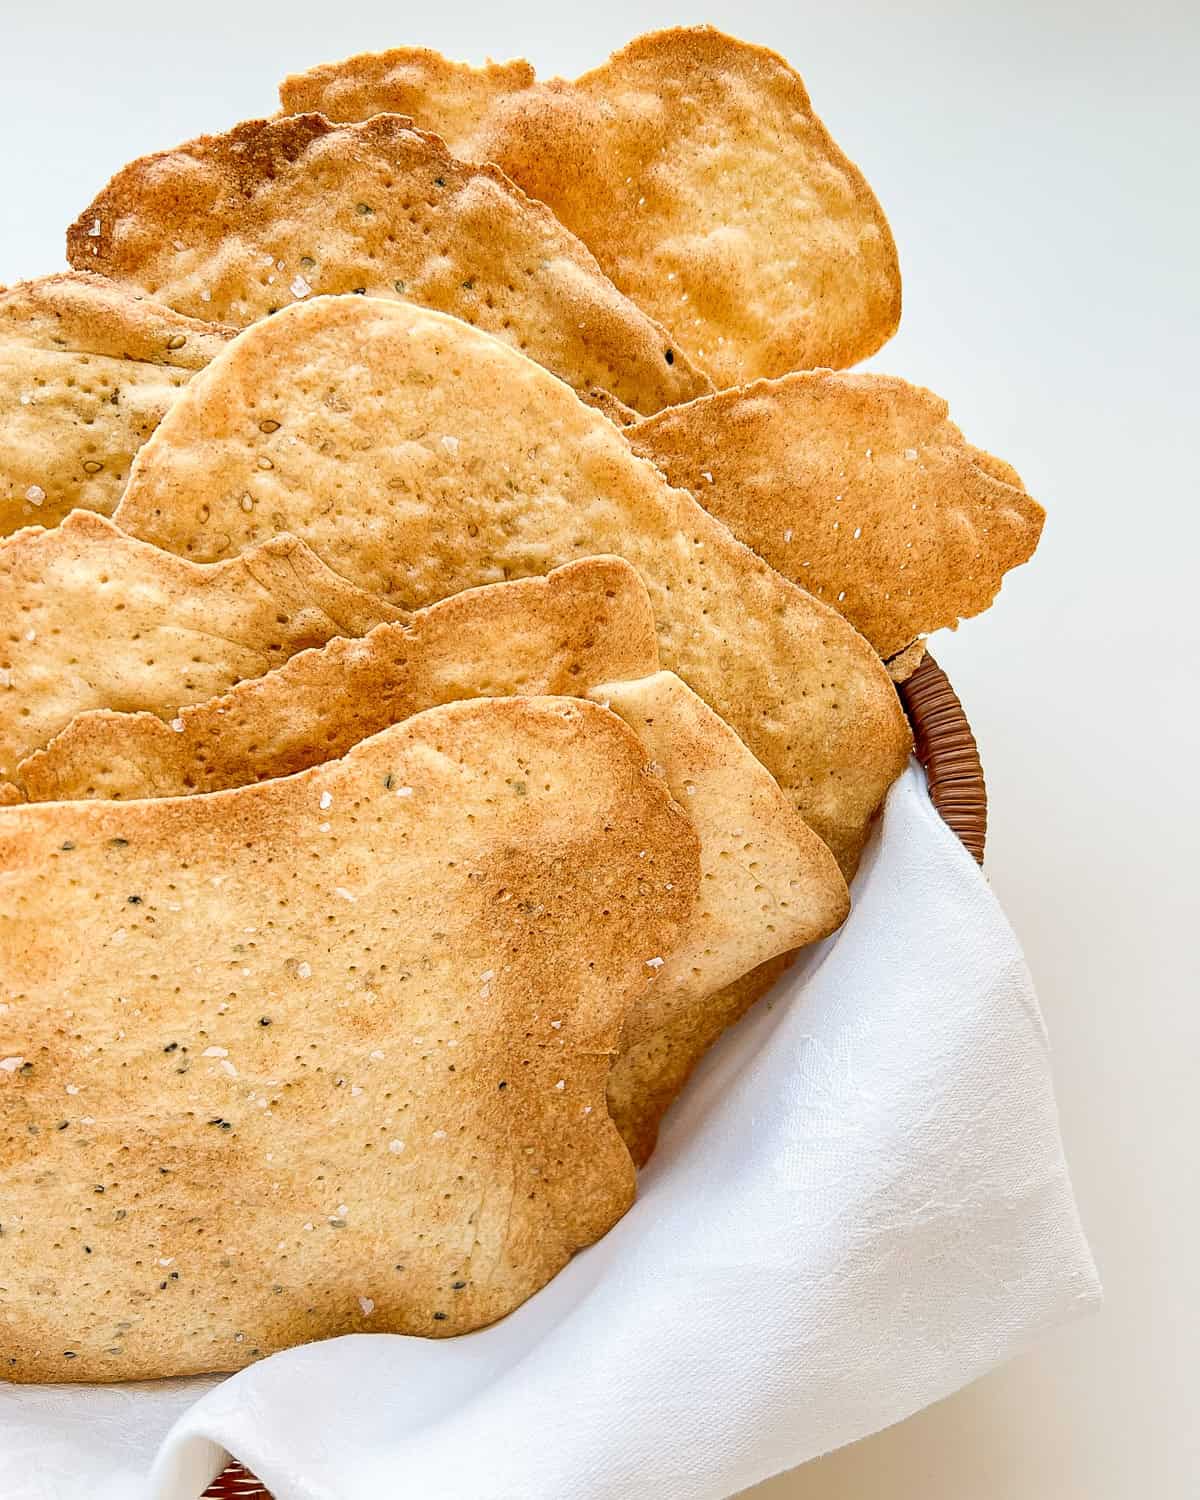
Flaky, crisp, rich, and exceptionally tasty, Homemade Matzo with Whole Grains is worlds away from the usual Passover fare. Made with finely milled whole wheat pastry flour, enriched with a generous amount of olive oil, and embellished with flaky sea salt or a variety of other spices if that tickles your fancy, homemade matzo is a labour of love more than worth making once a year.
Jump to:
A worthwhile labour of love
Making matzo at home is one of those ideas that may initially land in the “why on earth would I want to do that?” category. And if you are thinking that, in principle, you aren’t wrong. Why make something by hand that you can easily buy? Except, that once you do decide that this is something you can and must do, the problem then becomes that homemade matzo is so extraordinarily good, you simply do not want to eat the dry, dusty cardboard, I mean, store bought matzo that is the usual Passover staple. The problem then becomes that you feel compelled (ok, I feel compelled) to make homemade matzo every year, and each year, more neighbours, relatives, friends, and friends of friends join the clamouring hordes asking for their own batch - I mean, you were making it anyway, right ? Don’t say I didn’t warn you!
What is matzo?
For those readers not of the Jewish or Jewish adjacent persuasion, matzo originated as the unleavened bread (i.e. large square crackers) made by the ancient Jews when they fled slavery in Egypt, which Jewish people continue to eat annually as part of our Passover observance. I have personally eaten matzo out of a box, purchased from the supermarket, since childhood, until a few years ago when I stumbled upon the matzo recipe that provided the inspiration for the development of my own version.
The Food Find
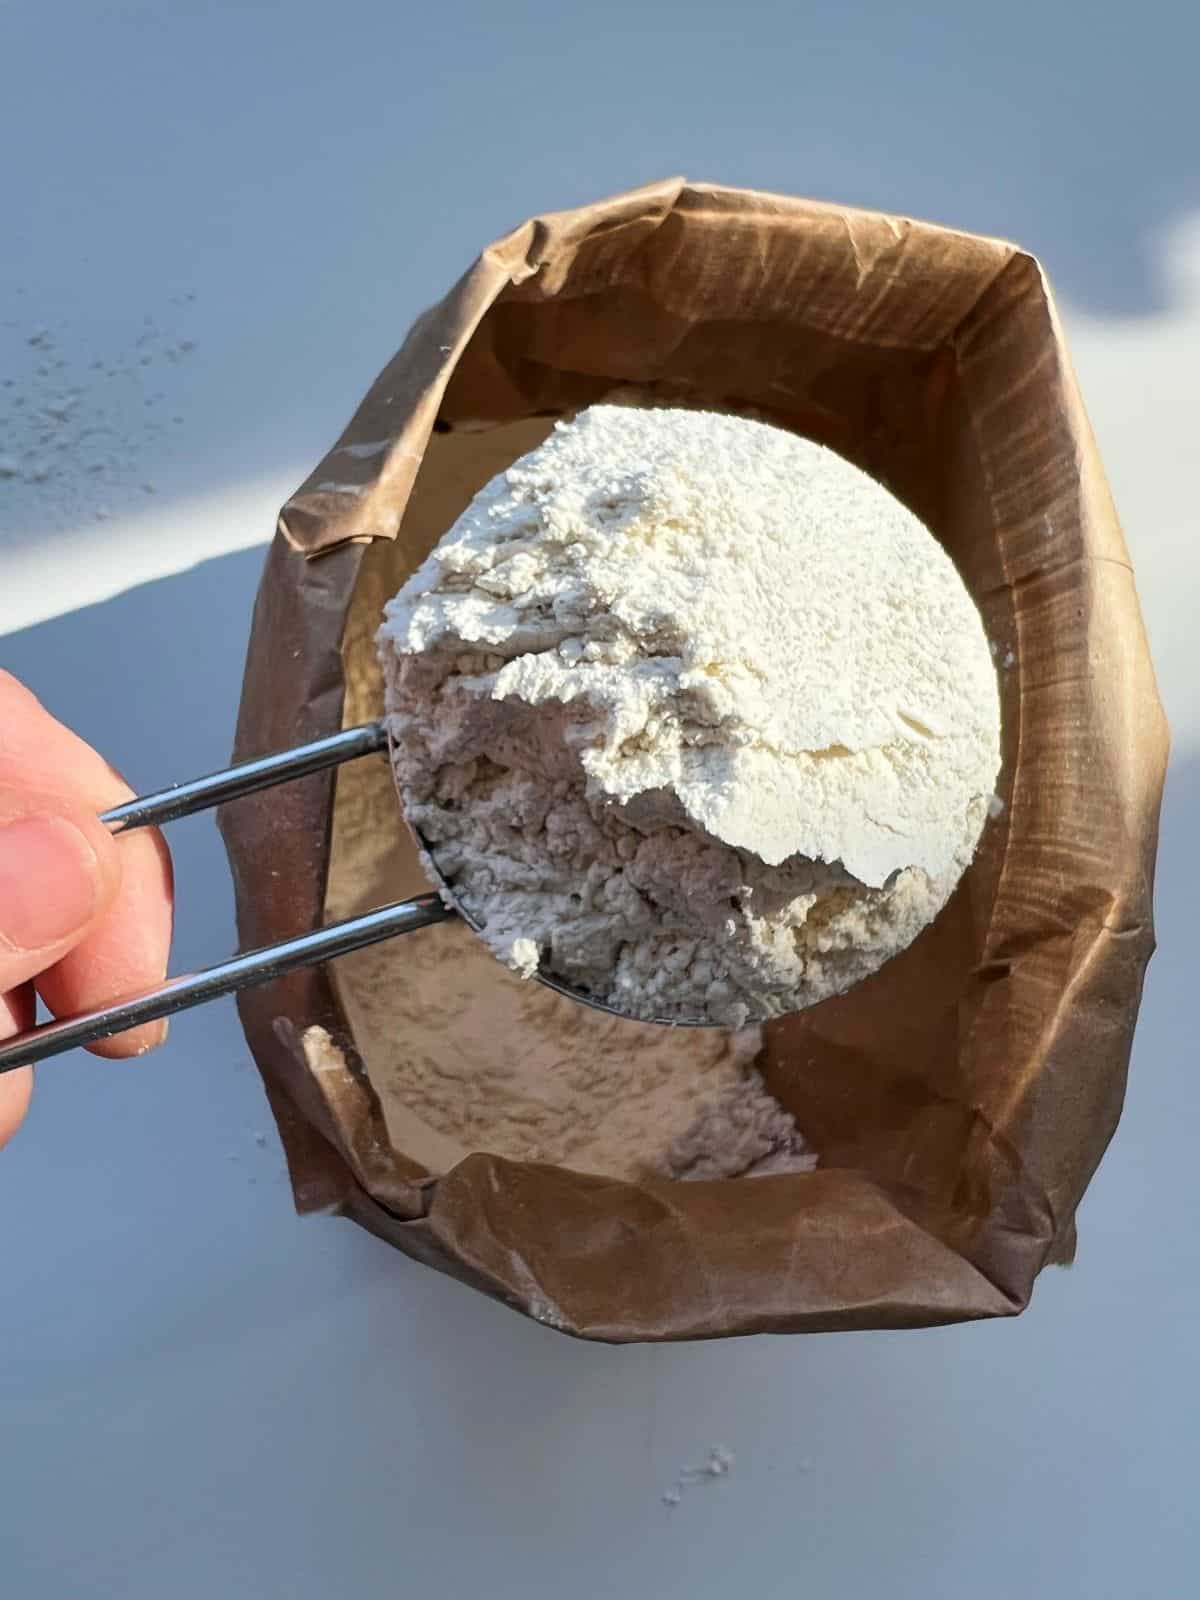
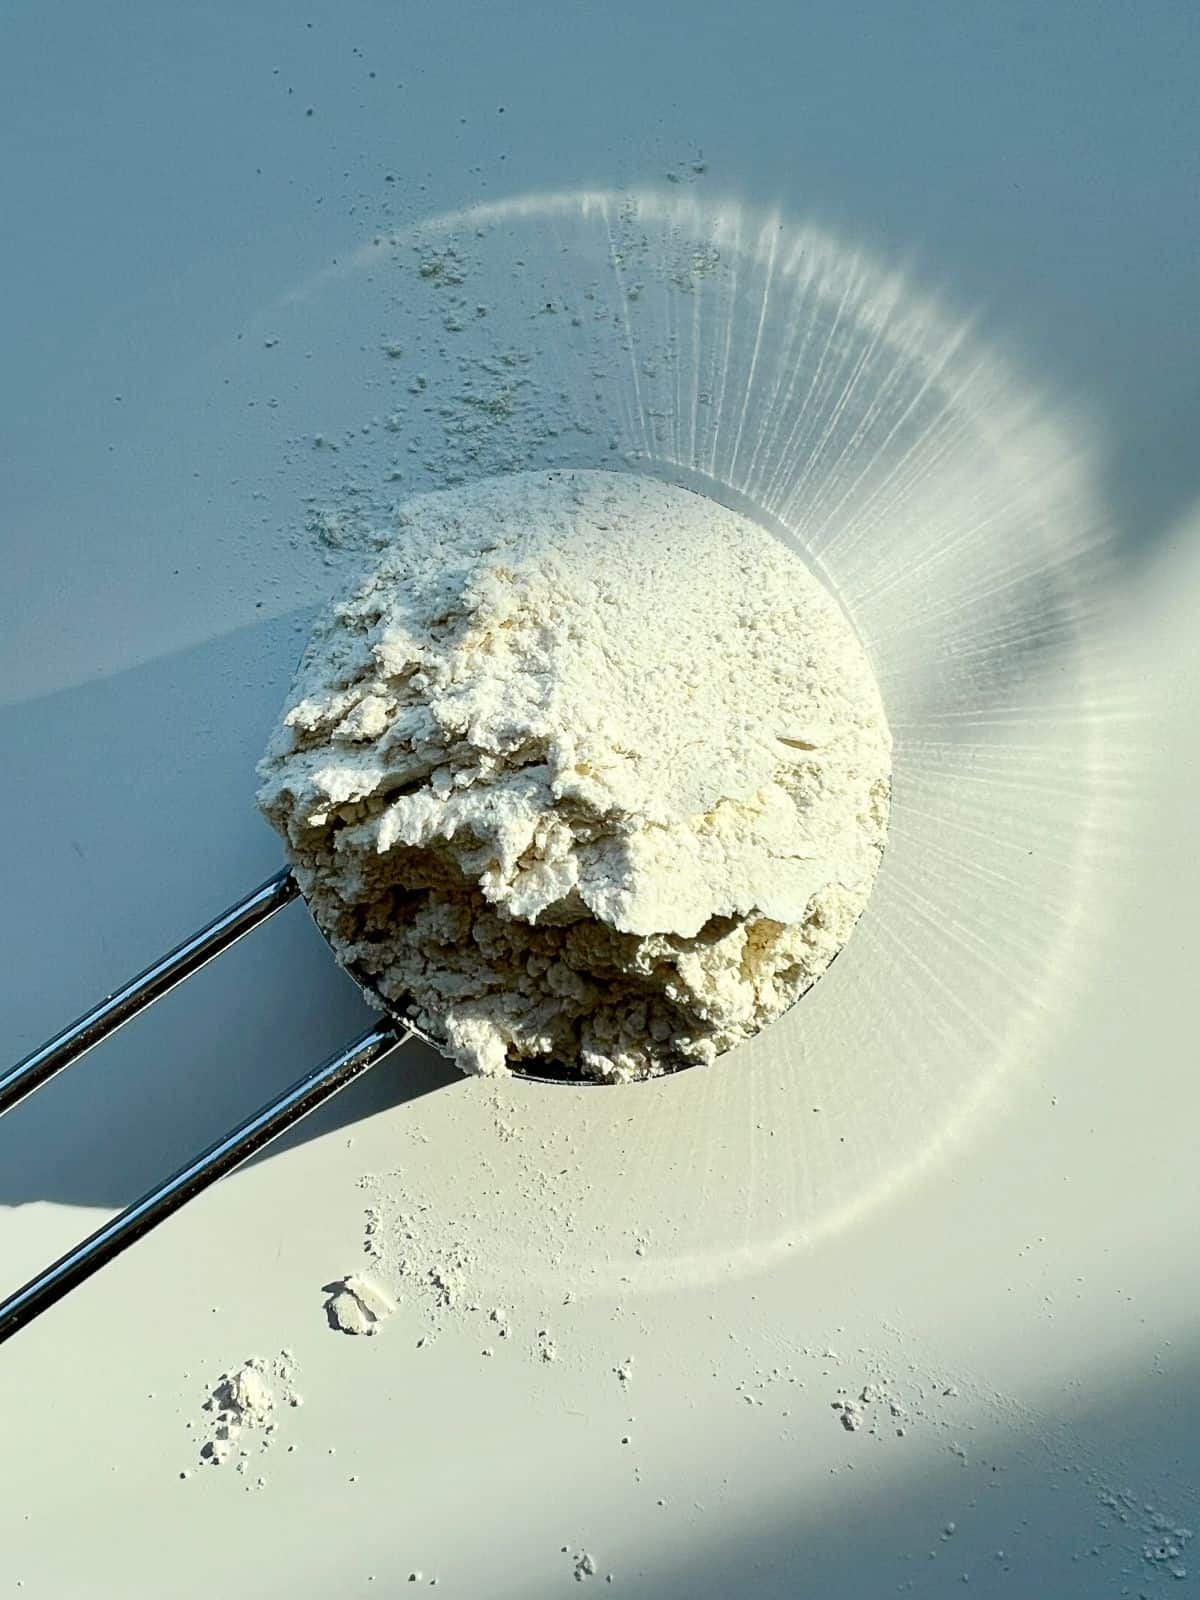
The Food Find in this recipe is whole wheat pastry flour, a low protein, finely milled flour that is lighter in colour and texture than standard whole wheat flour. This is not the heavy, sometimes stodgy whole wheat flour you might have used before. Whole wheat pastry flour is something altogether different that can be used on its own, or as a substitute for part or all of some recipes asking for all purpose white flour. Whole wheat pastry flour is most often stoneground, which increases its nutritional value, as both the wheat germ and the wheat bran are kept when milling the grain. Find out more about Whole Wheat Pastry Flour, where to find it, and how to use it.
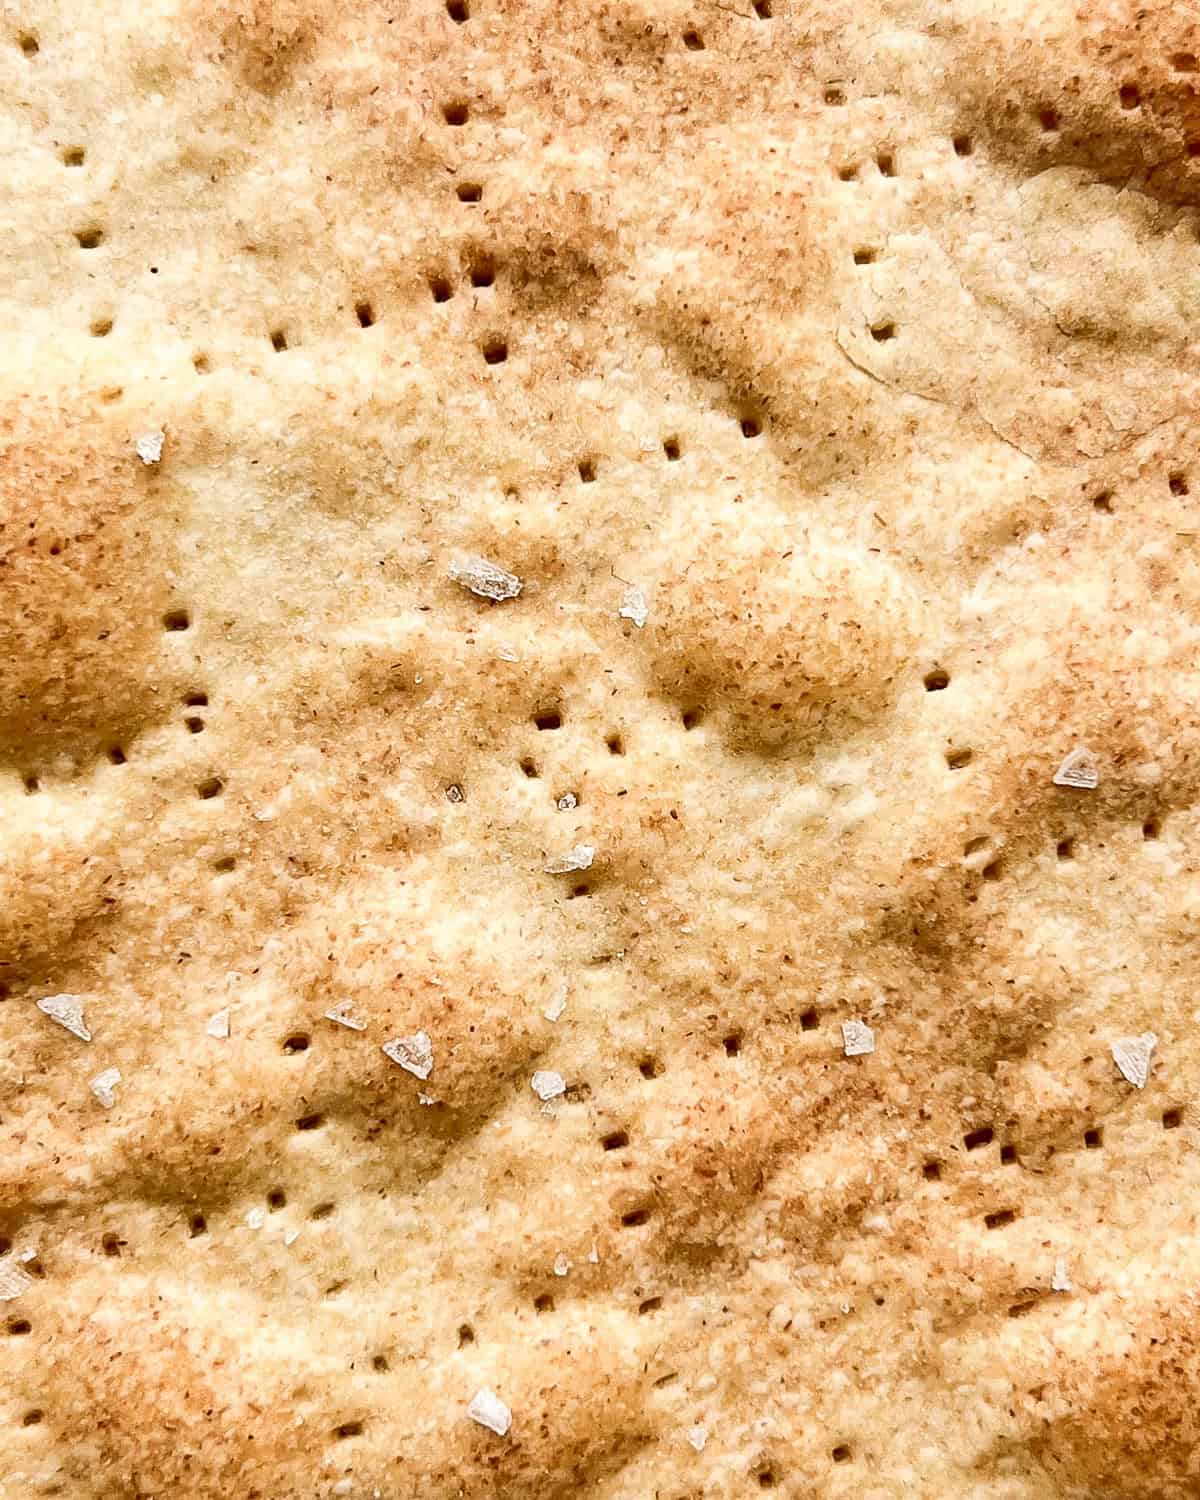
Despite its simplicity, this whole grain matzo featuring whole wheat pastry flour is, to my mind, superior to that made with white flour in both flavour and texture, not to mention nutrition, baking up into crispy, toasty and flavourful sheets.
A quick, simple dough
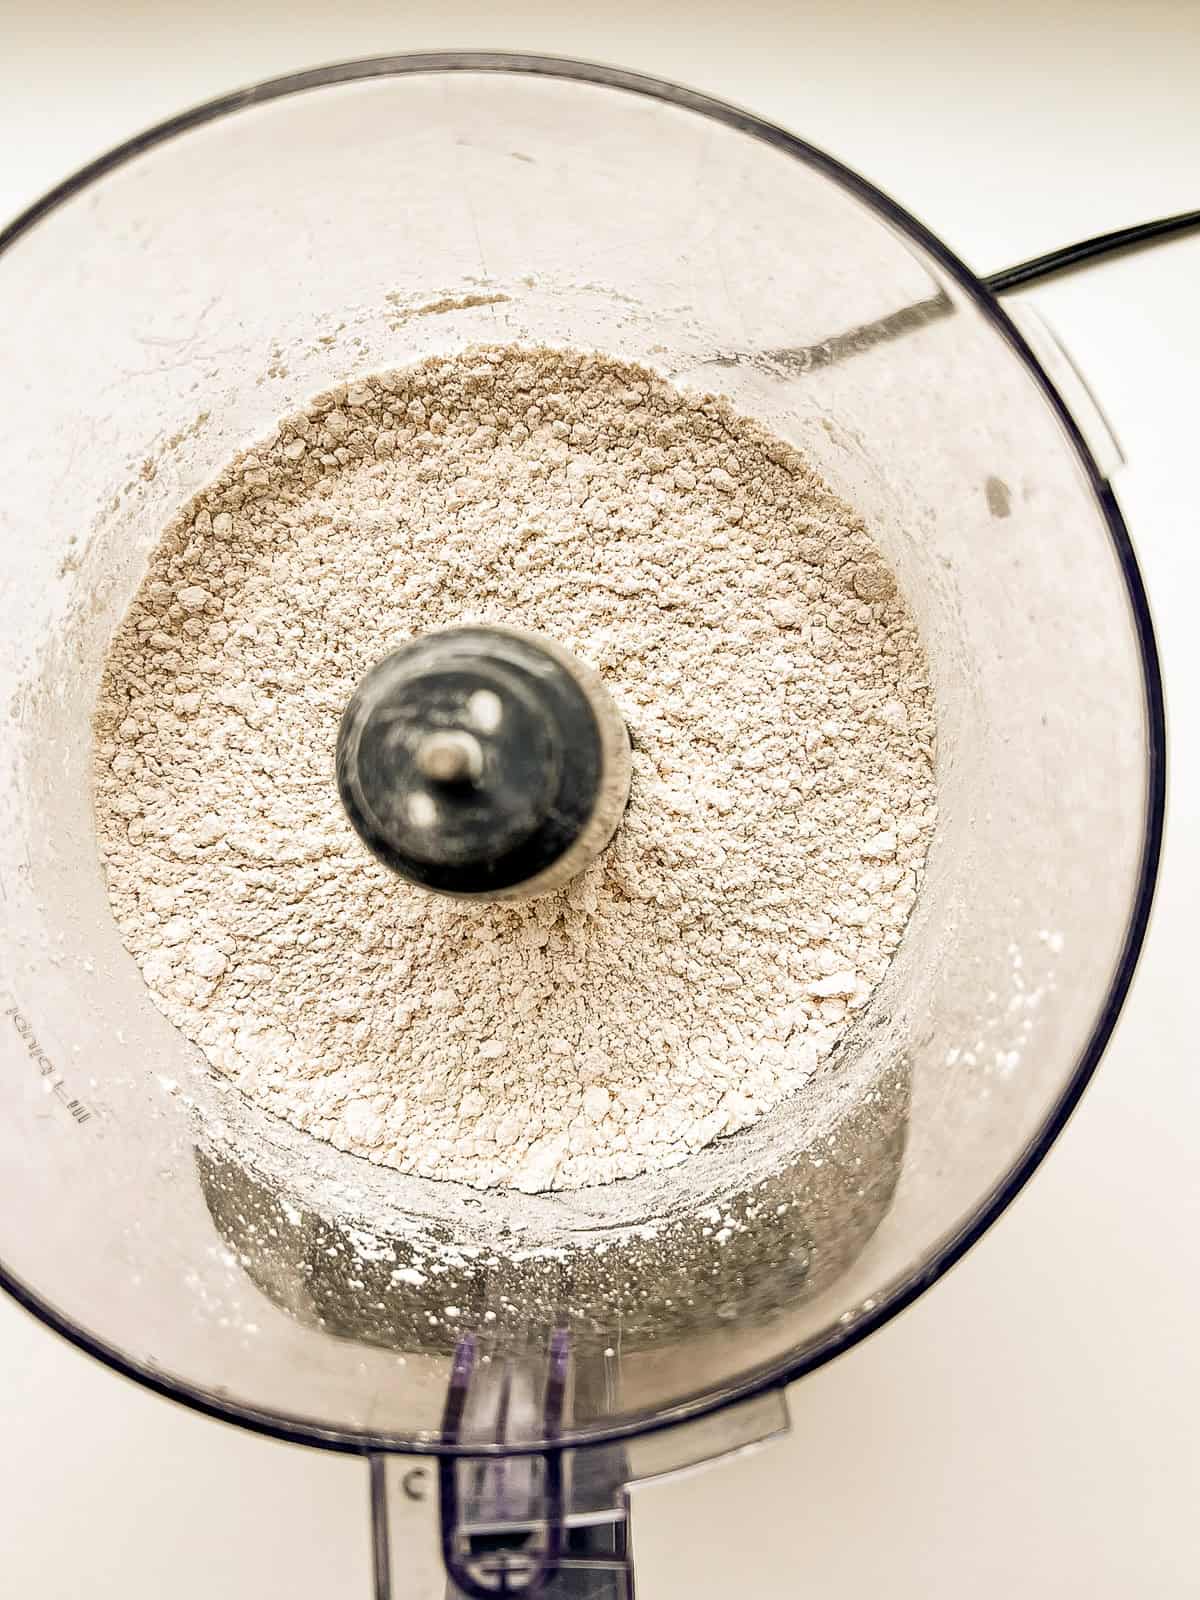
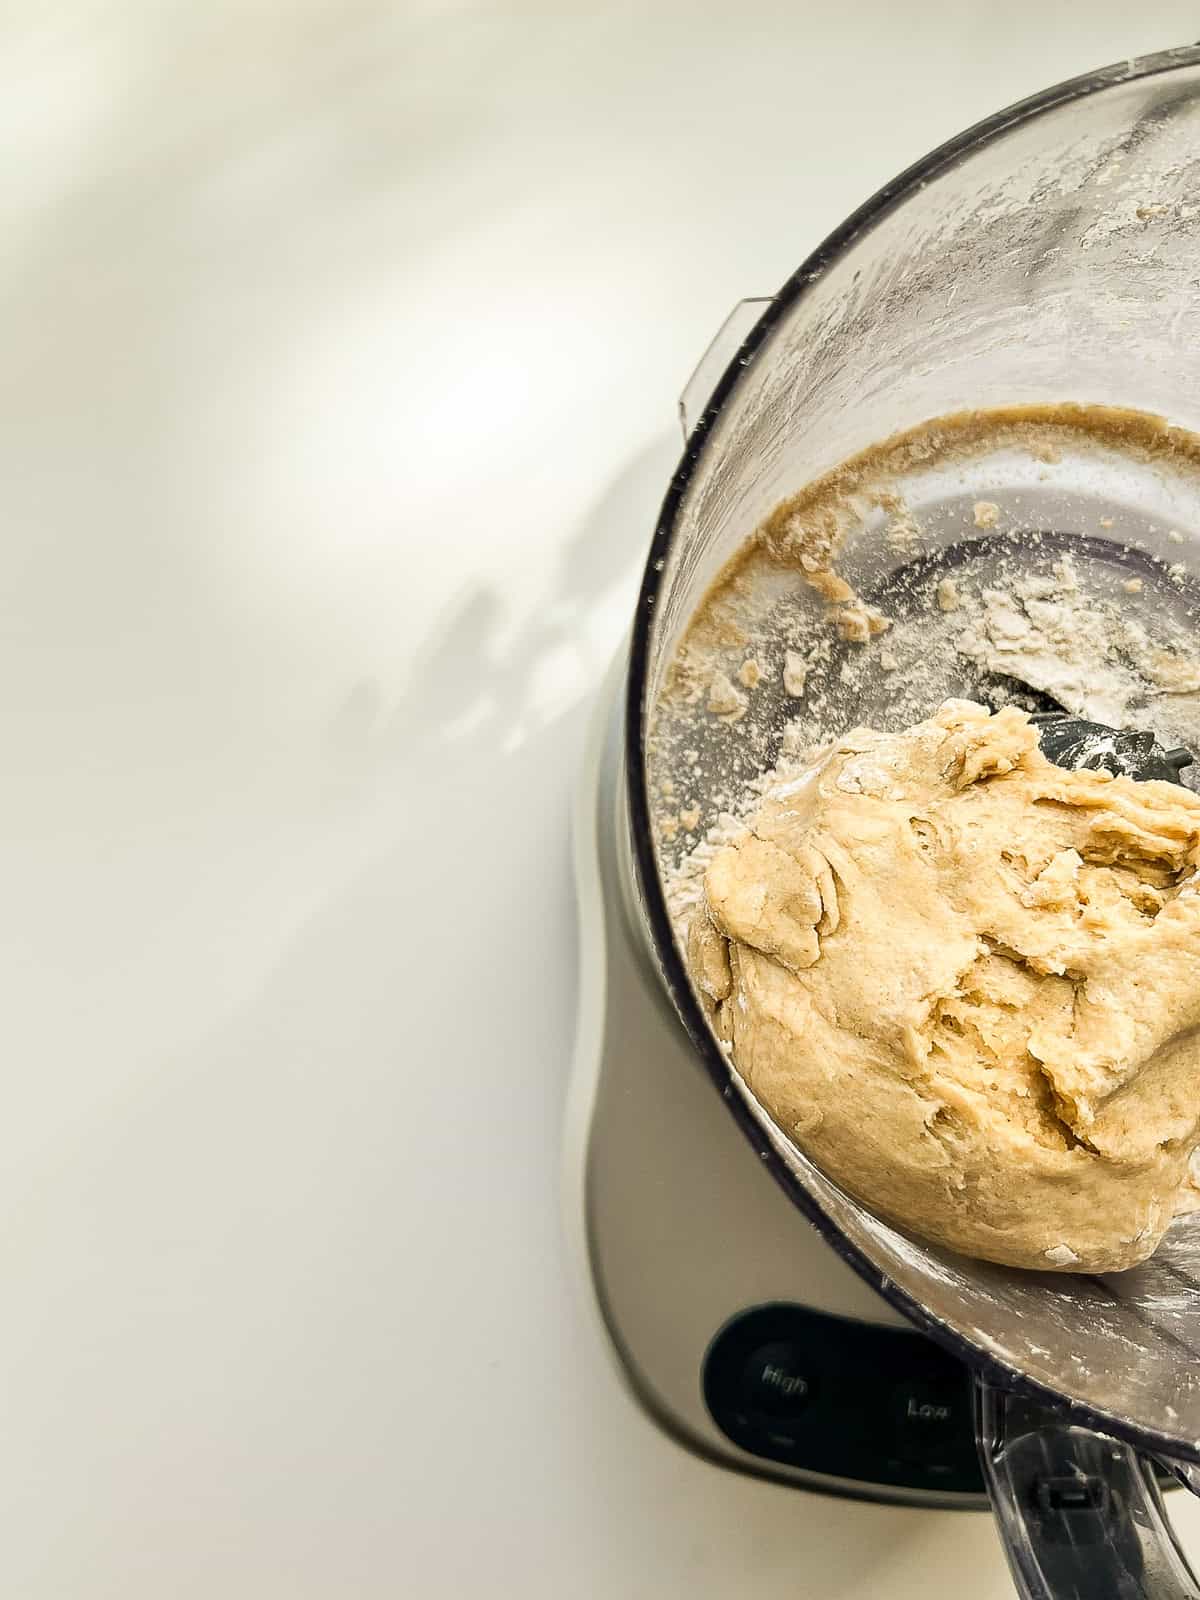
Including just flour, salt, water, and olive oil, the simple four ingredient dough for this matzo is quickly mixed up in a food processor in just a few moments. First, a quick pulse of the processor mixes the flour and salt together. Then, the olive oil and water are drizzled in, with the food processor on, until the dough starts to ball up and come together.
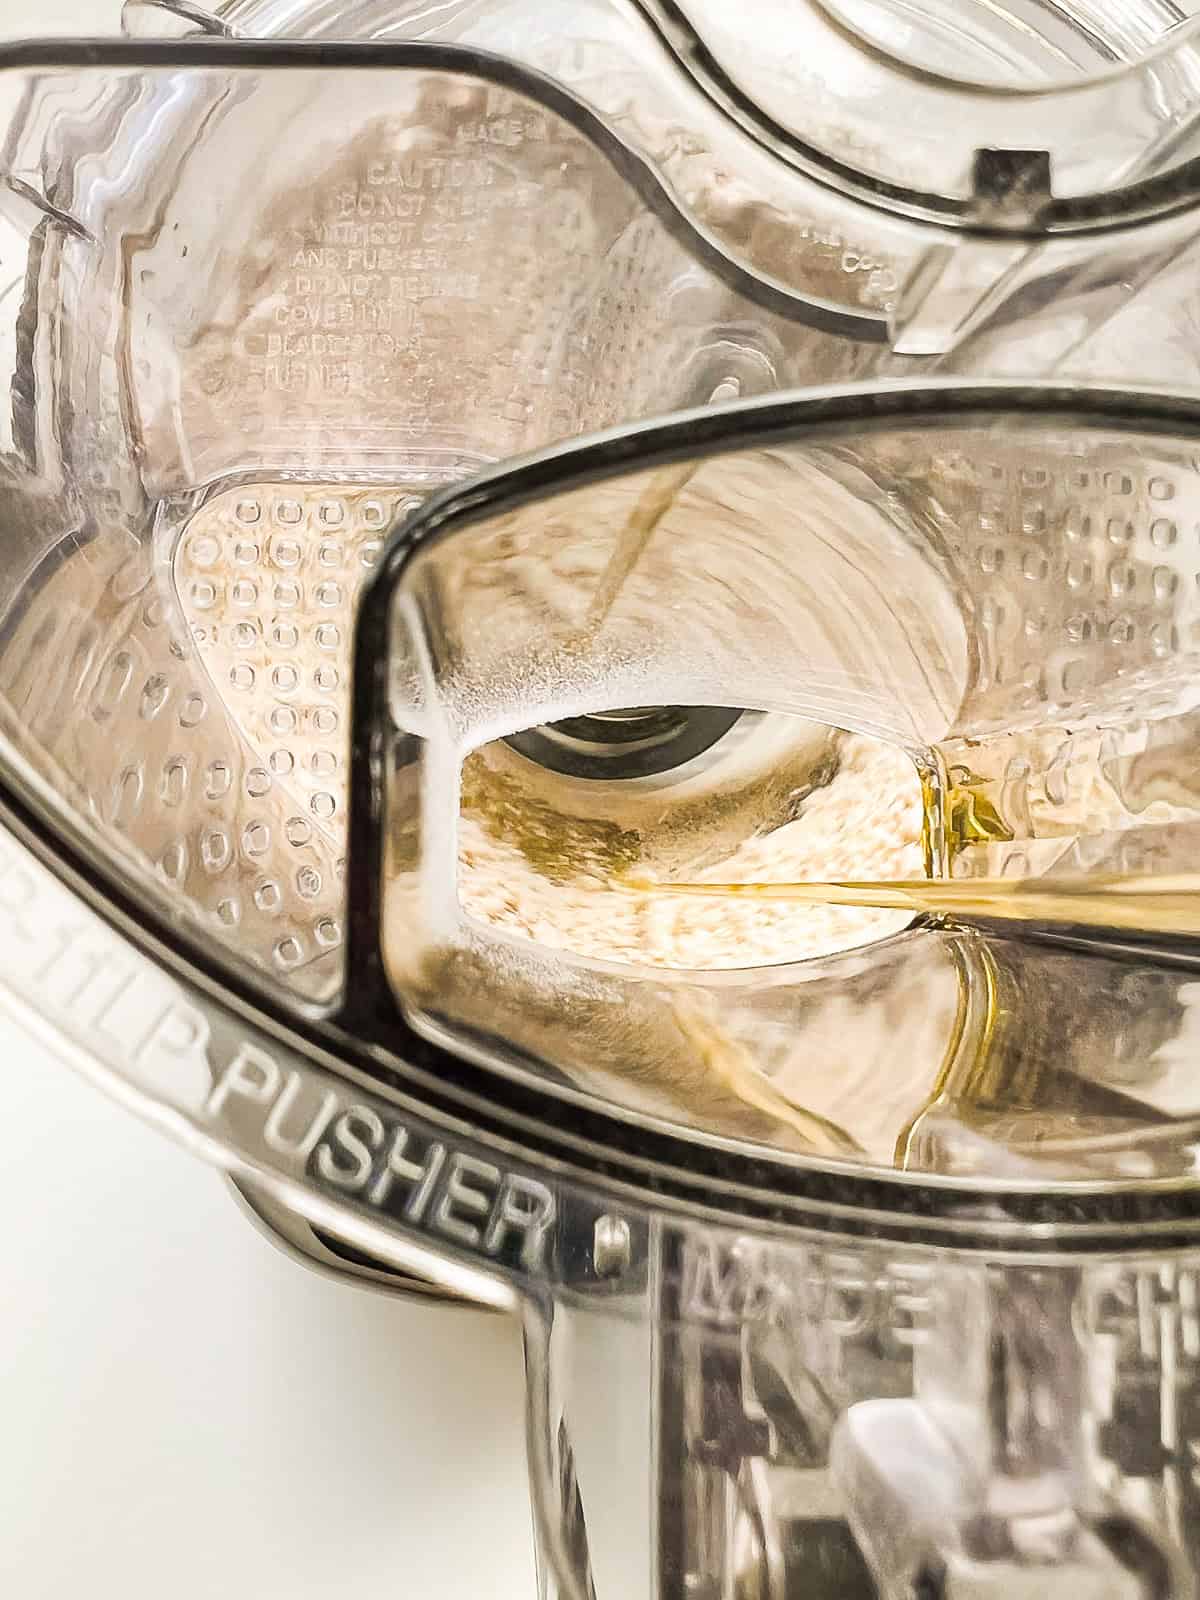
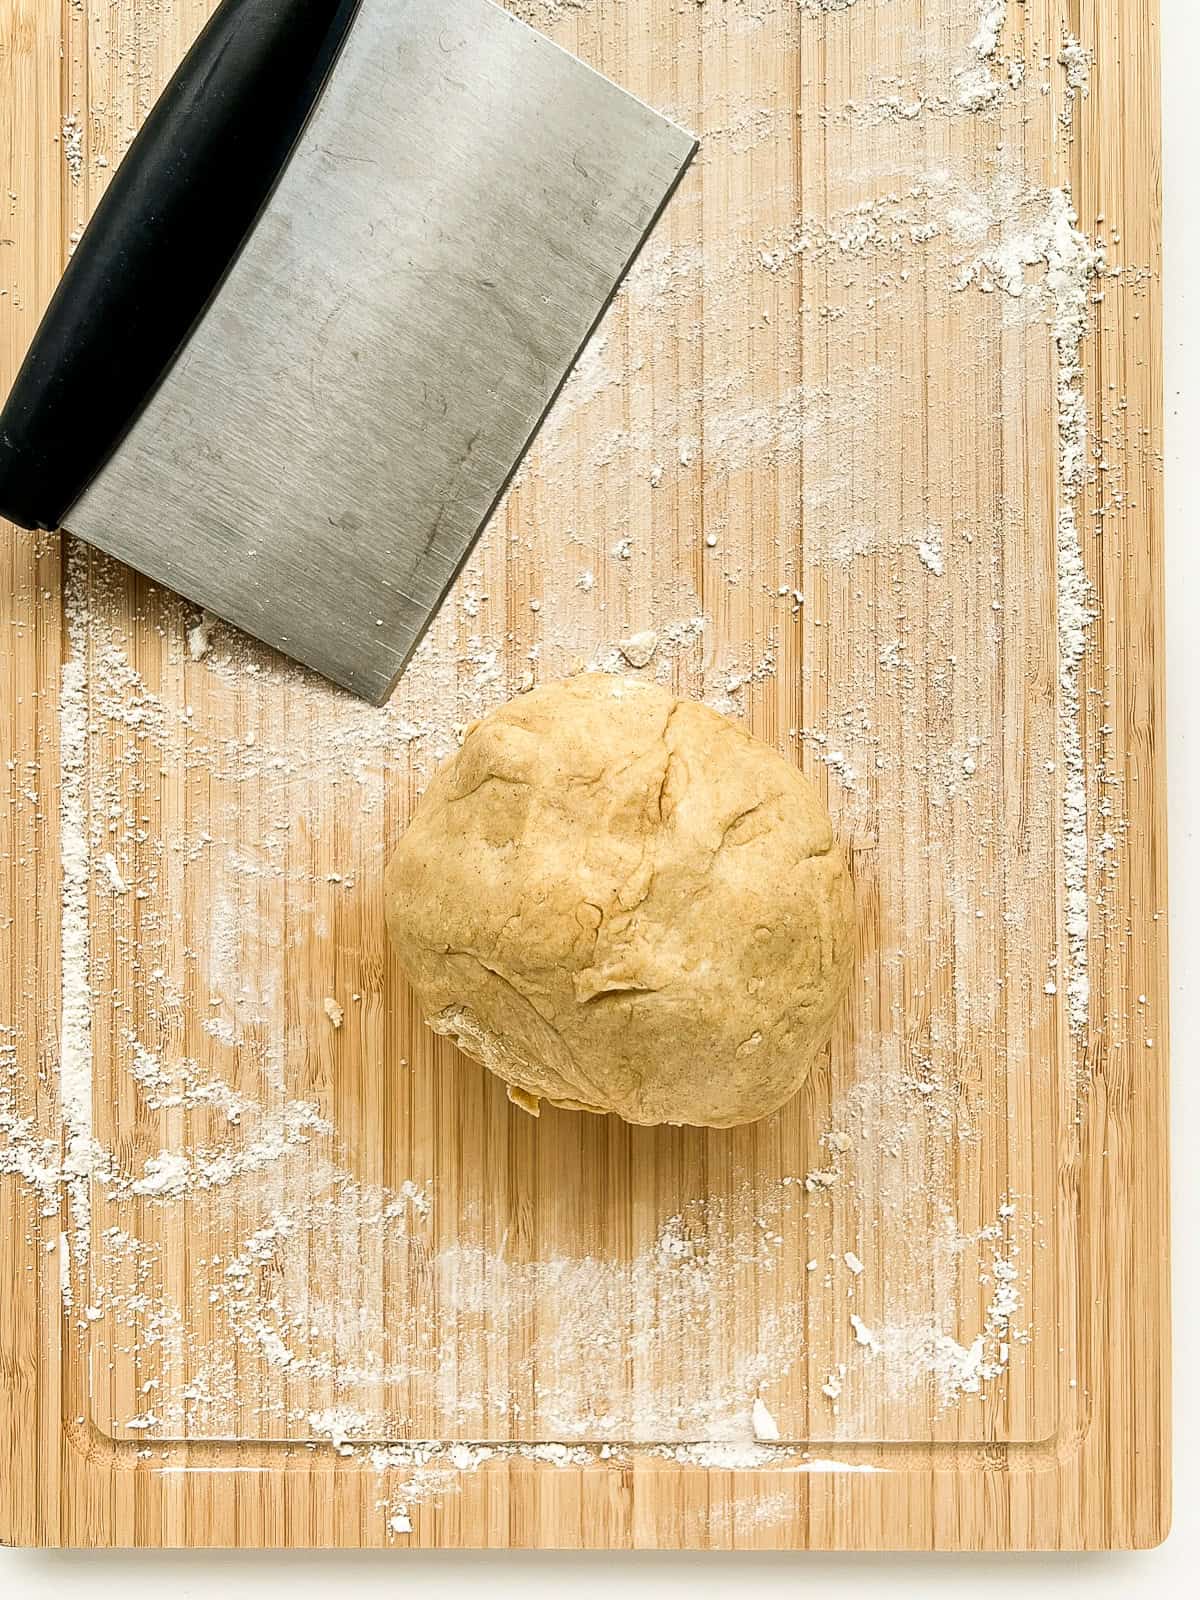
If you find your dough mixture is too wet and seems more like a thick paste, pulse in another tablespoon of flour, one at a time, until the dough starts to ball up. When the dough is ready, tip it out of the processor and use your hands to form the dough into one large ball. The dough should be pliable and medium firm but not sticky and not droopy. If needed, sprinkle a little more flour and knead it in if you are finding the dough too wet or too sticky. Rest assured, this dough is very forgiving, so as long as you find your dough is workable enough to roll out, you're doing just fine!
Portioning the dough
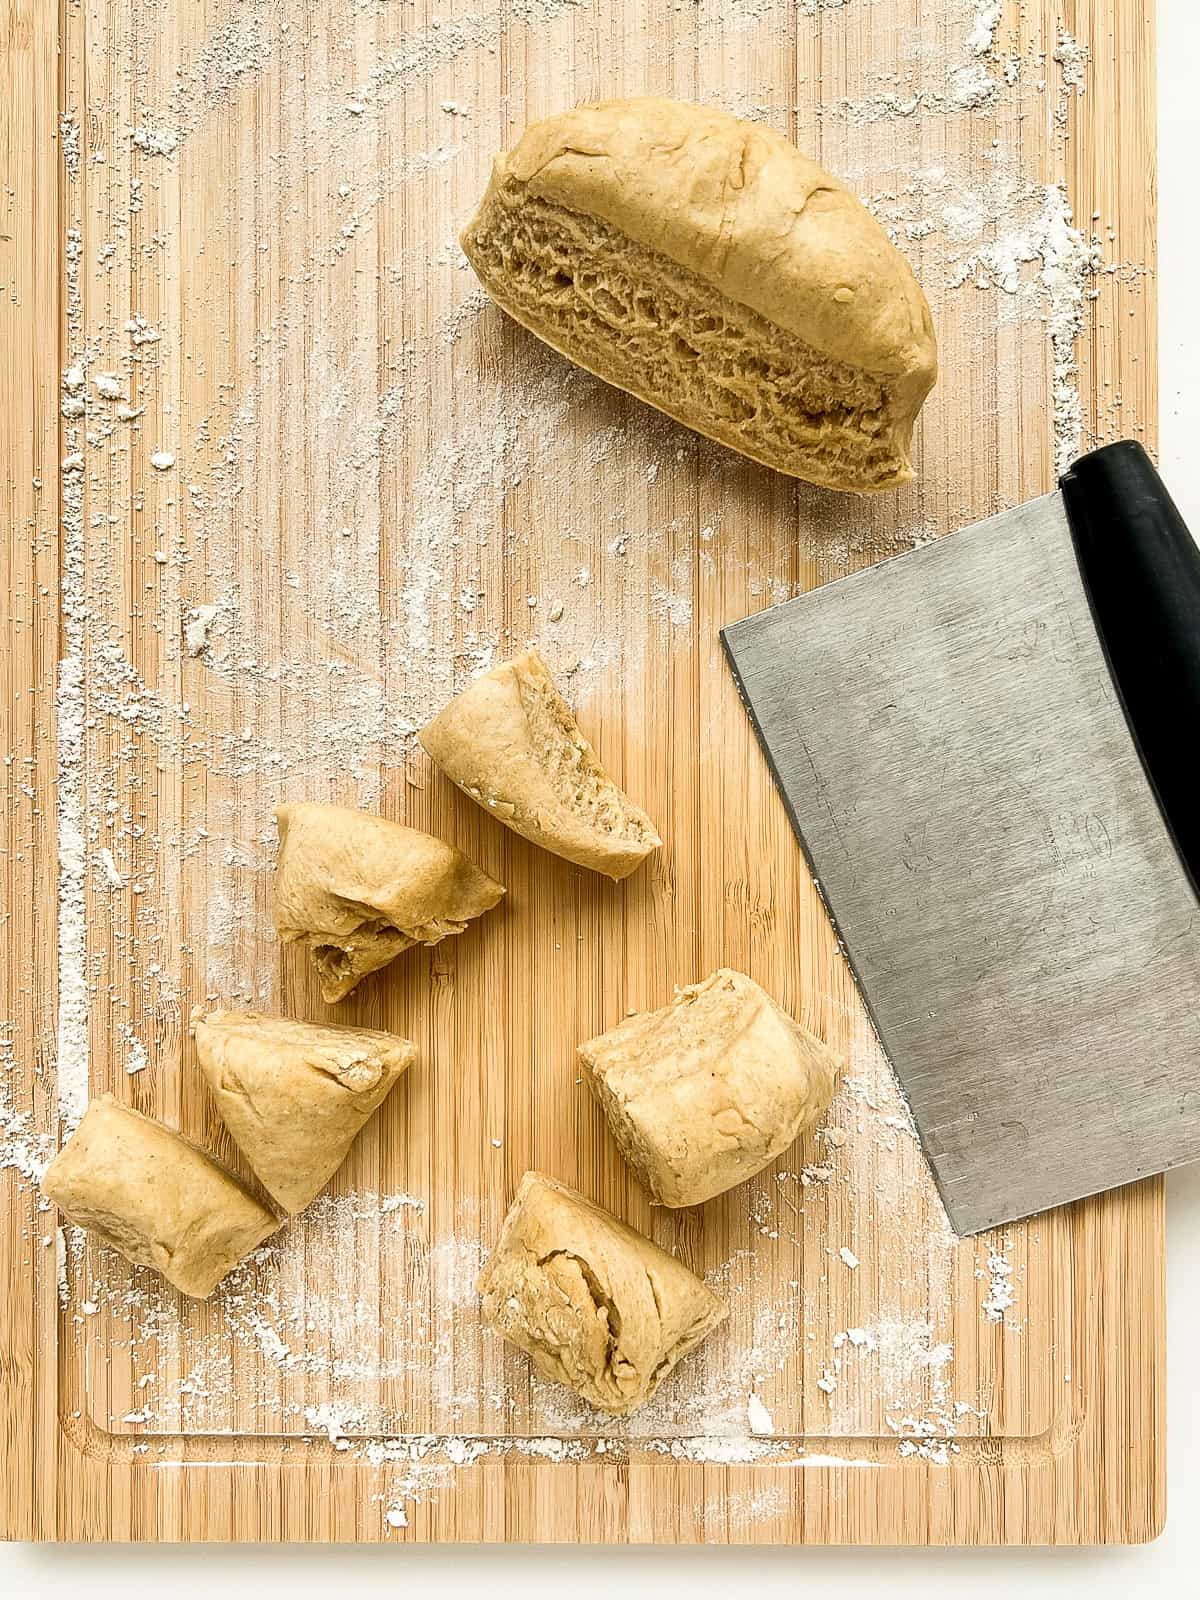
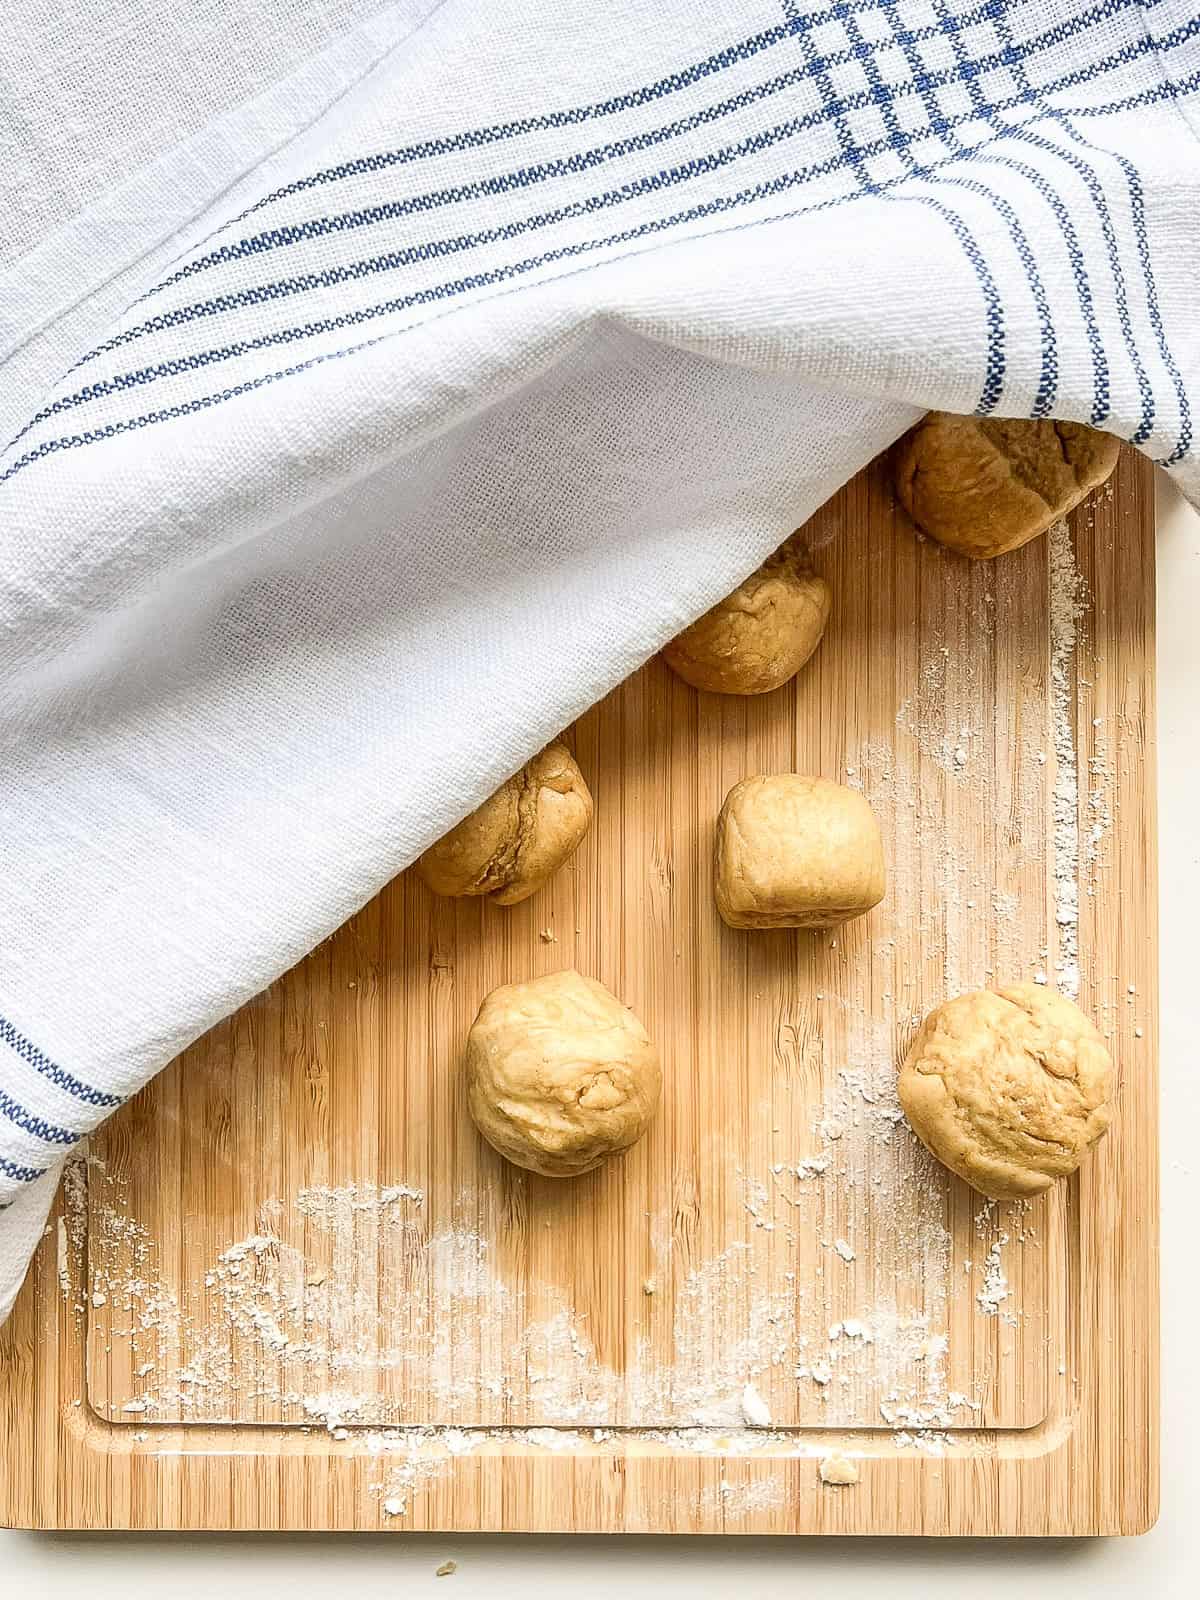
As the matzo dough is not leavened (no time to let dough rise when fleeing!) your matzo is ready to be shaped for baking as soon as the dough is ready. After removing the dough from the food processor, the dough is formed into one large ball by hand. The large dough ball is then ready to be portioned into 12 sections and rolled into individual balls. As the dough can dry out while you roll out and cook a few sheets at a time, it is best to cover your portioned dough with a damp tea towel as you work to keep the dough hydrated.
Dough rolling options
Once your dough is made up, you can roll the dough out to your desired thinness with a rolling pin (I suggest somewhere between ⅛th and 1/16th of an inch), or if equipment allows, you can forgo the traditional hand rolling and employ the wonders of modern technology.
Cue the light bulb flashing over my head - “why not put the matzo dough through the pasta roller?” I asked myself during a round of annual matzo making. A set of pasta rollers for my stand mixer *somehow* found its way into my kitchen during a covid era I-need-something-to-do moment, and it occurred to me that the rolling prowess of the pasta rollers could help me achieve uniformly thin matzo sheets.
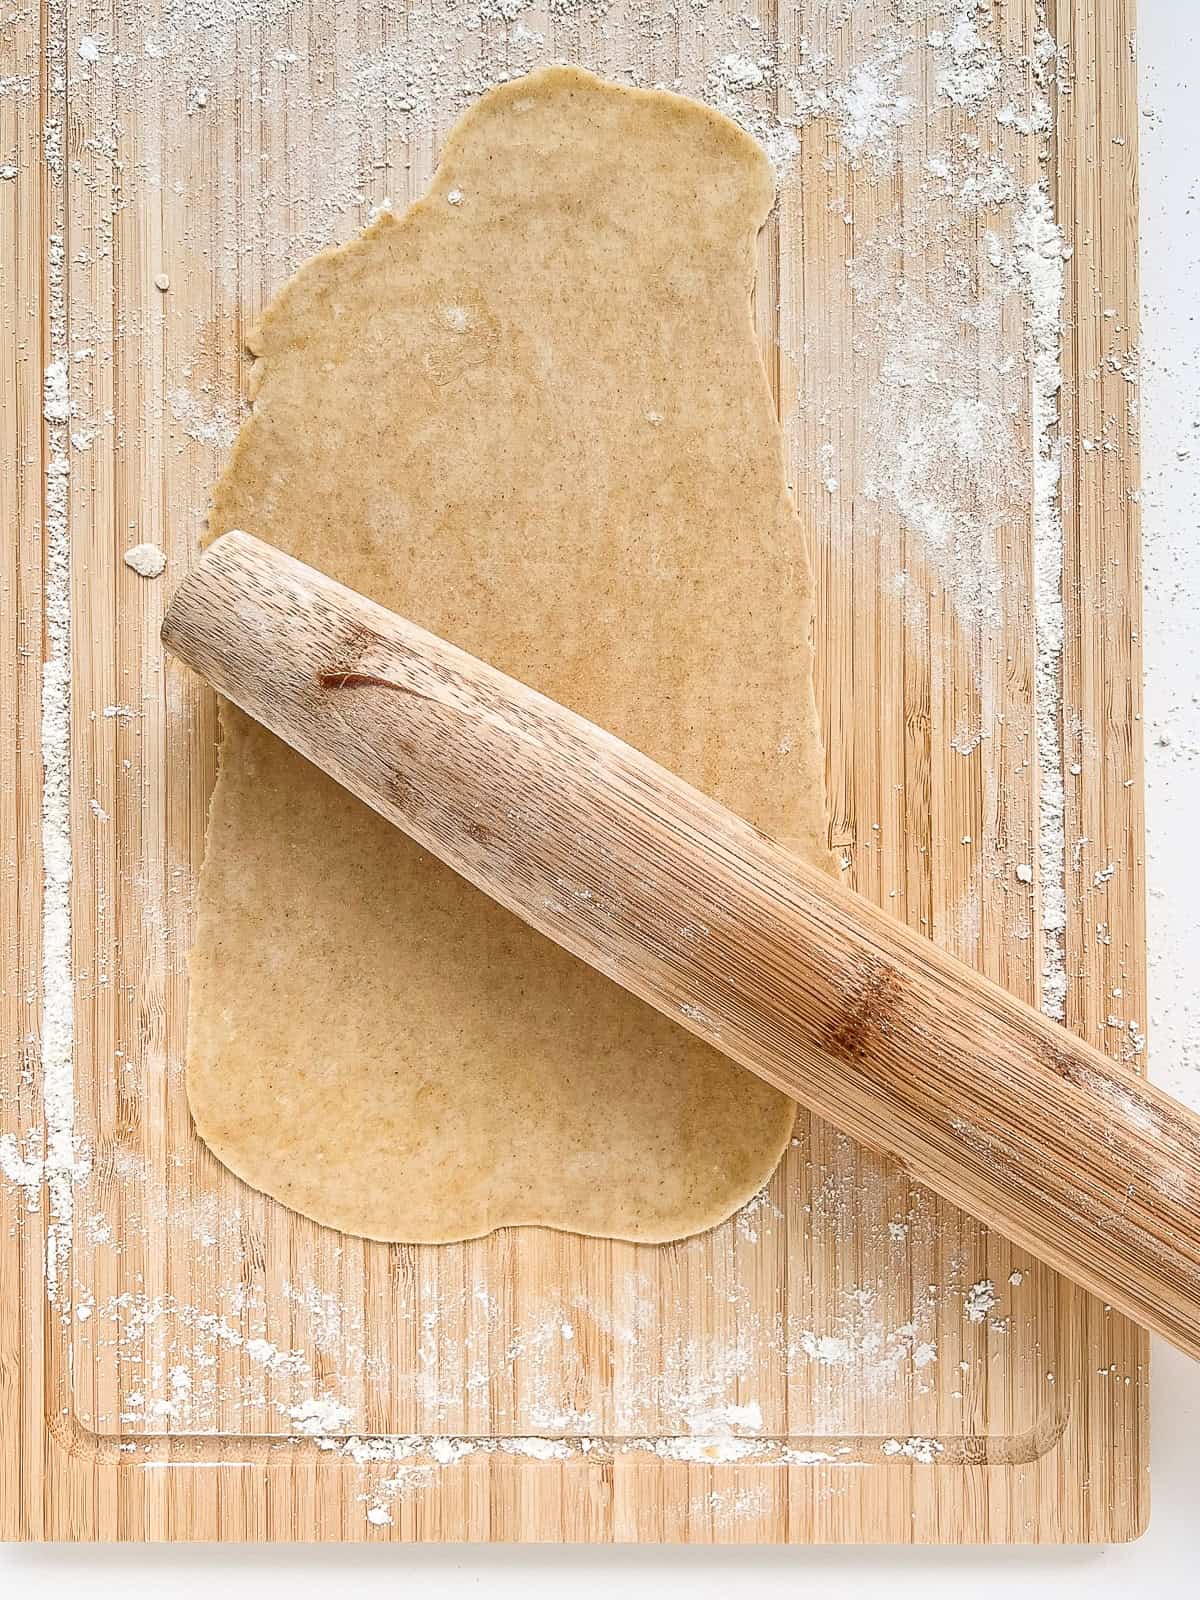
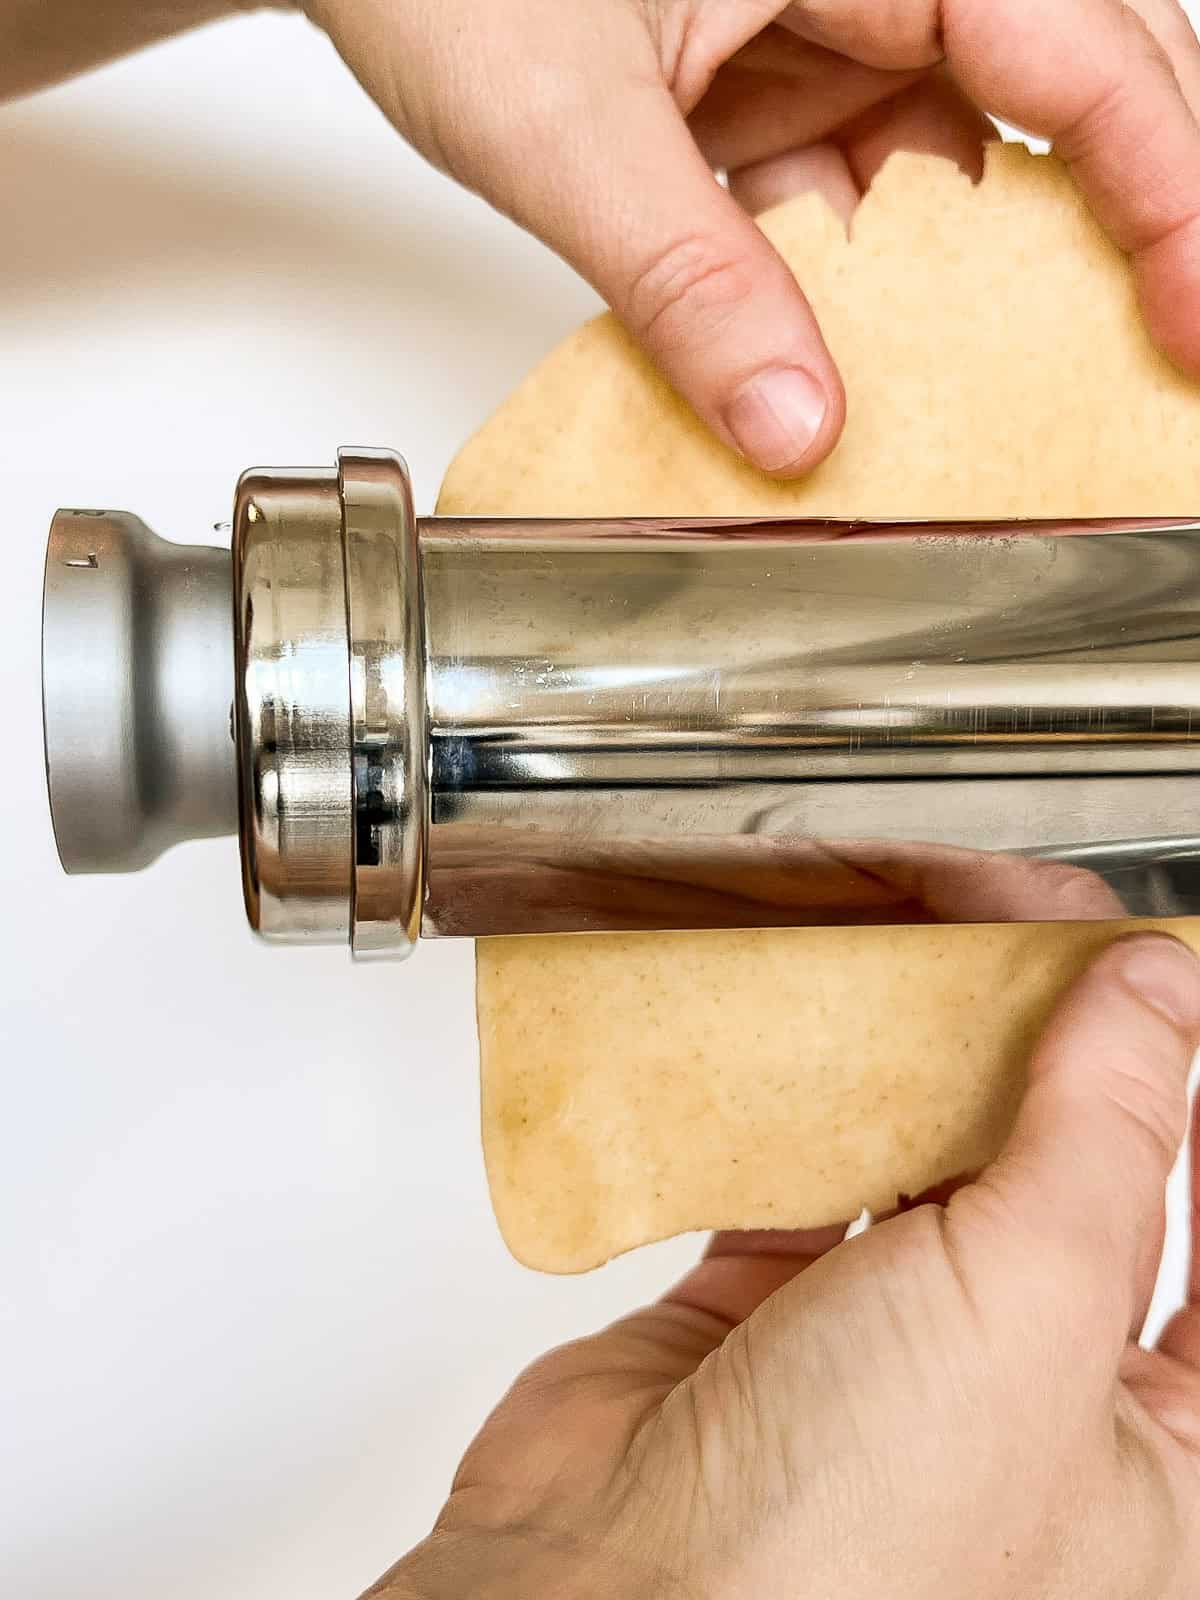
Hand rolling out individual sheets of matzo may have been what deemed matzo as the bread of affliction in the first place - yes, I jest, it’s really not that bad - but truly, getting a uniformly thin sheet of dough is something that preoccupies me each time I make a batch. My facility for hand rolling has certainly improved over time, but I just love the near perfection that the pasta roller hack provides. In the end, I still sometimes hand roll, sometimes use the pasta rollers, and I encourage you to just use what you have or prefer - I mean, really, who cares how perfectly uniform the matzo is - it’s homemade for crying out loud!
Artisanal is the look!
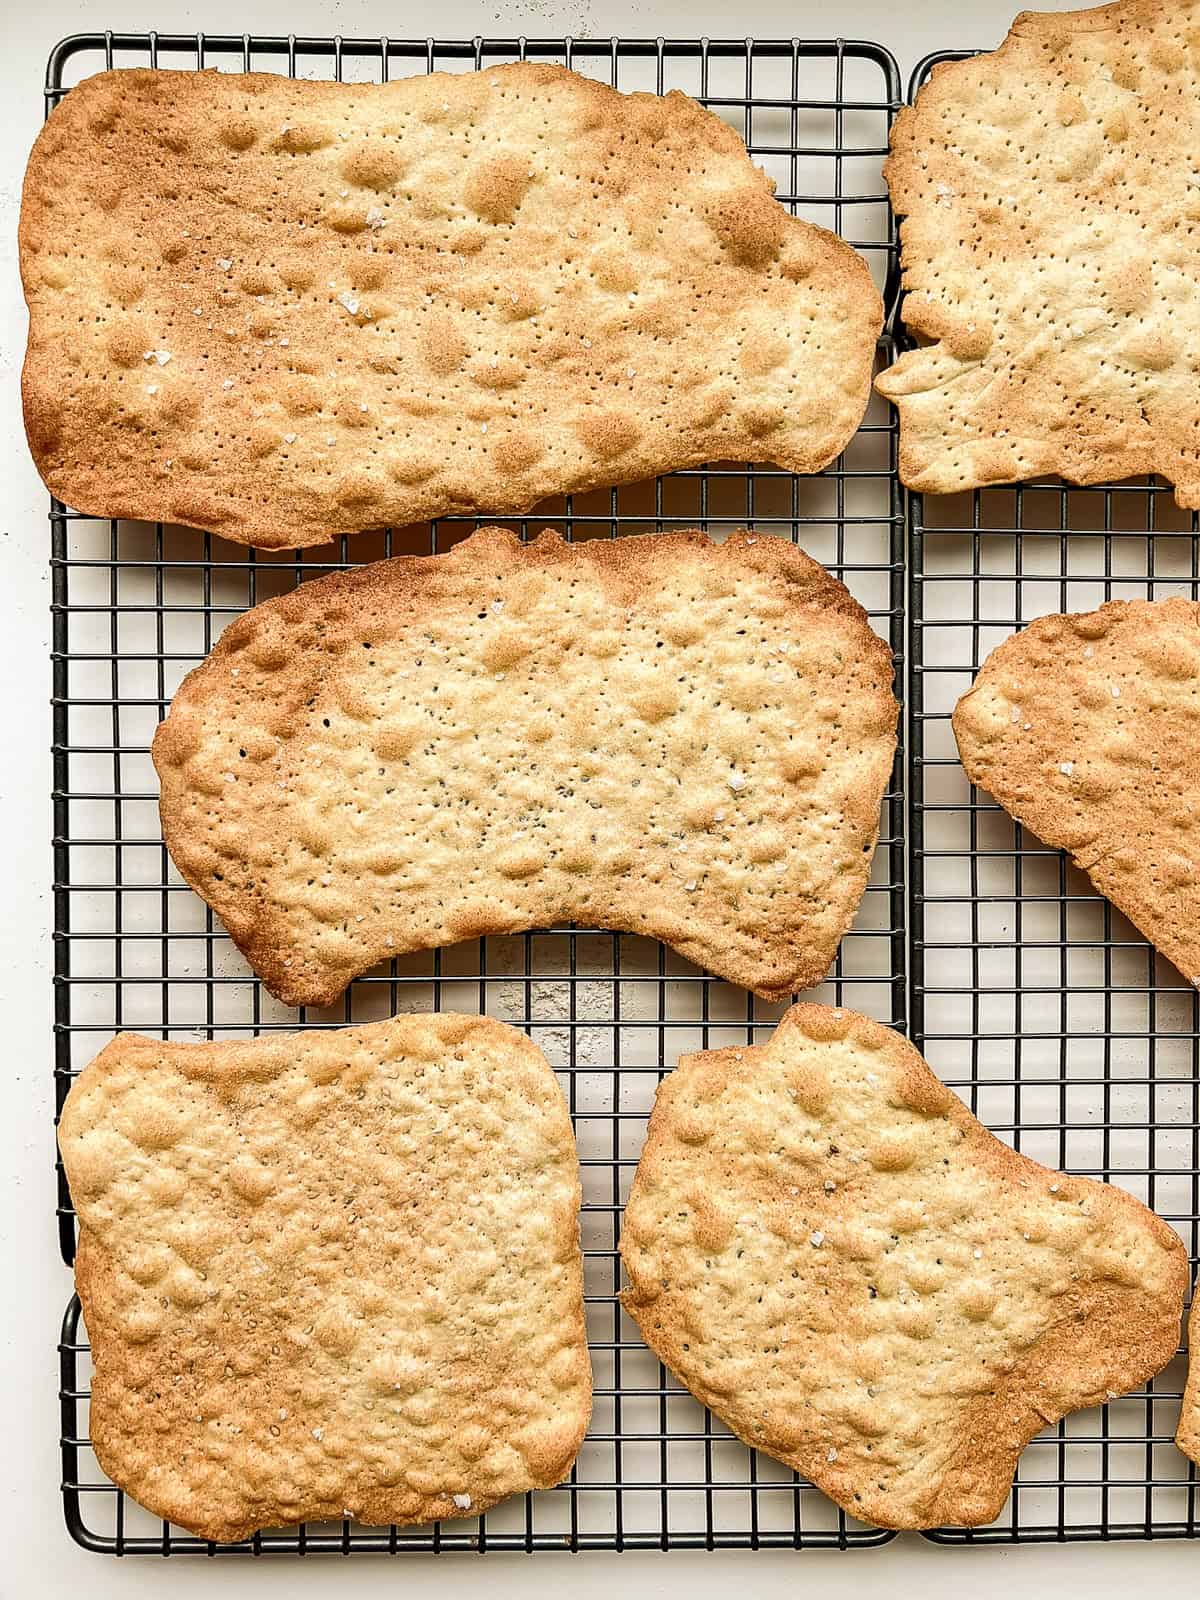
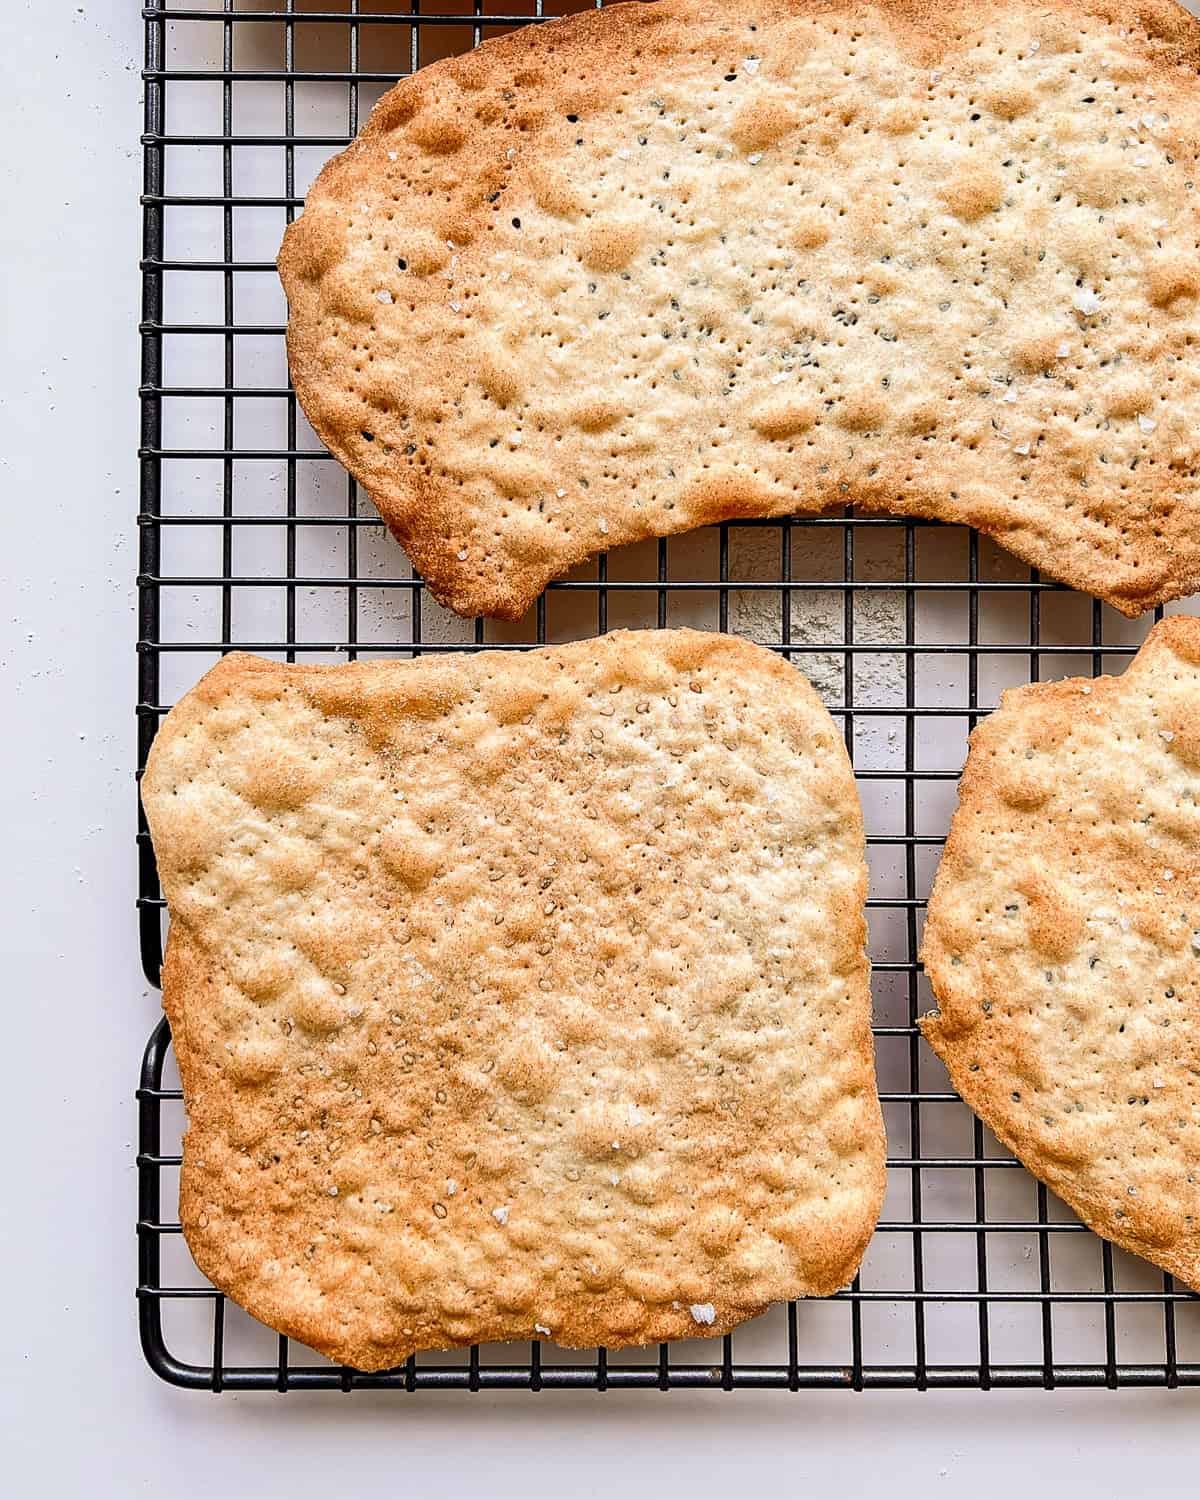
As for shape, no matter how you roll out the dough, the matzo will likely come out as a kind of organic, oval-ish, amoeba type shape, at least it does for me. I make only the most minor attempts to make the matzo look anything approaching uniform in appearance. “It’s homemade” I cry out again! If you have ever seen the crisp italian flatbread carta di musica, or can envision an ancient sheet of parchment, then you’re getting the gist of this handmade, or shall we say, artisanal, baking adventure.
Flavour variations
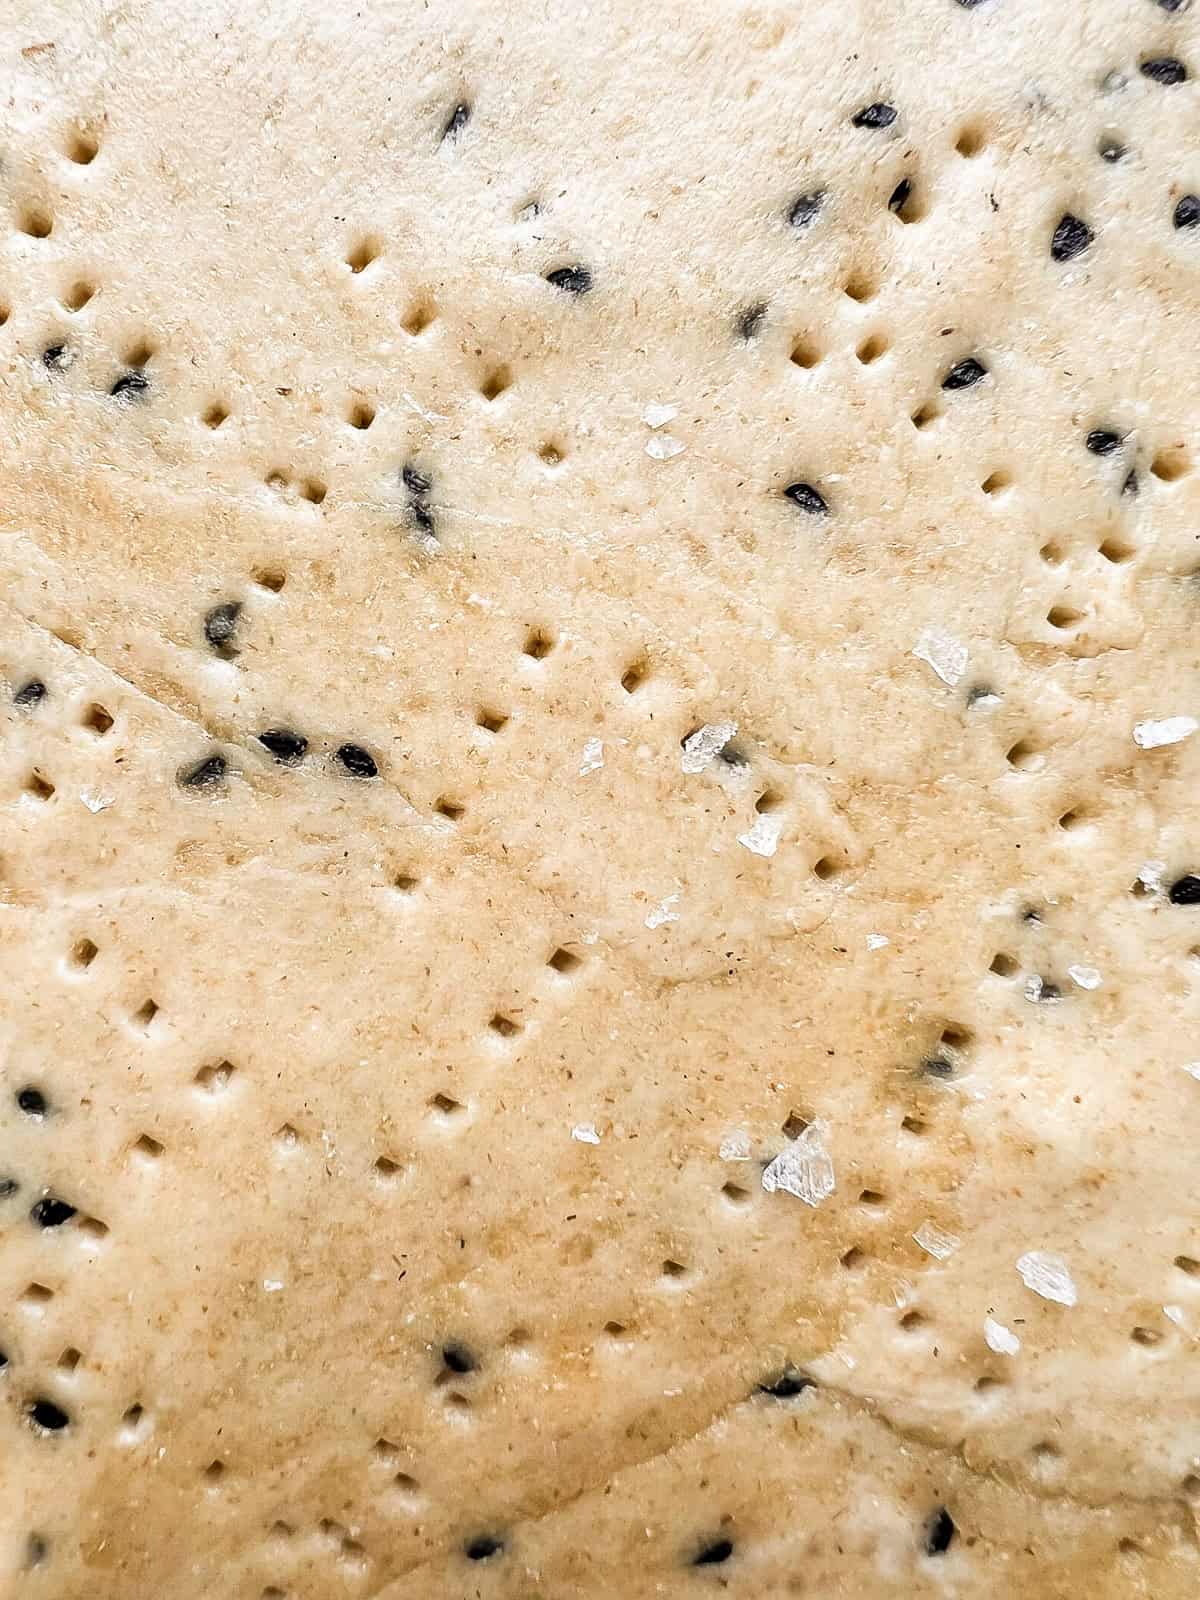
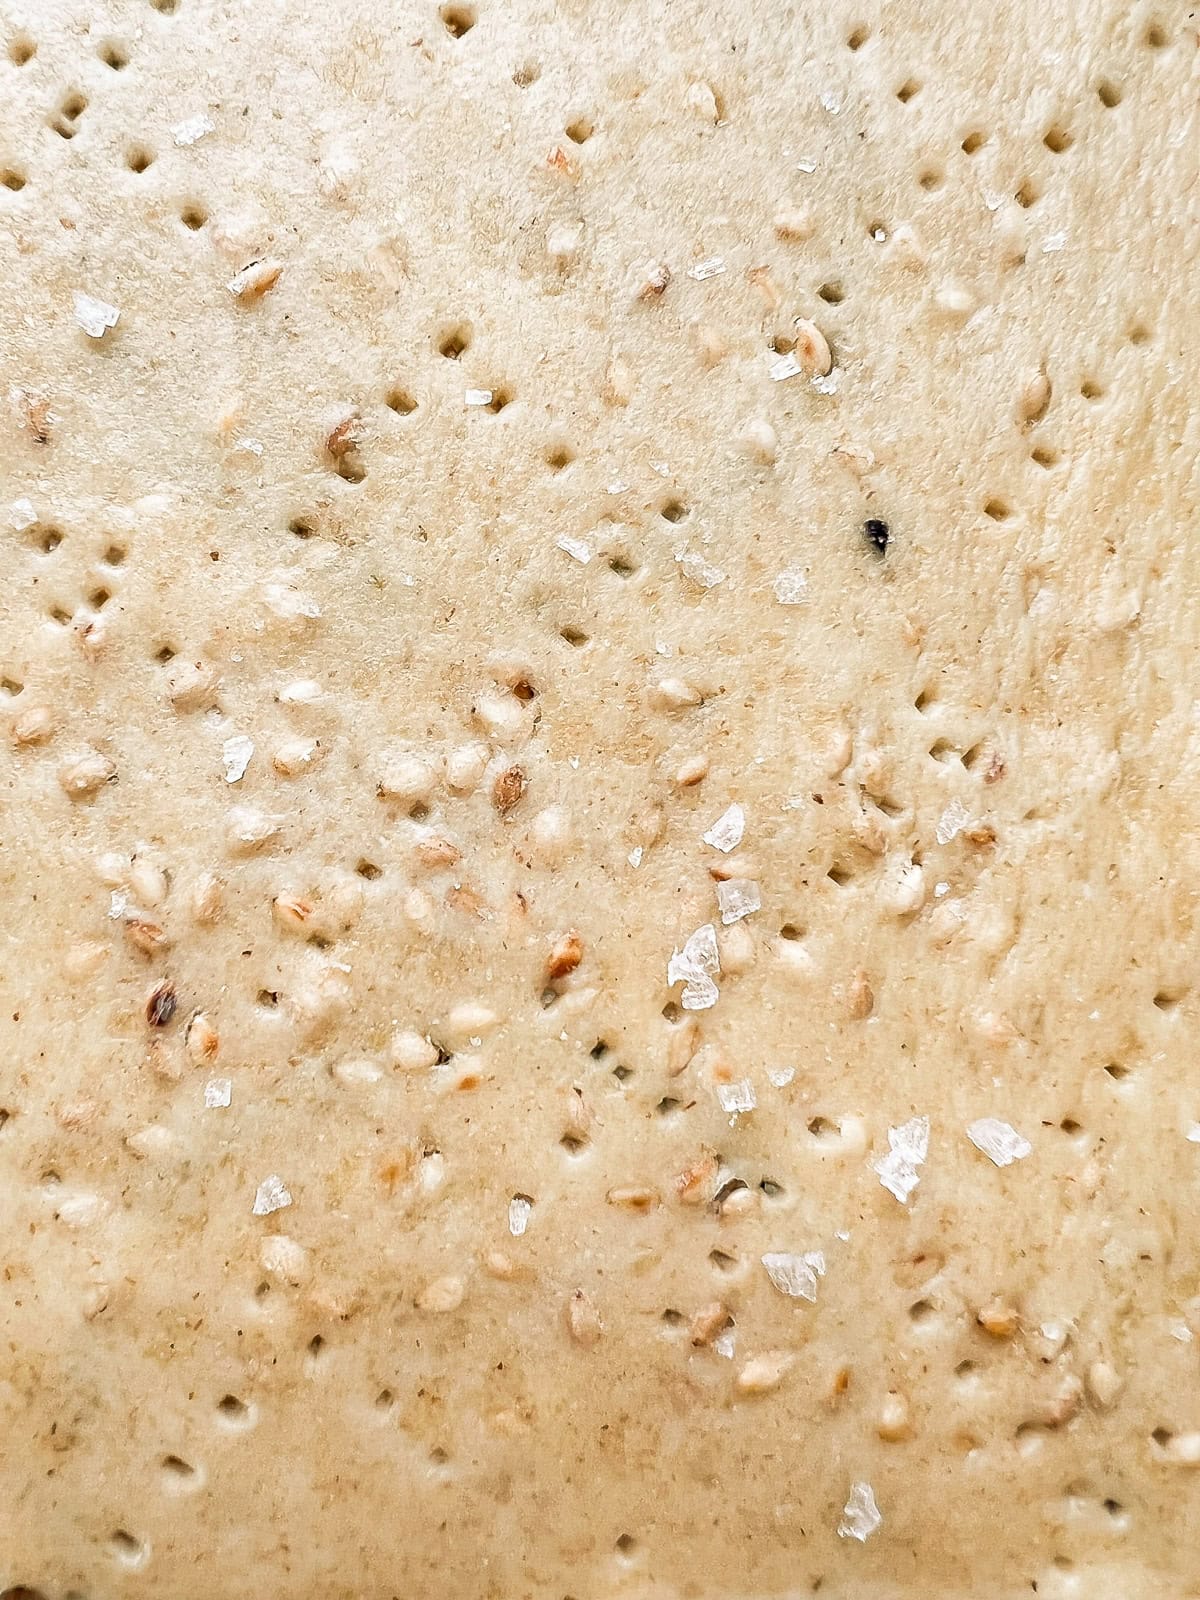
As using a pasta roller certainly isn’t traditional by any means, you might as well further indulge the unconventional leanings of this recipe, no matter how you roll out your dough, and consider making some flavoured sheets of matzo. I usually make a whole batch of plain matzo sheets, and then I move on to a second batch that features a variety of spiced versions. I have tried nigella seeds, sesame seeds, zaatar, and poppy seed all to delicious effect.
Feel free to experiment with your own spicing ideas. The trick is to use spices that aren’t that thick in dimension, as even the heft of an especially burly cumin or fennel seed may cause the dough to tear.
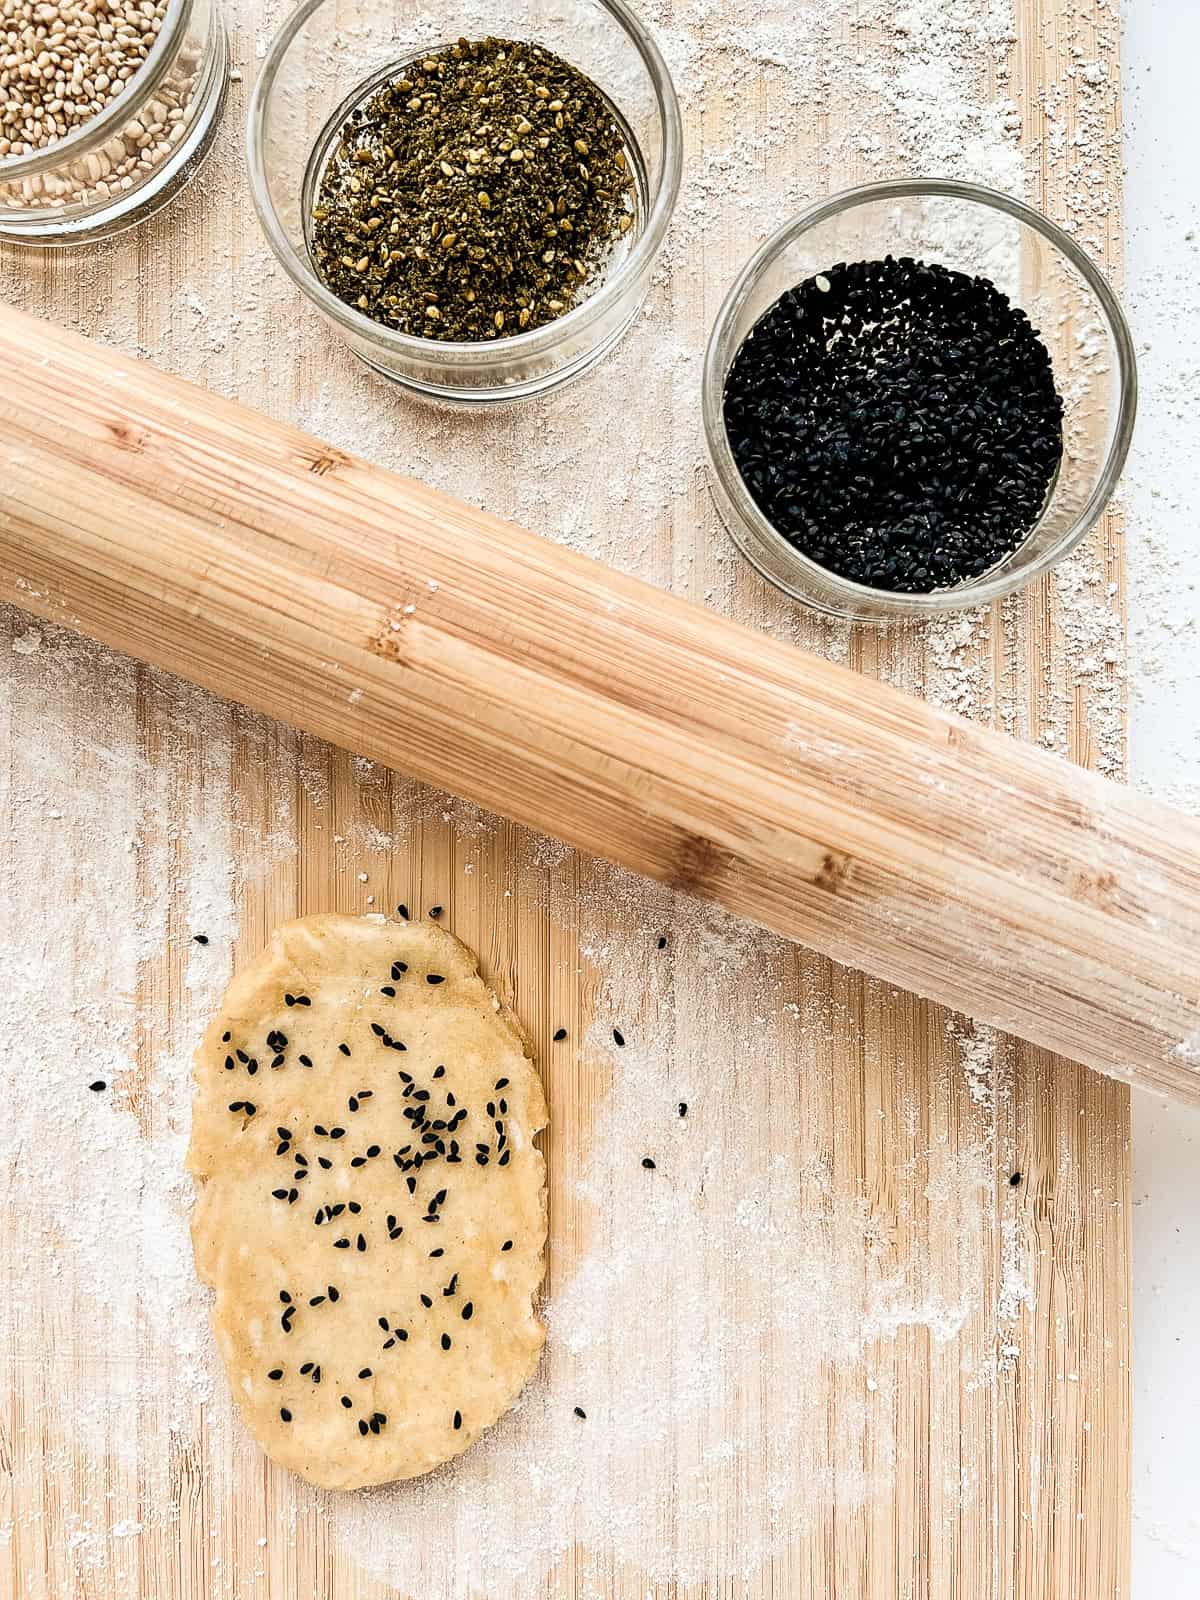
You can make as many different kinds of seasoned matzo as you wish, as my approach calls for adding chosen seasonings individually to each dough ball before you roll it out so you don't have to commit to an entire batch of any one flavour. You can make every single sheet differently if you wish or in whatever combination that will increase your delight; it’s up to you. Whatever kind of matzo you end up making, this once a year effort may become a delicious tradition that you and yours truly savour, as my family and I do.
Notes on baking matzo
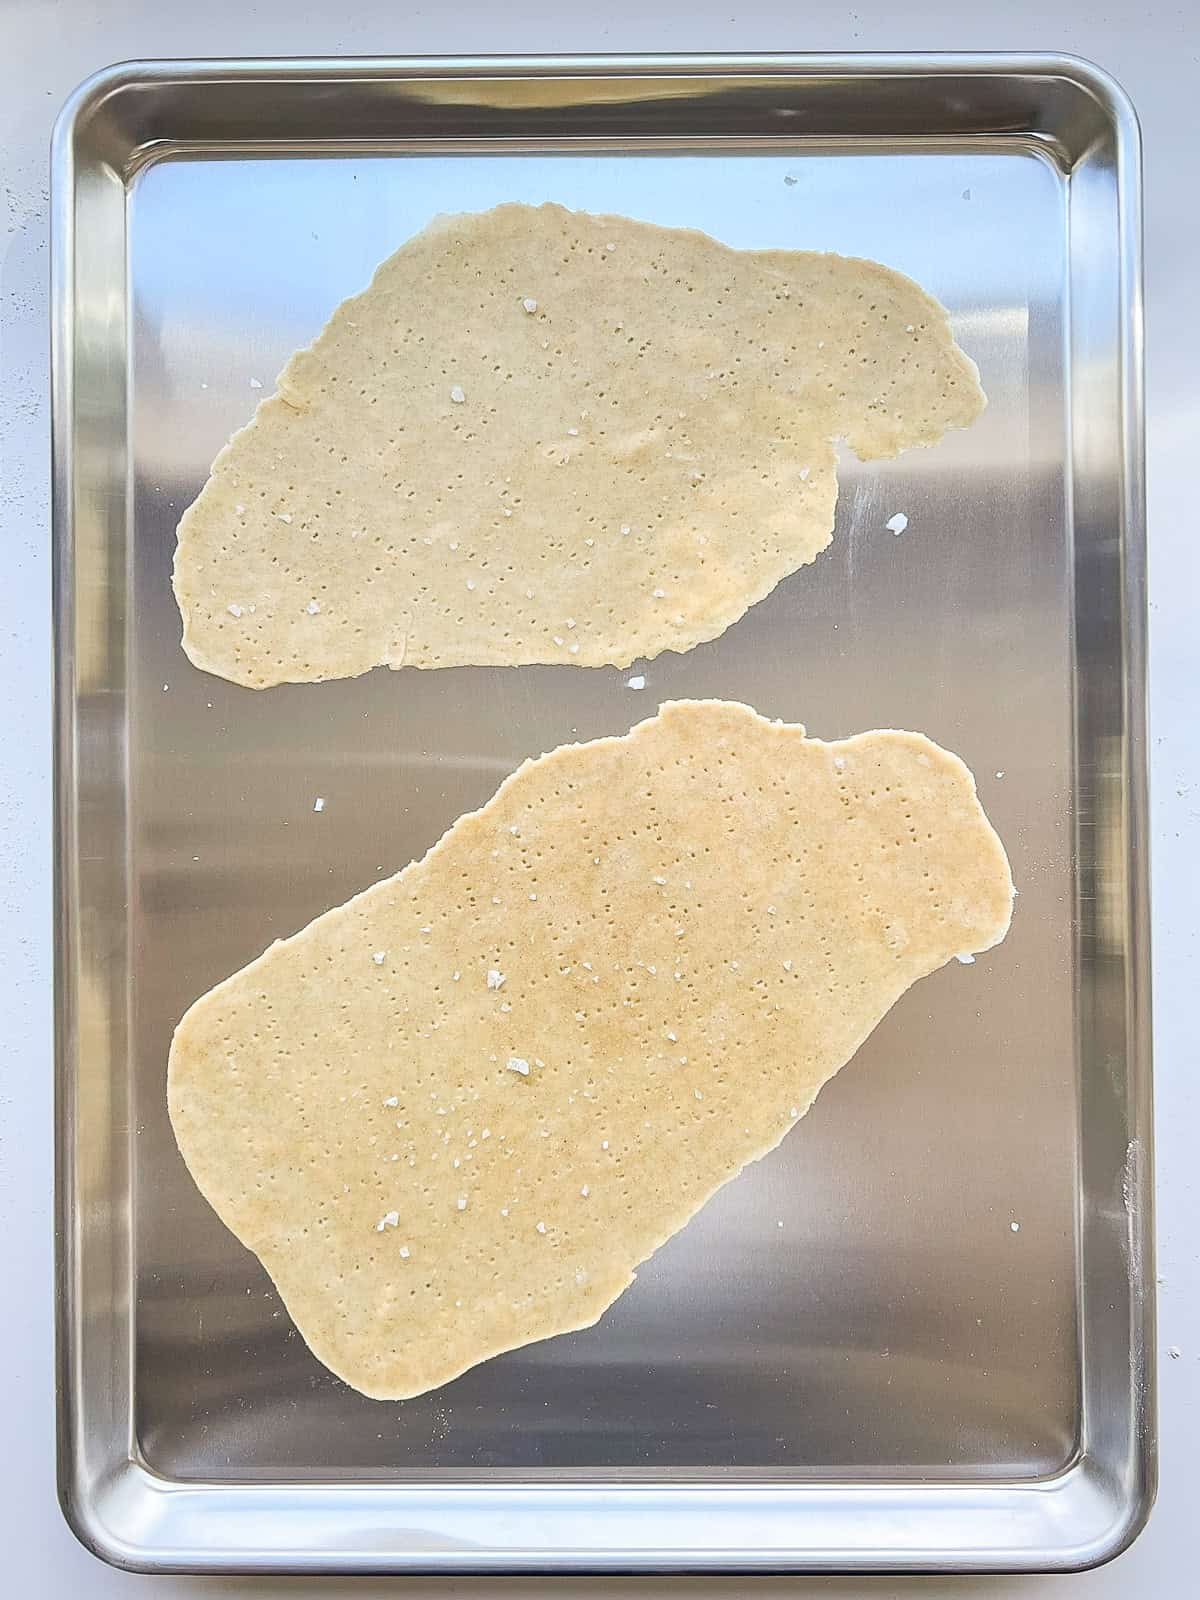
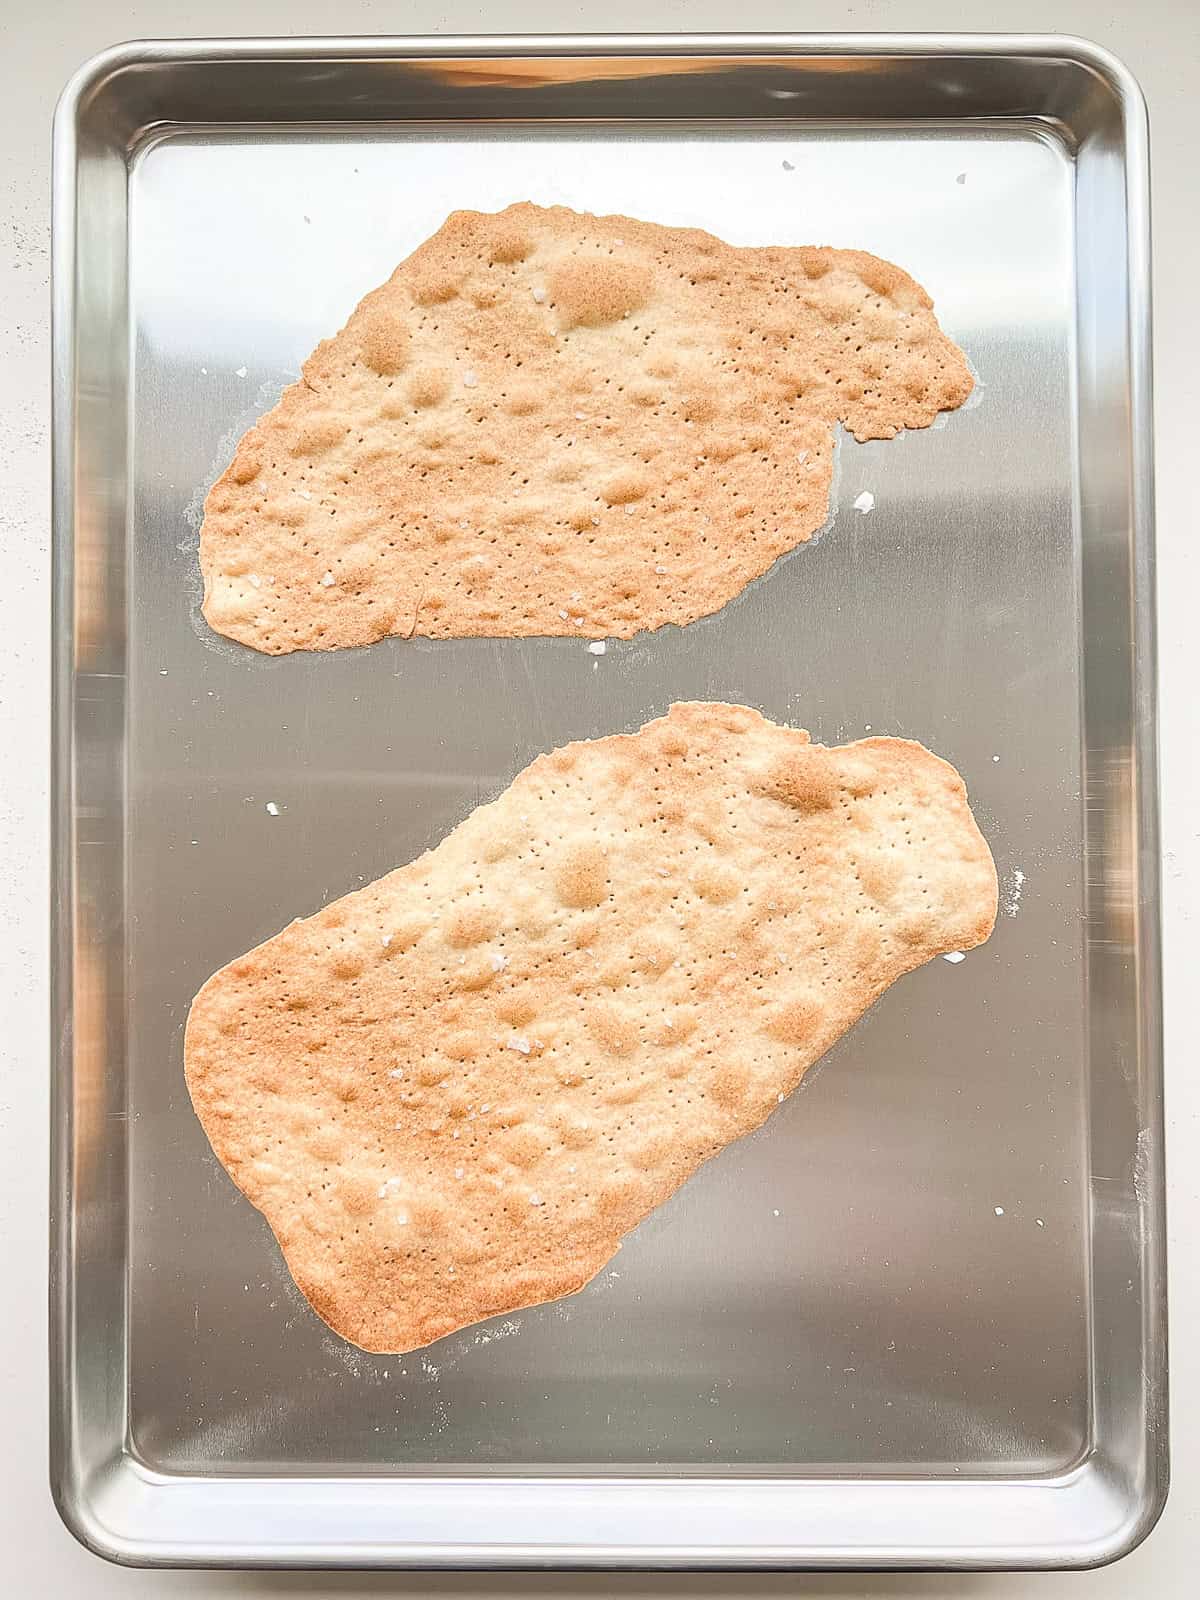
As for the baking process, the paper thin matzo sheets are baked two or three at a time on a large baking tray, depending on how many you can fit. The matzo bakes up quickly, and it is certainly a bit of a time sensitive issue to make sure you pull the baked matzo out of the oven before it becomes “over-browned” i.e. don’t walk away and get stuck into some other time consuming activity lest your matzo turn into charcoal (I’m not saying I have done this, ahem).
I have found that darker coloured baking trays cause the matzo to brown more quickly during the baking process, while lighter coloured, aluminium baking trays allow the matzo to cook for longer without browning quite as quickly, although you still need to keep an eagle eye on things.
Time is of the essence
Exactly how long you bake your matzo depends on the thinness you have achieved during rolling - around 5 minutes is my benchmark. As you bake your matzo sheets, you may find you wish to pull them out earlier or later, depending on how browned you want them to be. If your oven is not especially even in its heating then you may also wish to rotate the pans midway through each batch. You’ll get the hang of it after a sheet or two, and just like crepes, sometimes the first ones made are not the best but make a tasty “cook’s treat”!
As certainly you will love your homemade matzo, as will everyone else who catches wind of your baking travails, you may want to just make a double or triple batch as I do. It's a true pleasure to give yourself an hour or two of blissful, mindful cooking; rolling, baking, cooling, and stacking the crispbreads as our Jewish ancestors have done, albeit in different settings and with different materials, for thousands of years.
Looking for more Passover recipes?
Homemade Matzo with Whole Grains
Ingredients
- 280 gm whole wheat pastry flour (approximately 2 ¼ cups) *see note
- ½ teaspoon salt himalayan pink or sea salt
- ½ cup fresh water
- ⅓ cup extra virgin olive oil
- flaked sea salt for topping, optional
- optional add in flavourings: sesame seeds, nigella seeds, zaatar, poppy seeds or other seasonings of your choice
Instructions
- Preheat your oven to 500°F degrees. Position an oven rack in the lower third of your oven.
- Measure your flour using the spoon and sweep method. *see note below
- Get your kitchen set up for the matzo production process: you will need a food processor, two baking trays, a wire rack for cooling the matzo, a cutting board, a spatula, a tea towel, and kitchen gloves for handling the hot baking trays. If using a pasta roller, get your device set up and set to the thickest setting (usually setting #1), or have a rolling pin standing by.
- Make the dough: Add the flour and the salt to the food processor and pulse for a few seconds until combined. Turn the processor on low, and while it is running, add the water and oil in a thin and steady stream. Let the processor run until a dough ball starts to form on the blade. The dough should not be sticky or wet like a paste - if it is, add a tablespoon of flour and process again for a few seconds, repeating if necessary until a dough ball forms.
- Remove the dough ball onto a lightly floured surface such as a wooden cutting board, kneading briefly if required to incorporate any dough pieces or extra flour, then cut the dough into 12 pieces, by cutting the dough in half, and then half again, and then cutting each portion into thirds. Briefly roll the dough pieces into balls and set aside under a tea towel or in a lidded container so they don’t dry out.
- Roll out the dough: If using a rolling pin, roll a dough portion into a roughly oval shape, getting it as thin as possible, until almost see through, about ⅛th to 1/16th of an inch. If using a pasta roller, make sure your machine or device is set to the thickest setting (#1), press the dough balls flat using the palm of your hand and feed the dough through. Pass the dough through twice on each setting until you get to setting 4 by which point it should be super thin. By this point you will find the dough is rather fragile, so keep it upright with your fingers when you pass it through, otherwise it will drape over the sides and tear. If you wish, you can rotate the dough each time you pass it through to widen and shape the resulting sheet.
- Prepare the dough for baking: When each dough ball is rolled out, place it onto a baking tray, and fit up to 2 or 3 matzo sheets per tray if you have the space. Take a fork and prick the matzo sheets all over - I like to do so in two different directions to create an interesting pattern. Lightly sprinkle flaked sea salt over the surface of each sheet if desired.
- If making flavoured matzo: Roll out the dough so that it is slightly flattened, then sprinkle your desired flavouring over the surface. Fold the dough in half, roll out slightly and sprinkle seasonings on again, then form into a dough ball, proceeding to roll the dough out as noted above. Flavour each dough ball individually as desired.
- Bake the matzo: Consider doing one matzo sheet only in your first batch so that you can gauge your exact cooking time depending on the thickness of your dough. Put your first batch into the oven for 5 minutes, setting a timer; however, check your first batch at the 4 minute mark, and then again every 15-30 seconds until you achieve your desired doneness. The matzo should be lightly browned and speckled with some sections a little bit darker and some a bit lighter. Note how long your exact baking time was and bake up the remainder of your matzo using that timing, still keeping an eye on things as you get closer to your finished baking time as every batch can vary slightly.
- Once you pull out your cooked matzo, use a spatula to put it on a rack to cool - it will still be a little fragile until totally cooled so be gentle. Set your hot baking tray aside to cool down between batches, and use your second tray to make your next batch. Continue on in this manner until all of your dough is rolled, prepared, baked, and cooled!
- Storing your matzo: Once completely cooled, keep the matzo in any kind of airtight container that it will fit into - a closed cookie tin also keeps the matzo fresh - it will stay fresh and crisp for a at least 24 hours, so that you can make the matzo the day before you want to eat it. Enjoy!






Leave a Reply